- Position the large floral stamp from the Beautiful Blooms in a full-size Misti.
- Using the Honey Bee No Line Ink, stamp the bottom half of a slimline panel until the image is visible enough to see the lines. Rotate the panel and repeat the image on the top side.
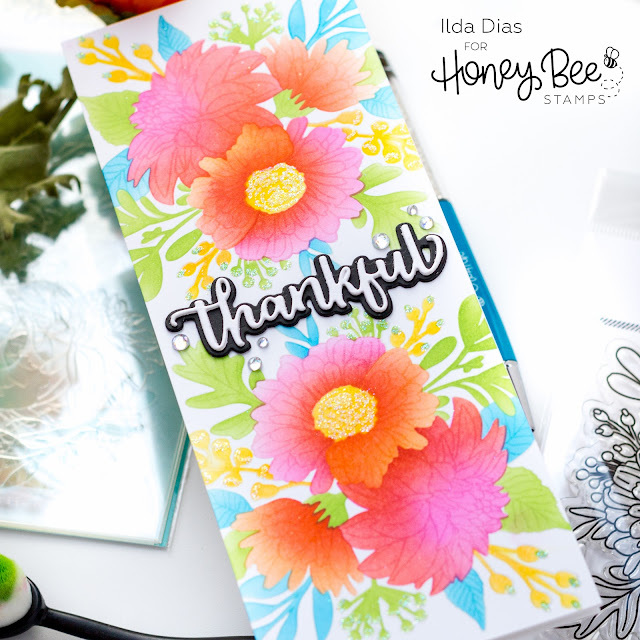
- Use the Beautiful Blooms Stencil to line up each layer with the stamped image and blend out the image using your favorite inks for blending. My go-to inks are the Atelier inks from Inkon3. See the colors used in the supply list below.
- Once the ink blending was done, I then used a glue pen to add fine glitter to some of the floral details.
- To the center of the panel, I added the Thankful die-cut sentiment from the Bitty Buzzwords: Fall Dies.
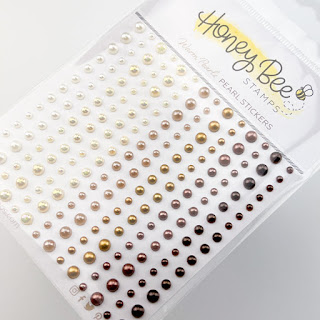
- I then finished off the front by adding a few Aurora Borealis Gem Stickers for more sparkle.
- On the inside of the card, I completed the sentiment with a stamp from the Beautiful Blooms done in Bee Creative Intense Black Ink.
I hope you enjoyed this super simple make yet elegant Thankful Blooms Slimline Card. Let me know in the comments below what is your favorite way to add color to your images.
 Beautiful Blooms Shop at: SSS | HBS |
 Beautiful Blooms Stencil Shop at: SSS | HBS |
 Bitty Buzzwords: Fall Dies Shop at: SSS | HBS |
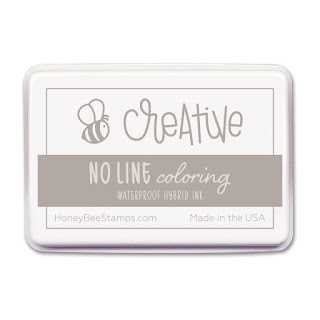 HONEY BEE NO LINE INK Shop at: SSS | HBS |
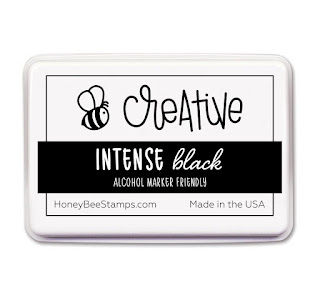 Bee Creative Intense Black Ink Shop at: SSS | SB | HBS |
 Detail Blender Brushes Shop at: SSS | HBS |
 Background Blender Brushes Shop at: SSS | HBS |
 Stamping Pressure Tool Shop at: HBS |
 Bee Creative Glue Shop at: SSS | SB | HBS |
 Die Release Tool Shop at: SSS | HBS |
 Bitty Buzz Cutter Shop at: HBS |
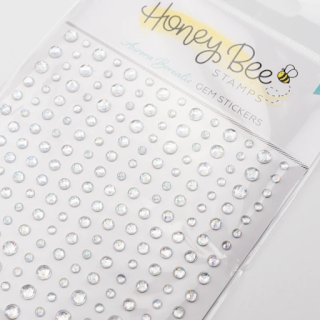 Aurora Borealis Gem Stickers Shop at: SSS | HBS |
 Original Misti Shop at: SSS | AMZ | SB | HBS |
 Atelier Ink Sweet Petunia Shop at: SSS | IO3 |
 ATELIER MARIGOLD ORANGE Shop at: SSS | IO3 |
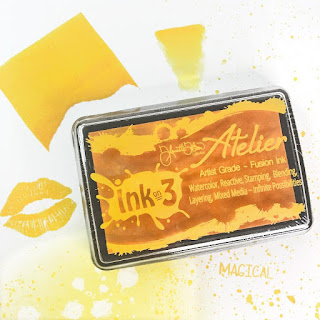 Atelier Ink Bee Sting Yellow Shop at: SSS | IO3 |
 ATELIER GODDESS GREEN Shop at: SSS | IO3 |
 Atelier Ink Peacock Blue Shop at: SSS | IO3 |
 Sakura Quickie Glue Pen Shop at: SSS | AMZ | SK |
 PRISMA GLITTER Shop at: SSS |




.jpg)
.jpg)
.jpg)
.jpg)
.jpg)
.jpg)
.jpg)
.png)

.jpg)
.jpg)
.jpg)
.jpg)
.jpg)
.jpg)
.png)


.jpg)
.jpg)
.jpg)


