Monday, March 20, 2023

Cottage Pop Up Scene Card | Honey Bee Stamps

Simply Spring Release, Cottage, Pop Up, Scene Card, Honey Bee Stamps,how to,handmade card,Stamps,ilovedoingallthingscrafty,stamping, diecutting,cardmaking

Hello Friends and Happy Monday!

Have you all seen the Simply Spring Release from Honey Bee Stamps? If you haven't check it out! So many beautiful Spring inspired products. Usually, you would have seen a bunch of sneak peeks from me but this time my DT package decided to take its sweet time. Oh well better late than never, right!? 

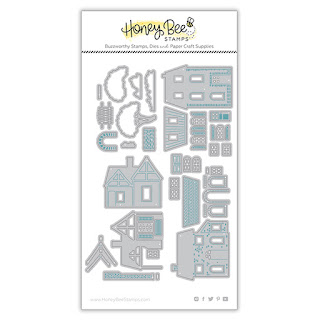
For my project today I wanted to play with the Spring Cottage Village Dies and create a Spring Scene. If you saw my last Honey Bee project, I also made a pop-up card. I guess I loved it so much I just had to do it again, lol!

CARD RECIPE

  • Die-cut the pieces for the cottage and glue them together. Also die-cut the tree, and the bushes and set them aside.
  • Use the Cottage Countryside Dies to die-cut the background pieces. For the grass area, I separated the pieces and added a cobblestone road using Copic Markers. Set the die-cuts aside as well.

Simply Spring Release, Cottage, Pop Up, Scene Card, Honey Bee Stamps,how to,handmade card,Stamps,ilovedoingallthingscrafty,stamping, diecutting,cardmaking
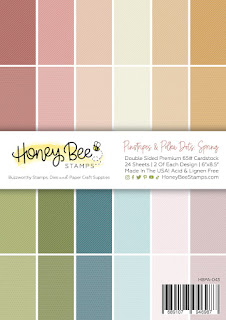
  • For the front panel, die-cut the frame using the two largest dies of the Spring Vine Layering Frames from a white piece of cardstock first, and then the for the background I used blue paper from the Pinstripes & Polka Dots: Spring Paper Pad only cutting out the inside opening. Glue these pieces together to form the front.
  • Next, I created 2 pop-up springs that I scored from a 1-inch wide piece of pattern paper Paper Pad at every 1/4"inch until it folded into an "M".
  • I then glued the springs to the back of the frame. 
  • To make the scene pop, I glued the Cottage Countryside layers to the "springs". I did have to trim off a little of the sides to make the width of the scene match the width between the "springs".
  • At this point, I glued on the cottage and tree.
Simply Spring Release, Cottage, Pop Up, Scene Card, Honey Bee Stamps,how to,handmade card,Stamps,ilovedoingallthingscrafty,stamping, diecutting,cardmaking
  • For the background of the card, I used the opposite side of the paper, trimmed it to A2 size, and added it to the card base.
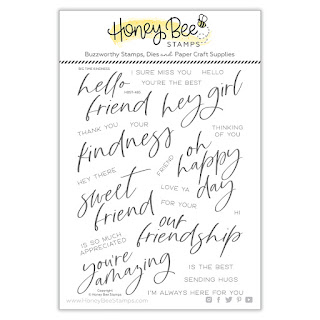
  • Before gluing the card front to the card base I figured out where to add the sentiment. I used a sentiment from Big Time Kindness and stamped it using Bee Creative Intense Black Ink.
  • Then I glued the springs to the card base. 
  • Next, I added some glue to the clouds and slipped them into place.
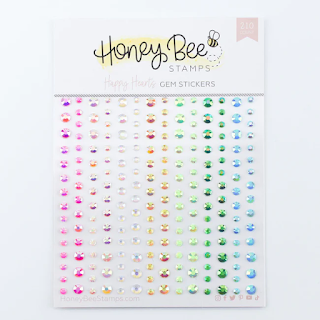
  • For a final touch and a little bit of sparkle, I added some gem stickers to the corners of the frame.
Simply Spring Release, Cottage, Pop Up, Scene Card, Honey Bee Stamps,how to,handmade card,Stamps,ilovedoingallthingscrafty,stamping, diecutting,cardmaking

The cool thing about these pop-up cards is that they have so much dimension but without too much bulk!

I absolutely love how this card turned out and I hope you all do too. I really wish I had a pink cottage like this. I would make it my craft cottage and you all could come to visit and craft with me!

Thank you for stopping by and until next time... Happy Crafting!
Ilda 🏡

SUPPLIES
Spring Cottage Village Dies
Shop at:
SSS | SB | HBS
Cottage Countryside Dies
Shop at:
SSS | SB | HBS
Spring Vine Layering Frames
Shop at:
SSS | SB | HBS
Big Time Kindness
Big Time Kindness
Shop at:
SSS | SB | HBS
Pinstripes & Polka Dots: Spring Paper Pad
Shop at:
SSS | SB | HBS
Happy Hearts Gem Stickers
Shop at:
SSS | SB | HBS
Tear Tape XL Roll | 1/8
Tear Tape XL Roll | 1/8"
Shop at:
HBS
Bee Creative Intense Black Ink
Shop at:
SSS | SB | HBS
Stamping Pressure Tool
Shop at:
HBS
Bee Creative Bitty Buzz Cutter
Shop at:
HBS
Honey Bee Reverse Tweezers
Shop at:
SSS | HBS
Bee Creative Glue
Bee Creative Glue
Shop at:
SSS | SB | HBS
Neenah Solar White 110lbs
Shop at:
SSS | AMZ | HBS
New Mini Misti
New Mini Misti
Shop at:
SSS | SB | HBS
Platinum 6 Die Cutting Platform
Shop at:
SSS | SB | SB
Copic Sketch Markers
Shop at:
SSS | AMZ
Scor-Pal Mini Scor-Buddy
Shop at:
SSS | HBS
White Gelly Roller Pen
Shop at:
SSS | AMZ | SB | HBS
To make supplies easy for you to find, I have linked them above. If something is no longer available I will link to a similar product. Affiliate links may be used depending on the product linked. Please help support my blog by using these links while shopping at no additional cost to you. For more information about the affiliates I use, please visit my disclaimer here. Thanks so much for all your support!

Wednesday, March 8, 2023

Easter Egg Slimline Shaker Card | Studio Katia

Easter,Egg, Slimline, Shaker, Card,Studio Katia,how to,handmade card,Stamps,ilovedoingallthingscrafty,stamping, diecutting,cardmaking

Hello friends and happy Wednesday!

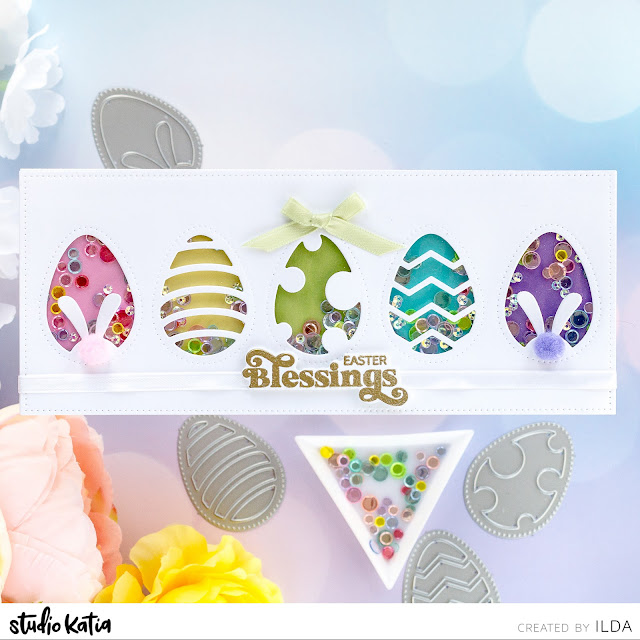
I am back again today to share with you another Easter-themed card. This time it is a traditional Slimline Shaker featuring Easter Shaker Eggs. I initially was going to make it a pocket shaker and then switched gears halfway through. Does anyone else have that happen?
 
CARD RECIPE
  • To begin, I die-cut the top panel using the large dotted frame from Dotted Slimline Set 2.
  • I then die-cut the window openings of the shakers using the Easter Shaker Eggs. I repeated the bunny ear one twice and placed them on the ends.
  • Behind the front panel, I then glued a piece of acetate and added foam tape around the outer edges.
Easter,Egg, Slimline, Shaker, Card,Studio Katia,how to,handmade card,Stamps,ilovedoingallthingscrafty,stamping, diecutting,cardmaking
  • On the card front of the slimline card base, I added scrap pieces of paper to add a rainbow of colors behind each egg and glued them down. 
  • I then added the shaker bits (Icy Rainbow Confetti and Crystal Clear 3M Sequins) to the center of the card and then added the top panel to create the shaker.
Easter,Egg, Slimline, Shaker, Card,Studio Katia,how to,handmade card,Stamps,ilovedoingallthingscrafty,stamping, diecutting,cardmaking
  • For some added fun and details, I used some satin ribbon to make a bow and added interest. To the bunny eggs, I added some coordinating pompoms to create the illusion of their furry bunny butts!
Easter,Egg, Slimline, Shaker, Card,Studio Katia,how to,handmade card,Stamps,ilovedoingallthingscrafty,stamping, diecutting,cardmaking

Other than the die cutting (aligning the eggs and spacing them out) this card was quite simple and quick to make. After I had finished, I thought I should have made an Easter card set instead, using one egg shaker per card in rainbow colors. Well, I might still do that... we shall see how much time I have, lol!

Anyways, I hope you have enjoyed today's Easter Egg Slimline Shaker Card post. Thank you for stopping by and until next time... Happy Crafting!

Monday, March 6, 2023

Spring Floral Fox Shadow Pop-Up Frame Card | Honey Bee Stamps

Spring, Floral, Fox, Shadow, Pop-Up Frame, Card, Honey Bee Stamps,how to,handmade card,Stamps,ilovedoingallthingscrafty,stamping, diecutting,cardmaking,Happy Hearts Release,Ink Blending,

Hello friends, 

It's been a little while since my last post. To be honest I needed a little crafting break, have been feeling a bit burnt out recently and my mojo was gone. It took me forever to decide what I was going to make to share today 😕 But thankfully once I started looking at the products from the Happy Hearts release, ideas started flowing, pheww😅 So let me tell you how this came together. And for those of you who like visuals, I will post a process Reel on my IG page.

CARD RECIPE

Spring, Floral, Fox, Shadow, Pop-Up Frame, Card, Honey Bee Stamps,how to,handmade card,Stamps,ilovedoingallthingscrafty,stamping, diecutting,cardmaking,Happy Hearts Release,Ink Blending,
  • Die cut and piece together the fox from the Heart Hugs Dies.
  • For the foxes bouquet, I stamped out the flowers from the Just for you Stamps using the same inks and embossing powder as I had done previously, and then just colored them in with Copic markers.
  • I then used the Just for you coordinating dies and glued them to the fox.
  • Now it was time to glue the fox to the floral frame.
Spring, Floral, Fox, Shadow, Pop-Up Frame, Card, Honey Bee Stamps,how to,handmade card,Stamps,ilovedoingallthingscrafty,stamping, diecutting,cardmaking,Happy Hearts Release,Ink Blending,
  • Next, I created 2 pop-up springs that I scored from a 2-inch piece of pattern paper from the Gingham Happy Hearts Paper Pad at every 1/2"inch until it folded into an "M"
  • I then added double-sided tape on one side of the spring and glued it to the back of the floral frame. Next, I glued the other side of the spring to a panel I had glued onto the card base with the same paper.
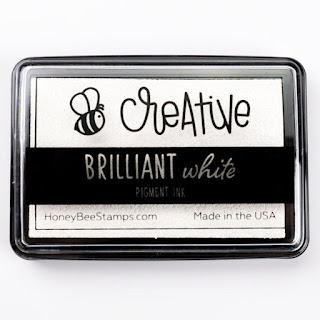
  • For the sentiment, that comes from the Just for you Stamps, I stamped it in Bee Creative Brilliant White Ink Pad and heat set it with white emb. pwd. I then used the Just for you Dies to cut it out and glued it to the front of the pop-up panel.
  • At this point, I thought I was done, but then I thought it needed a little extra to fill in the space and that is when I added the cute little bees from the Bee Hive.
Spring, Floral, Fox, Shadow, Pop-Up Frame, Card, Honey Bee Stamps,how to,handmade card,Stamps,ilovedoingallthingscrafty,stamping, diecutting,cardmaking,Happy Hearts Release,Ink Blending,
  • To add extra dimension and make the bees look like they were hovering above the frame I cut thin strips of acetate and on one end I created a "Z" fold. 
  • I then glued the bees to the top of the Z fold and then attached the otherend of the acetate to the inside of the floral frame (see image above and below).
  • To finish this card off, I added Happy Hearts Gem Stickers to the center of the flowers and added white gel pen highlights. (This last step might have been easier to do if I had thought about it before I assembled the pop-up frame).
Spring, Floral, Fox, Shadow, Pop-Up Frame, Card, Honey Bee Stamps,how to,handmade card,Stamps,ilovedoingallthingscrafty,stamping, diecutting,cardmaking,Happy Hearts Release,Ink Blending,
  • As you can see despite all the dimension, the card still fits nicely flat inside the envelope.
Spring, Floral, Fox, Shadow, Pop-Up Frame, Card, Honey Bee Stamps,how to,handmade card,Stamps,ilovedoingallthingscrafty,stamping, diecutting,cardmaking,Happy Hearts Release,Ink Blending,

I need to give credit to Jennifer Mcguire and Yasmin Diaz as they were the ones who introduced me to this pop-up technique. So fun!

I hope you were inspired by this Spring Floral Fox Shadow Pop-Up Frame Card. I am sure I will be making many more of these😁

Thank you for stopping by and until next time... Happy Crafting!

Ilda 🦊🐝

SUPPLIES
Friendship Frame Stamp
Shop at:
SSS | SB | HBS
Friendship Frame Dies
Shop at:
SSS | SB | HBS
Friendship Frame Stencils
Shop at:
SSS | SB | HBS
Heart Hugs Dies
Heart Hugs Dies
Shop at:
SSS | SB | HBS
Just for you Stamps
Just for you Stamps
Shop at:
SSS | SB | HBS
Just for you Dies
Just for you Dies
Shop at:
SSS | SB | HBS
Bee Hive
Bee Hive
Shop at:
SSS | SB | HBS
Bee Hive Dies
Bee Hive Dies
Shop at:
SSS | SB | HBS
Gingham Happy Hearts Paper Pad
Shop at:
SSS | SB | HBS
Background Blender Brushes
Shop at:
SSS | HBS
Detail Blender Brushes
Shop at:
SSS | HBS
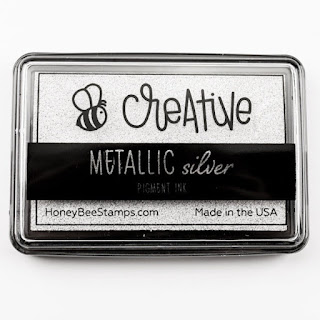
Bee Creative Silver Metallic Ink Pad
Shop at:
SSS | SB | HBS
Bee Creative Brilliant White Ink Pad
Shop at:
SSS | SB | HBS
Bee Creative Intense Black Ink
Shop at:
SSS | SB | HBS
Bee Creative Acetate Sheets
Shop at:
HBS
Bee Creative Bitty Buzz Cutter
Shop at:
HBS
Stamping Pressure Tool
Shop at:
HBS
Tear Tape XL Roll | 1/4
Tear Tape XL Roll | 1/4"
Shop at:
HBS
Bee Creative Glue
Bee Creative Glue
Shop at:
SSS | SB | HBS
Honey Bee Reverse Tweezers
Shop at:
SSS | HBS
Die Release Tool
Die Release Tool
Shop at:
SSS | HBS
Happy Hearts Gem Stickers
Shop at:
SSS | SB | HBS
Neenah Solar White 110lbs
Shop at:
SSS | AMZ | HBS
New Mini Misti
New Mini Misti
Shop at:
SSS | SB | HBS
Platinum 6 Die Cutting Platform
Shop at:
SSS | SB | SB
Atelier Ink Sweet Petunia
Shop at:
SSS | IO3
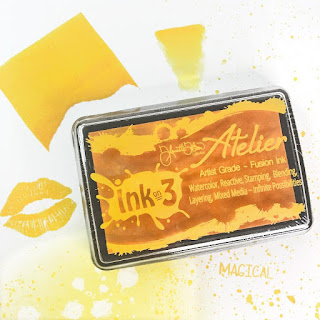
Atelier Ink Bee Sting Yellow
Shop at:
SSS | IO3
Atelier Ink Peacock Blue
Shop at:
SSS | IO3
Magic Powder Bag
Magic Powder Bag
Shop at:
SSS
CHROME EMB PWD
CHROME EMB PWD
Shop at:
SSS | IO3
Arctic White Emb.Pwd.
Shop at:
SSS | IO3
Copic Sketch Markers
Shop at:
SSS | AMZ
White Gelly Roller Pen
Shop at:
SSS | AMZ | SB | HBS
To make supplies easy for you to find, I have linked them above. If something is no longer available I will link to a similar product. Affiliate links may be used depending on the product linked. Please help support my blog by using these links while shopping at no additional cost to you. For more information about the affiliates I use, please visit my disclaimer here. Thanks so much for all your support!

Watch how this card came together👇