Monday, August 22, 2022

Home Is Where the Succulents Are Card | Honey Bee Stamps

Home,Succulents, Card, Honey Bee Stamps,Card Making, Stamping, Die Cutting, handmade card, ilovedoingallthingscrafty, Stamps, how to,  Copics, ink blending,

Hello dear friends! 

Hope you are all doing well. We just got back from a little getaway to the west coast. It was nice to get away for a little but I am happy to be home. Today's card is kind of fitting. I love all things succulent, even though they sometimes manage to die on me it doesn't stop me from loving them. 

This card features the beautiful Succulent Garden Builder Dies from Honey Bee Stamps' last release. This card is perfect for a friend, a loved one, or someone that just moved into a new house.

CARD RECIPE

  • To start I die cut all the succulents a couple of times from white cardstock.
  • I then used various shades of green and purples to ink blend the foliage.
  • To add extra detail I used Copic markers.
Home,Succulents, Card, Honey Bee Stamps,Card Making, Stamping, Die Cutting, handmade card, ilovedoingallthingscrafty, Stamps, how to,  Copics, ink blending,

  • Next, I created the arrangement and glued the pieces in place to create a hanging basket. I did snip off the tassels from the hanger to make it work with the pot I used.
  • I then used gold foil thread and looped it through the hanger and secure the ends to the back of the scalloped panel that I had cut using the largest frame from the Scallop A7 Frame Dies.

Home,Succulents, Card, Honey Bee Stamps,Card Making, Stamping, Die Cutting, handmade card, ilovedoingallthingscrafty, Stamps, how to,  Copics, ink blending,


Home,Succulents, Card, Honey Bee Stamps,Card Making, Stamping, Die Cutting, handmade card, ilovedoingallthingscrafty, Stamps, how to,  Copics, ink blending,

I hope you like this clean and simple Home Is Where the Succulents Are Card of mine today. These simple cards are the hardest card to make for me as I always want to keep adding more, lol! 


Thank you for stopping by and until next time... Happy Crafting!
Ilda 🌵

SUPPLIES
Succulent Garden Builder Dies
Shop at:
SSS | SB | HBS
Scallop A7 Frame Dies
Shop at:
SSS | SB | HBS
Bitty Buzzwords: Bloom Stamps
Shop at:
SSS | SB | HBS
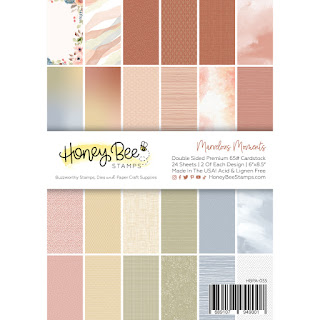
Marvelous Moments Paper Pad
Shop at:
SSS | SB | HBS
Intense Black Ink
Intense Black Ink
Shop at:
SSS | SB | HBS
Bitty Buzz Cutter
Bitty Buzz Cutter
Shop at:
HBS
Detail Blender Brushes
Shop at:
SSS | HBS
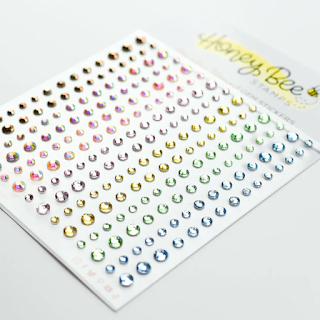
Marvelous Moments Gem Stickers
Shop at:
HBS
Stamping Pressure Tool
Shop at:
HBS
Bee Creative Glue
Bee Creative Glue
Shop at:
SSS | SB | HBS
New Mini Misti
New Mini Misti
Shop at:
SSS | SB | HBS
Neenah Solar White 110lbs
Shop at:
SSS | AMZ | HBS
Copic Sketch Markers
Shop at:
SSS | AMZ
To make supplies easy for you to find, I have linked them above. If something is no longer available I will link to a similar product. Affiliate links may be used depending on the product linked. Please help support my blog by using these links while shopping at no additional cost to you. For more information about the affiliates I use, please visit my disclaimer here. Thanks so much for all your support!

Sunday, August 14, 2022

Gnome for Christmas Cards | Spellbinders

GNOME TREE DIES, HOLLY JOLLY,  ARGYLE SOCKS EMBOSSING FOLDER,Gnome for Christmas, Spellbinders,Card Making, Stamping, Die Cutting, handmade card, ilovedoingallthingscrafty, Stamps, how to,

Happy Sunday Friends!

Today it's all about my Gnomies 😉 These darling gnomes are the latest release from Spellbinders and are part of the Gnome for Christmas Collection.

CARD RECIPE #1
  • To begin I die-cut the Gnomes from the Gnome Tree Dies out of white cardstock and then used Copics to color each piece. 
  • On the background layer, I then glued each piece back. To add a little extra dimension, I added another layer behind each of the hats and beards. 
  • For fun, I added some white gel pen highlights.
GNOME TREE DIES, HOLLY JOLLY,  ARGYLE SOCKS EMBOSSING FOLDER,Gnome for Christmas, Spellbinders,Card Making, Stamping, Die Cutting, handmade card, ilovedoingallthingscrafty, Stamps, how to,

  • On the inside, I also foiled the "from all of us" sentiment.

GNOME TREE DIES, HOLLY JOLLY,  ARGYLE SOCKS EMBOSSING FOLDER,Gnome for Christmas, Spellbinders,Card Making, Stamping, Die Cutting, handmade card, ilovedoingallthingscrafty, Stamps, how to,

CARD RECIPE #2
  • For this next card, I die-cut all the pieces from the Holly Jolly Gnome Dies using white cardstock that I then colored in with Copic Markers.
  • I then glued and pieced the gnome, ornament, and bow together. 
GNOME TREE DIES, HOLLY JOLLY,  ARGYLE SOCKS EMBOSSING FOLDER,Gnome for Christmas, Spellbinders,Card Making, Stamping, Die Cutting, handmade card, ilovedoingallthingscrafty, Stamps, how to,
  • Next, I glued the base of the bow to the card front. Under the knot of the bow, I stacked a couple of foam dots and then placed the loop of the ornament around them, and then glued the knot of the bow in place. This secures and creates the swing mechanism for the gnome to swing back and forth.
GNOME TREE DIES, HOLLY JOLLY,  ARGYLE SOCKS EMBOSSING FOLDER,Gnome for Christmas, Spellbinders,Card Making, Stamping, Die Cutting, handmade card, ilovedoingallthingscrafty, Stamps, how to,
  • For added details, I used a white gel pen to add highlights and then added some gem stickers to the top of the ornament.
GNOME TREE DIES, HOLLY JOLLY,  ARGYLE SOCKS EMBOSSING FOLDER,Gnome for Christmas, Spellbinders,Card Making, Stamping, Die Cutting, handmade card, ilovedoingallthingscrafty, Stamps, how to,

Well, that wraps up my Gnome for Christmas Cards featuring a few of the sets from the Spellbinders Gnome for Christmas Collection. If you love getting an early start on Christmas cards, I think these adorable gnomes are a must-have!


Thank you for stopping by and until next time... Happy Crafting!
Ilda 🎄

SUPPLIES
GNOME TREE DIES
GNOME TREE DIES
Shop at:
SB
HOLLY JOLLY GNOME DIES
Shop at:
SB
ARGYLE SOCKS EMBOSSING FOLDER
Shop at:
SB
Hand Drawn Scallops Embossing Folder
Shop at:
SSS | SB | SB
YANA'S CHRISTMAS SENTIMENTS Glimmer Hot Foil Plate and Dies
Shop at:
SSS | SB | SB
Platinum 6 Die Cutting Platform
Shop at:
SSS | SB | SB
Hot Foil System
Hot Foil System
Shop at:
SSS | SB | SB
POLISHED BRASS - Glimmer Foil
Shop at:
SSS | SB | HBS | SB
CRYSTAL MIX COLOR GEMS
Shop at:
SSS | SB | SB
Neenah Solar White 110lbs
Shop at:
SSS | AMZ | HBS
Copic Sketch Markers
Shop at:
SSS | AMZ
Holographic Cardstock
Shop at:
HA
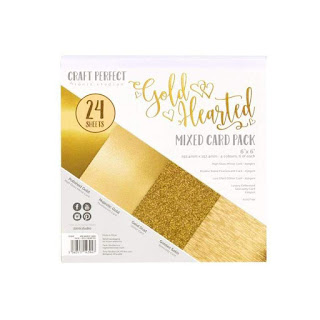
Gold Hearted Paper Pad
Shop at:
TS US | HA
White Gelly Roller Pen
Shop at:
SSS | AMZ | SB | HBS
To make supplies easy for you to find, I have linked them above. If something is no longer available I will link to a similar product. Affiliate links may be used depending on the product linked. Please help support my blog by using these links while shopping at no additional cost to you. For more information about the affiliates I use, please visit my disclaimer here. Thanks so much for all your support!

Wednesday, August 10, 2022

Happy Birthday Balloons Vellum Shaker Card | Studio Katia

Happy Birthday, Balloons, Vellum, frameless Shaker, Card, Studio Katia,Mini Balloon Dog Stamp,Card Making, Stamping, Die Cutting, handmade card, ilovedoingallthingscrafty, Stamps, how to,

Hello, again my friends! 

I am back again today with another birthday balloon shaker card done with vellum featuring the cute Mini Balloon Dog Stamps. Make sure you are following me on Instagram as I will share a Reel on how this fun card came together.

CARD RECIPE
  • To begin, I ink-blended the balloon for the background using the Birthday Balloons Duo Stencils in rainbow colors.
  • Then I created the shaker pocket using vellum. The vellum was cut half inch larger than the panel. I then trimmed the corners, and creased the edges along the perimeter of the panels to create the flaps for the pocket. To the flaps/tabs I added a strip of Crafty Adhesive Tape and secured 3 of the 4 tabs to the panel, leaving the top open. 
  • Pour the Dots Glitter into the vellum pocket and then secure the last tab down to seal the shaker closed.
Happy Birthday, Balloons, Vellum, frameless Shaker, Card, Studio Katia,Mini Balloon Dog Stamp,Card Making, Stamping, Die Cutting, handmade card, ilovedoingallthingscrafty, Stamps, how to,
  • At this point, I had forgotten to stamp the sentiment first on the front of the vellum. Luckily the filler for the shaker was pretty flat so I was able to stamp the sentiment onto the pocket without any issues. Normally I would have done this step first before creating the pocket. The sentiment I used comes from the Mini Balloon Dog Stamps and then I heat set the black ink so it wouldn't smudge.
  • Glue the shaker panel to a card base.
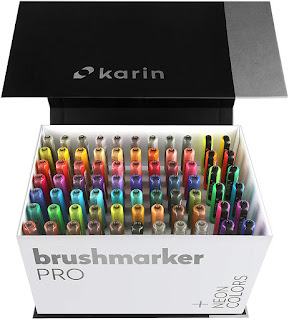
  • Next, I stamped out the Mini Balloon Dog Stamps onto Bristol paper, colored them using Karin Brush Pro markers, and then die-cut them with their coordinating Mini Balloon Dog Dies.
  • Glue the balloon dogs to the front of the shaker and then draw some balloon strings. To add highlights I used a white gel pen and added a black dot to give them eyes.
  • To finish this card I used black twine to create small bows and glued them to each of the dog's necks. 
Happy Birthday, Balloons, Vellum, frameless Shaker, Card, Studio Katia,Mini Balloon Dog Stamp,Card Making, Stamping, Die Cutting, handmade card, ilovedoingallthingscrafty, Stamps, how to,

I hope this cute Happy Birthday Balloons Vellum Shaker Card inspired you today. I think I may be a little obsessed with these Mini Balloon Dog Stamps and they are just the perfect price point too if you are looking for a lot of bang for your buck!


Thank you for stopping by and until next time... Happy Crafting!
Ilda 🎈

SUPPLIES
Mini Balloon Dog Stamp
Shop at:
SK
Mini Balloon Dog Dies
Shop at:
SK
BIRTHDAY BALLOONS DUO STENCIL
Shop at:
SSS | SK
Ink Blender Brushes
Ink Blender Brushes
Shop at:
SSS | SK
Dots Glitter
Dots Glitter
Shop at:
SK
Bone Folder
Bone Folder
Shop at:
SSS | SK
Crafty Adhesive Tape
Shop at:
SK
SK Glue
SK Glue
Shop at:
SSS | SK
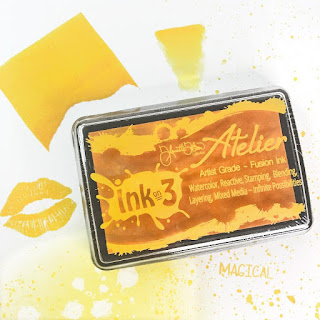
Atelier Ink Bee Sting Yellow
Shop at:
SSS | IO3
Atelier Ink Sweet Petunia
Shop at:
SSS | IO3
Atelier Ink Peacock Blue
Shop at:
SSS | IO3
ATELIER MY PURPLE JAM
Shop at:
SSS | IO3
Vellum Value Pack
Vellum Value Pack
Shop at:
SSS | AMZ
Blackout Ink
Blackout Ink
Shop at:
SSS | HBS | IO3
Neenah Solar White 110lbs
Shop at:
SSS | AMZ | HBS
Bristol Paper
Bristol Paper
Shop at:
SSS | AMZ
New Mini Misti
New Mini Misti
Shop at:
SSS | SB | HBS
Platinum 6 Die Cutting Platform
Shop at:
SSS | SB | SB
KARIN BRUSHMARKER PRO
Shop at:
SSS | AMZ | HBS
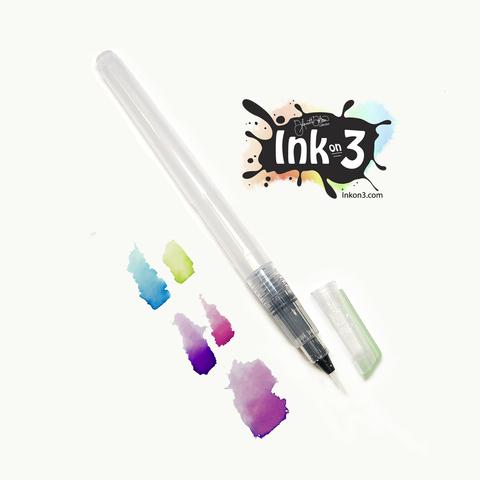
SMALL TIP WATER BRUSH PEN
Shop at:
SSS | IO3
Micron Pens
Micron Pens
Shop at:
SSS
Uni-Ball Impact Gel Pen
Shop at:
SSS | AMZ | SB
To make supplies easy for you to find, I have linked them above. If something is no longer available I will link to a similar product. Affiliate links may be used depending on the product linked. Please help support my blog by using these links while shopping at no additional cost to you. For more information about the affiliates I use, please visit my disclaimer here. Thanks so much for all your support!