Showing posts with label Glimmer Hot Foil. Show all posts

Monday, November 20, 2023

Alex Syberia Designs November Release | Blog Hop and Giveaway

Alex Syberia Designs, Christmas,Glimmer Hot Foil,Poinsettia,Instagram Hop, Noel, Feliz Navidad, Ink blending, how to,handmade card,Stamps,ilovedoingallthingscrafty,stamping, diecutting,cardmaking

Hello friends!  

Today I am excited to be taking part in a Blog hop featuring the November Alex Syberia Release. Make sure you leave a comment here and the rest of the stops to qualify for a chance to win some fabulous prizes! If you already started hopping you have just come from Hannelie 's Blog. Stay tuned to find out more about the giveaway and where to Hop next!


So let's dive into the projects I am sharing today.

To create the foiled images you will need a Foil system. I used the Spellbinders Hot Foil System along with the Platinum 6 Die Cutting Platform. For negative foil transfers, you will need a solid foil plate. I also find I get the best results with this cardstock.

CARD RECIPE

Background - Brilliant Burst Hot Foil Plate

Wreath - Holiday Wreath and Branch Stencil and Die Set

Sentiment - Feliz Navidad Hot Foil Plate (fussy cut)

Foil - Aura Glimmer Foil


I absolutely love how this card turned out. It is definitely a lot more glamorous in person. Pictures do not do this card justice as the Aura Glimmer foil gives it so much sparkle and shine!


Alex Syberia Designs, Christmas,Glimmer Hot Foil,Poinsettia,Instagram Hop, Noel, Feliz Navidad, Ink blending, how to,handmade card,Stamps,ilovedoingallthingscrafty,stamping, diecutting,cardmaking

This next card features the show-stopping Joyful Poinsettia Die Set! It is absolutely gorgeous😍


Alex Syberia Designs, Christmas,Glimmer Hot Foil,Poinsettia,Instagram Hop, Noel, Feliz Navidad, Ink blending, how to,handmade card,Stamps,ilovedoingallthingscrafty,stamping, diecutting,cardmaking

Just look at this gorgeous Poinsettia Bloom! I used 5 different shades of cardstock and ink-blended the tips of the petals with pink ink. I then added a mist of pink splatters to them. I also added foam in between the layers to give it dimension and curled the tips of the petals.

Alex Syberia Designs, Christmas,Glimmer Hot Foil,Poinsettia,Instagram Hop, Noel, Feliz Navidad, Ink blending, how to,handmade card,Stamps,ilovedoingallthingscrafty,stamping, diecutting,cardmaking

With the negative of the foiled background from my first card, I was able to use it to create this poinsettia tag. 

TAG RECIPE
Background - Brilliant Burst Hot Foil Plate (Negative)

Alex Syberia Designs, Christmas,Glimmer Hot Foil,Poinsettia,Instagram Hop, Noel, Feliz Navidad, Ink blending, how to,handmade card,Stamps,ilovedoingallthingscrafty,stamping, diecutting,cardmaking

To create the die I just cut the panel into 4x3 rectangle and added the poinsetta to the top. I did not use the last layer of the poinsettia to make it slightly smaller, I then punched a hole through one of the petals and added a ribbon through it to tie on a gift later.

Alex Syberia Designs, Christmas,Glimmer Hot Foil,Poinsettia,Instagram Hop, Noel, Feliz Navidad, Ink blending, how to,handmade card,Stamps,ilovedoingallthingscrafty,stamping, diecutting,cardmaking

Make sure you check out the Release as I have only showcased a few of the products here today.

GIVEAWAY

Alex Syberia Designs is giving away a £85 ($100) gift certificate to 1 lucky winner and a £15 ($18) gift card to 5 winners. Open internationally. All 6 winners will be drawn from the entrants that have played along with this Blog hop by midnight BST on November 26th, 2023. Winners will be announced on the Alex Syberia Designs blog 'Giveaway Winners' page on November 27th, 2023.


BLOG HOP ORDER


Thank you for stopping by and until next time... Happy Hopping!
Ilda πŸ’–

To make supplies easy for you to find, I have linked them above. If something is no longer available I will link to a similar product. Affiliate links may be used depending on the product linked. Please help support my blog by using these links while shopping at no additional cost to you. For more information about the affiliates I use, please visit my disclaimer here. Thanks so much for all your support!

Enjoyed this post? Never miss out on future posts by Following this Blog

Monday, November 13, 2023

Candy Cane Christmas Card | Honey Bee Stamps

Candy Cane, Christmas Card, Honey Bee Stamps,Holiday Wishes,Glimmer Hot Foil,how to,handmade card,Stamps,ilovedoingallthingscrafty,stamping, diecutting,cardmaking

Hello, dear friends, and welcome to a brand new week filled with holiday cheer!

Are you already in the festive spirit, decorating your home for Christmas? I couldn't resist the temptation and decided to transform my space into a winter wonderland last weekend – and now, I simply can't contain my excitement for Christmas! πŸ˜†

Today, I'm delighted to showcase a beautiful Christmas card that incorporates some of the delightful products from the latest Honey Bee Stamps Holiday Wishes Release. Let's take a closer look!

CARD RECIPE


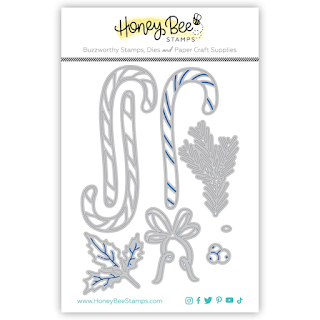
Dies - Lovely Layers: Candy Cane Dies

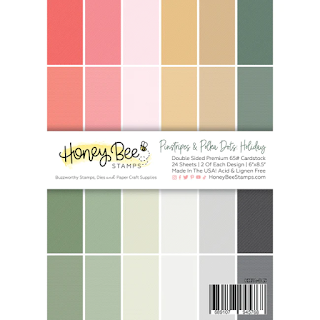
Pattern Paper - Pinstripes & Polka Dots Holiday Pad

Embossing Folder - Snowy Pines - 3D Embossing Folder

Sentiment - Foil Script: Holiday Hot Foil Plate and Honey Cuts

Pearls - Holiday Wishes Pearls


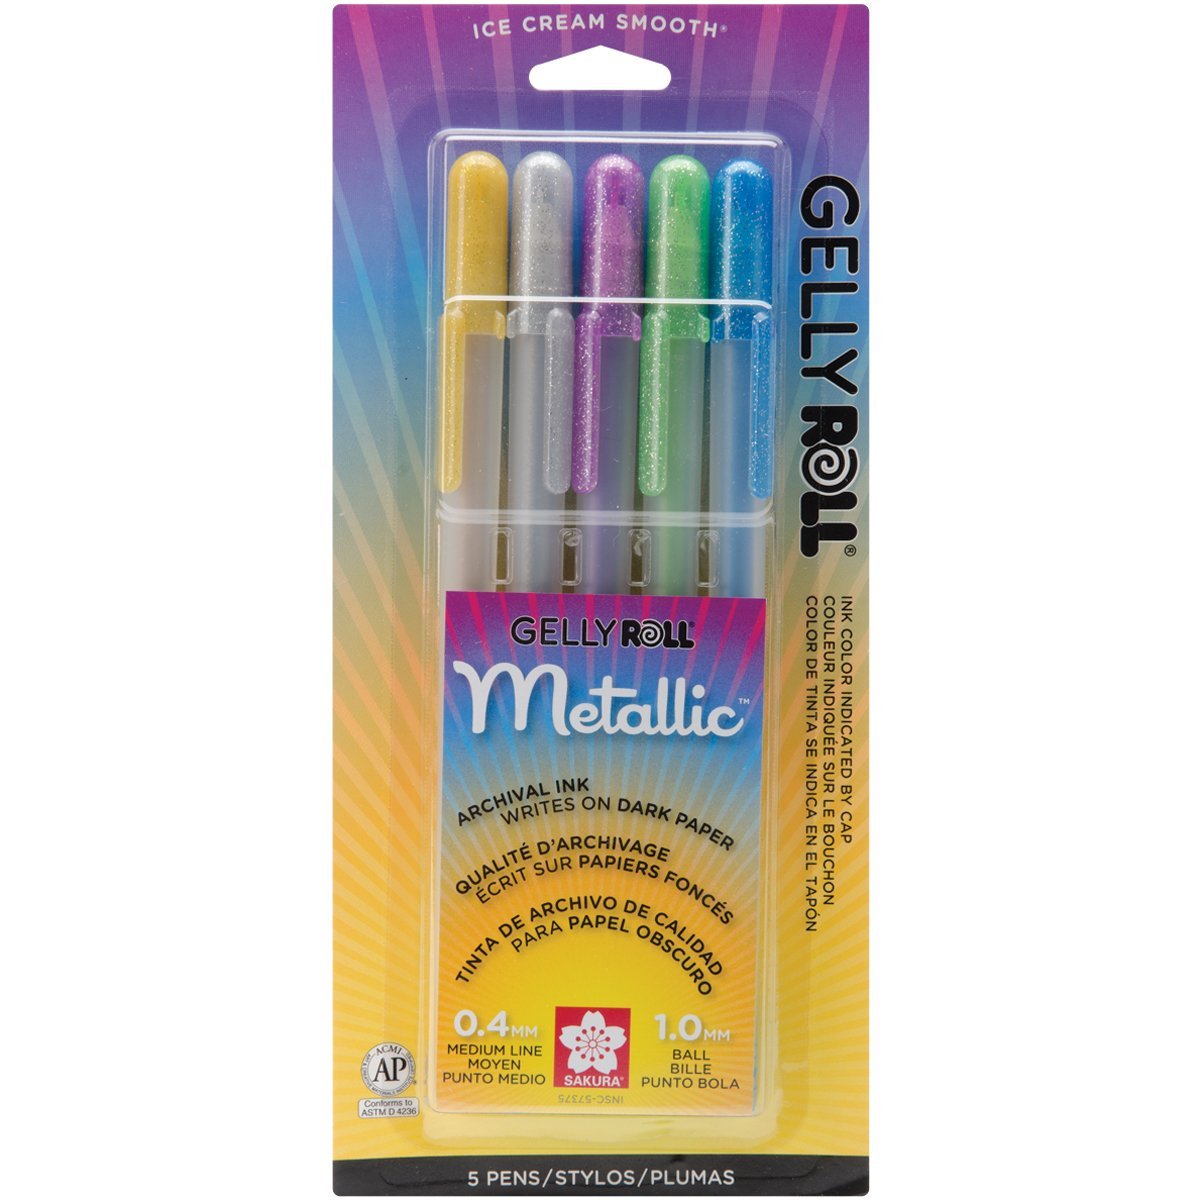
To create the Candy Cane Heart, I inverted one of the candy canes, using the "opposite side" of the die-cut to fashion a captivating mirror image. I then glued the ends together in the shape of a heart. For a touch of added radiance, I brought out my glitter gel pen and adorned the candy canes with extra stripes, adding a sparkle that truly elevates the design.


Candy Cane, Christmas Card, Honey Bee Stamps,Holiday Wishes,Glimmer Hot Foil,how to,handmade card,Stamps,ilovedoingallthingscrafty,stamping, diecutting,cardmaking

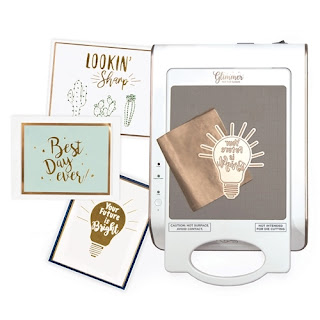
The sentiment was done by using the Hot Foil System and the Speckled Prism Glimmer Hot Foil Roll.


But the magic doesn't stop there. Elevate your card with those extra details that make all the difference. With a white gel pen, I meticulously added snow, achieving a frosty, winter feel. Blending ink on the leaves added depth and dimension to the design, while Glossy Accents on the berries, topped with Prisma sparkle, bestowed a captivating brilliance. These small but essential embellishments are the secret to transforming an ordinary card into an extraordinary work of art.

I hope you enjoyed this card. If you want to see this process make sure you are following my Instagram as I will share a Reel over there. Thank you for taking the time to visit, and until next time... Happy Crafting!

Ilda πŸŽ„

SUPPLIES
Lovely Layers: Candy Cane Dies
Shop at:
SSS | SB | HBS
Foil Script Holiday and Dies
Shop at:
SSS | SB | HBS
Pinstripes & Polka Dots Holiday Pad
Shop at:
SSS | SB | HBS
Snowy Pines - 3D Embossing Folder
Shop at:
SSS | SB | HBS
Holiday Wishes Pearls
Shop at:
SSS | SB | HBS
Detail Blender Brushes
Shop at:
SSS | HBS
Bee Creative Bitty Buzz Cutter
Shop at:
HBS
White Foam Dots
White Foam Dots
Shop at:
HBS
Bee Creative Glue
Bee Creative Glue
Shop at:
SSS | SB | HBS
Honey Bee Reverse Tweezers
Shop at:
SSS | HBS
Glimmer Hot Foil Roll - Speckled Prism
Shop at:
SSS | HBS | SB
Hot Foil System
Hot Foil System
Shop at:
SSS | SB | HBS | SB
Platinum 6 Die Cutting Platform
Shop at:
SSS | SB | SB
Gelly Roll Metallic Gel Pen Set
Shop at:
SSS | HBS
White Gelly Roller Pen
Shop at:
SSS | AMZ | SB | HBS
PRISMA GLITTER
PRISMA GLITTER
Shop at:
SSS
Mowed Lawn Oxide Ink
Shop at:
SSS | SB | HBS
Bearly Art Precision Glue
Shop at:
SSS | AMZ | HBS
To make supplies easy for you to find, I have linked them above. If something is no longer available I will link to a similar product. Affiliate links may be used depending on the product linked. Please help support my blog by using these links while shopping at no additional cost to you. For more information about the affiliates I use, please visit my disclaimer here. Thanks so much for all your support!

Enjoyed this post? Never miss out on future posts by Following this Blog

Monday, May 29, 2023

Water Lily Sympathy Card | Adventure Awaits Release | Honey Bee Stamps

Water Lily, Sympathy Card,Adventure Awaits,Honey Bee Stamps,how to,handmade card,Stamps,ilovedoingallthingscrafty,stamping, diecutting,cardmaking,Lovely Layers,Glimmer Hot Foil,

Hello, dear friends!

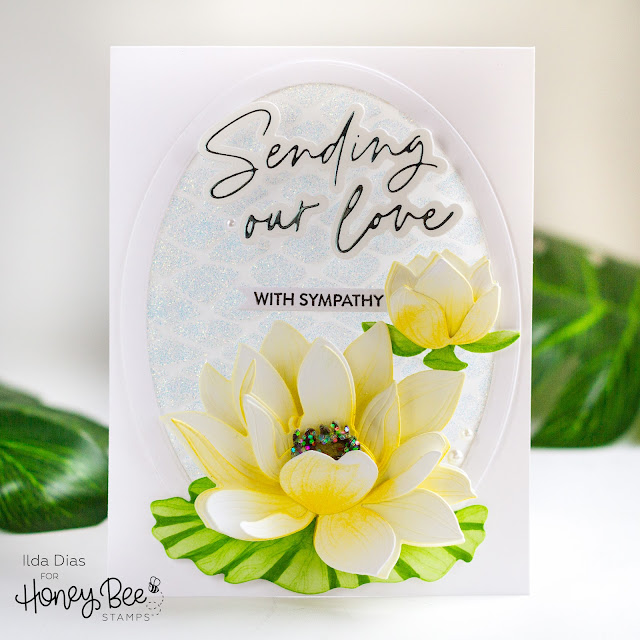
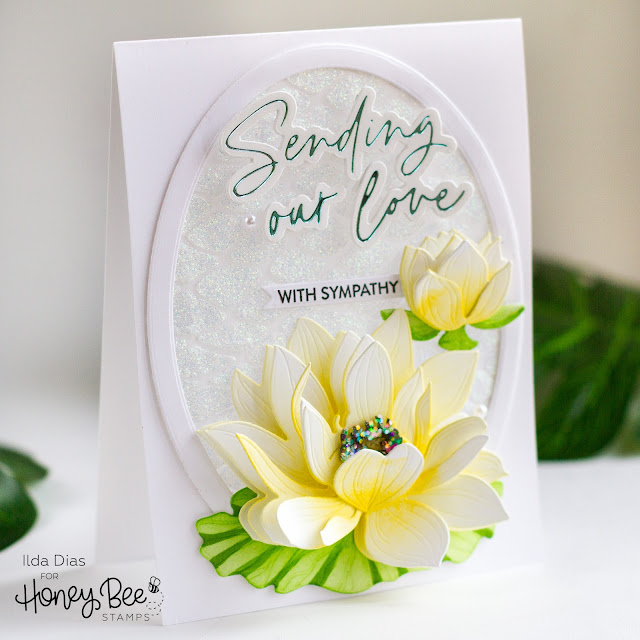
Today, I want to share a stunning sympathy card that features the exquisite Lovely Layers Water Lily from the Adventure Awaits Release by Honey Bee Stamps.

CARD RECIPE


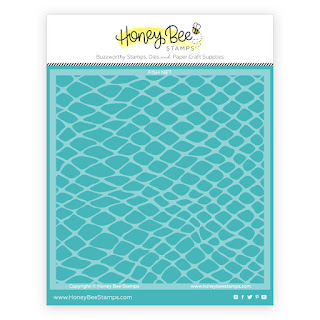
To start, I began by crafting the transparent section of the card using vellum and applying glimmer paste through the Fish Net Stencil. While that dried, I focused on creating the other elements of the card.


For the Water Lily, I die-cut the pieces from white card stock and added color through ink blending. Then, I assembled the lily using foam to achieve a dimensional effect. To enhance the flower's center, I applied glue and sprinkled chunky glitter for a touch of sparkle. Additionally, I used a green Copic marker to create shadows and add detail to the lily pad.


Water Lily, Sympathy Card,Adventure Awaits,Honey Bee Stamps,how to,handmade card,Stamps,ilovedoingallthingscrafty,stamping, diecutting,cardmaking,Lovely Layers,Glimmer Hot Foil,


To create an opaque window, I utilized the Sweet Stacks Ovals to die-cut a shimmery vellum background from the panel I had created earlier. Next, I die-cut a smaller oval on the front of the card base. By using both sizes of the oval dies, I created a frame and adhered it first to the vellum layer and then attached it to the card's front.


Water Lily, Sympathy Card,Adventure Awaits,Honey Bee Stamps,how to,handmade card,Stamps,ilovedoingallthingscrafty,stamping, diecutting,cardmaking,Lovely Layers,Glimmer Hot Foil,

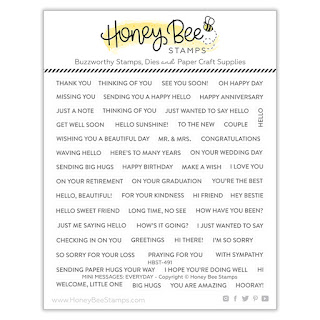
For the sentiments I used the "With Our Love" plate from the Foil Script: Wishes Hot Foil Plate/Dies done in Sky Bright Glimmer Foil and add the "With Sympathy" sentiment from the Mini Messages Stamps that I stamped onto a Mini Messages Dies Banner die.

I hope this card provides you with inspiration, and I truly adore how the light shines through when it's displayed. 


Thank you for stopping by and until next time... Happy Crafting!
Ilda πŸ’–

SUPPLIES
Lovely Layers Water Lily
Shop at:
HBS
Sweet Stacks Ovals
Sweet Stacks Ovals
Shop at:
HBS
Mini Messages Stamps
Shop at:
HBS
Mini Messages Dies
Mini Messages Dies
Shop at:
HBS
Fish Net Stencil
Fish Net Stencil
Shop at:
HBS
Foil Script: Wishes Hot Foil Plate/Dies
Shop at:
SSS | SB | HBS
Background Blender Brushes
Shop at:
SSS | HBS

White Foam Dots With Tab - 1/2" x 1/8"
Shop at:
HBS
Detail Blender Brushes
Shop at:
SSS | HBS
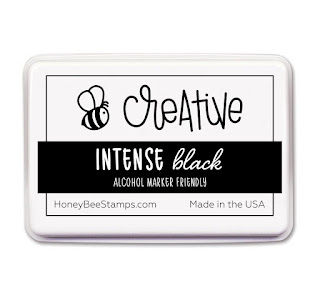
Intense Black Ink Pad
Shop at:
SSS | SB | HBS
Honey Bee Reverse Tweezers
Shop at:
SSS | HBS
Stamping Pressure Tool
Shop at:
HBS
Bee Creative Glue
Bee Creative Glue
Shop at:
SSS | SB | HBS
Platinum 6 Die Cutting Platform
Shop at:
SSS | SB | SB
Hot Foil System
Hot Foil System
Shop at:
SSS | SB | HBS | SB
SKYBRIGHT Glimmer Foil
Shop at:
SSS | SB | SB
New Mini Misti
New Mini Misti
Shop at:
SSS | SB | HBS
Copic Sketch Markers
Shop at:
SSS | AMZ
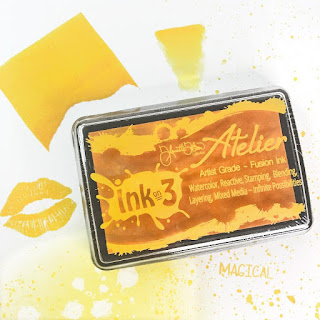
Atelier Ink Bee Sting Yellow
Shop at:
SSS | IO3
ATELIER GODDESS GREEN
Shop at:
SSS | IO3
ATELIER TWIGGY BROWN
Shop at:
SSS | IO3
Chuncky Sparkle Glitter
Chunky Sparkle Glitter
Shop at:
SSS | SK
Media Spatulas
Media Spatulas
Shop at:
SSS | HBS | TS US | HA
Vellum Value Pack
Vellum Value Pack
Shop at:
SSS | AMZ
Moonstone Glimmer Paste
Shop at:
SSS | HBSHA

To make supplies easy for you to find, I have linked them above. If something is no longer available I will link to a similar product. Affiliate links may be used depending on the product linked. Please help support my blog by using these links while shopping at no additional cost to you. For more information about the affiliates I use, please visit my disclaimer here. Thanks so much for all your support!

Enjoyed this post? Never miss out on future posts by Following this Blog

Monday, May 15, 2023

Love Bug Hot Foil Cards | Honey Bee Stamps


Spring is in the air, and so are the bugs!... But not bugs as cute as the ones decorating my cards today. In this blog post, I'll explore how to make three unique cards using the Love Bug Hot Foil Plate and the coordinating Spring Meadow sets.

For all three cards, I began by foiling the sentiments from the Love Bug Hot Foil Plate using the Glimmer Foil System. I get the best results when I foil using the Glimmer Specialty Cardstock so that is what I used to avoid any frustrations. After I foiled the first sentiment, I used a solid plate to foil the negative piece. I then die-cut the sentiments with the coordinating Love Bug Die Cuts. I then used an A2+ Cello Bag to foil the same plate. The foil melts onto the plastic leaving a beautiful foiled result. The bag slightly warps from the heat but once it's wrapped around the card panel to create the card front it's not that noticeable.


CARD RECIPE


This first card is perfect for celebrating the arrival of a precious little one. I selected a soft and delicate patterned paper from the Simply Spring Paper Pad. Cut it down and mounted it onto a light blue cardstock piece. For easy nesting dies I use the A2 Thin Dies


Next, I foam mounted the Hey There that I had previously foiled using foam dots and added it to the center of the panel. I then added little bees that I had blended and die cut using the Spring Meadow Stencils and the Spring Meadow Dies again popping them up with foam. To complete this card I finished with Simply Spring Gem Stickers.


For my second card, all I did was die-cut the foiled sentiment panel using one of the Scallop A2 Frame Dies. I then added foam dots to the panel and glued it onto this colorful background from the Simply Spring Paper Pad


I then added my die-cut Spring Meadow Critters and finished it with a few more of the Simply Spring Gem Stickers


For this last card, I created a frameless flat shaker card. There were a few spots that the foil didn't transfer completely, (probably no one else would have noticed) so I thought it would be fun to use the negative piece of the foiled sentiments to cover up the spots. 


To the top of the Hey and Bug, I added foam dots and popped them onto the front of the shaker panel. I won't go into how the shaker was created, but if you haven't seen this before I link you to its origins here. For filler, I used the BOKEH LIGHTS Confetti and finished the top with Pastel Pearls - Pearl Stickers.

Not pictured but I did finish the inside of the cards with sentiments from the Spring Meadow set.

I love how these products offer endless creative possibilities and combinations. So let your imagination run wild and bring a smile to someone's face with a heartfelt and handmade card. 


Thank you for stopping by and until next time... Happy Crafting!
Ilda 😊


SUPPLIES
Love Bug Hot Foil Plate and Die Cuts
Shop at:
SSS | SB | HBS
Spring Meadow Stencils
Shop at:
SSS | SB | HBS
Spring Meadow
Spring Meadow
Shop at:
SSS | SB | HBS
Spring Meadow Dies
Spring Meadow Dies
Shop at:
SSS | SB | HBS
Scallop A2 Frame Dies
Shop at:
SSS | SB | HBS
A2 Thin Dies
A2 Thin Dies
Shop at:
SSS | SB | HBS
Detail Blender Brushes
Shop at:
SSS | HBS
Simply Spring Paper Pad
Shop at:
SSS | SB | HBS
Simply Spring Gem Stickers
Shop at:
SSS | SB | HBS
Pastel Pearls - Pearl Stickers
Shop at:
HBS
Bee Creative Intense Black Ink
Shop at:
SSS | SB | HBS
Stamping Pressure Tool
Shop at:
HBS
BOKEH LIGHTS Confetti
Shop at:
HBS
A2+ Cello Bags
A2+ Cello Bags
Shop at:
HBS
Tear Tape XL Roll | 1/4
Tear Tape XL Roll | 1/4"
Shop at:
HBS

White Foam Dots With Tab - 1/2" x 1/8"
Shop at:
HBS
Bee Creative Glue
Bee Creative Glue
Shop at:
SSS | SB | HBS
Honey Bee Reverse Tweezers
Shop at:
SSS | HBS
Triangle Tray
Triangle Tray
Shop at:
SSS | SK
Glimmer Specialty Card Stock
Shop at:
SB | HBS
Neenah Solar White 110lbs
Shop at:
SSS | AMZ | HBS
Hot Foil System
Hot Foil System
Shop at:
SSS | SB | HBS | SB
Platinum 6 Die Cutting Platform
Shop at:
SSS | SB | SB
Solid Foil Plate
Solid Foil Plate
Shop at:
SSS | SB | ALTN
New Mini Misti
New Mini Misti
Shop at:
SSS | SB | HBS
AURA Glimmer Foil
AURA Glimmer Foil
Shop at:
SSS | SB | HBS | SB
Atelier Ink Sweet Petunia
Shop at:
SSS | IO3
ATELIER MARIGOLD ORANGE
Shop at:
SSS | IO3
Atelier Ink Bee Sting Yellow
Shop at:
SSS | IO3
ATELIER GODDESS GREEN
Shop at:
SSS | IO3
Atelier Ink Peacock Blue
Shop at:
SSS | IO3
ATELIER PAINT IT BLACK
Shop at:
SSS | IO3
Pitch Black Atelier Ink
Shop at:
IO3
To make supplies easy for you to find, I have linked them above. If something is no longer available I will link to a similar product. Affiliate links may be used depending on the product linked. Please help support my blog by using these links while shopping at no additional cost to you. For more information about the affiliates I use, please visit my disclaimer here. Thanks so much for all your support!


Enjoyed this post? Never miss out on future posts by Following this Blog