Showing posts with label Atelier Inks. Show all posts

Thursday, February 22, 2024

Butterfly Rainbow Shaker Card | Picket Fence Studios

Butterflies, Rainbow, Shaker, Picket Fence Studios, how to, hand made card, Stamps, stamping, die cutting, card making, ilovedoingallthingscrafty, Wreath-building butterfly wings, Atelier Inks,

Hello, my friends. Hope you are having a wonderful week.

I don't know about you but I am ready for Spring. I'm tired of the cold and can't wait for the rain, rainbows, and all the joys that Spring brings. Just take a look at the colorful butterfly card I'm sharing today—it says it all!

CARD RECIPE

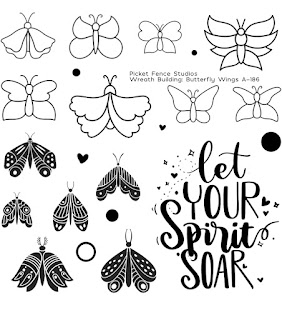
Butterflies - Wreath-building butterfly wings

Frame - A2 rectangles for card layering set

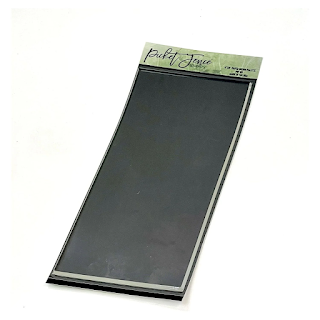
DIY Shaker Pocket - Shaker Sheets - Picket Fence Studios

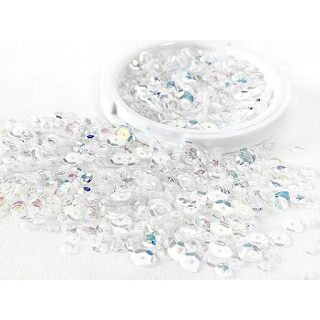
Shaker bits - Sequin Mix - Iridescent Moonshine

Sentiment - Wreath-building butterfly wings

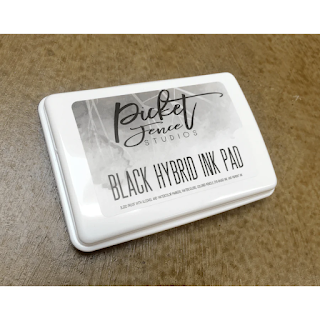
Black Ink - Black Hybrid Ink Pad


To start, I trimmed the shaker panel using one of the frames from the A2 rectangles for card layering set. Then to ensure that there would be absolutely no movement when stamping, I inserted the Paper Inking Palette - 5x6 into my Misti. For it to fit nicely, I did trim off a little edge around the palette. I then added the panel to the ink palette, it should stick nicely to the palette without the use of magnets or tape. Next, I used a circle die to plan out the butterfly ring. I placed all of the butterfly stamps on the top half of the circle die to form an semi-circle, I then picked up the stamps with the lid of the Misti and removed the die in preparation for stamping.

Butterflies, Rainbow, Shaker, Picket Fence Studios, how to, hand made card, Stamps, stamping, die cutting, card making, ilovedoingallthingscrafty, Wreath-building butterfly wings, Atelier Inks,

Using the Pint-sized Paper Pouncers I began transferring the ink to each butterfly by pouncing ink onto the stamps creating gradient colors of the rainbow, and stamping the images one at a time. Wiping the ink off if necessary from the stamps if I didn't want the colors to blend. Once I was done stamping the top semi-circle, I cleaned off all the stamps and rotated the panel to continue stamping the rest of the rainbow circle.

Now that the rainbow butterflies were complete, I then stamped out the sentiment using Black Hybrid Ink Pad. I then created a shaker pocket using the Shaker Sheets that I wrapped around the panel. Before securing the last flap I added the Iridescent Moonshine Sequin Mix. To the back of the panel, I added a foam backing adhesive. Finally, I glued the shaker panel to a card base that I had blended out rainbow ink to the edges.


Butterflies, Rainbow, Shaker, Picket Fence Studios, how to, hand made card, Stamps, stamping, die cutting, card making, ilovedoingallthingscrafty, Wreath-building butterfly wings, Atelier Inks,

Make sure to check out my Instagram as I will be sharing a Reel there on how this came together. If you are like me, it is much easier to see how this came together. I hope this colorful card brought some joy to your winter day.


Thank you for stopping by and until next time... Happy Crafting!
Ilda 🌈🦋

SUPPLIES
wreath building butterfly wings
Wreath-building butterfly wings
Shop at:
SSS | SB | PFS
a2 rectangles for card layering set
A2 rectangles for card layering set
Shop at:
SSS | SB | PFS
Paper Inking Palette - 5x6
Shop at:
SSS | SB | PFS
Pint-sized Paper Pouncers - Bright Rainbow
Shop at:
SSS | SB | PFS
Black Hybrid Ink Pad
Shop at:
PFS
Stamp Pressure Tool
Stamp Pressure Tool
Shop at:
SSS | SB | PFS
Paper Inking Palette - 4x9
Shop at:
SSS | SB | PFS
BLENDER BRUSH Set
BLENDER BRUSH Set
Shop at:
SSS | SB | PFS
Shaker Sheets - Picket Fence Studios
Shop at:
SSS | SB | PFS
Sequin Mix - Iridescent Moonshine
Shop at:
PFS
The Stamp Scrubber
The Stamp Scrubber
Shop at:
SSS | SB | PFS
Platinum 6 Die Cutting Platform
Shop at:
SSS | SB | SB
New Mini Misti
New Mini Misti
Shop at:
SSS | SB | HBS
Atelier Ink Sweet Petunia
Shop at:
SSS | IO3
ATELIER MARILYN RED
ATELIER MARILYN RED
Shop at:
SSS | IO3
ATELIER MARIGOLD ORANGE
Shop at:
SSS | IO3
Atelier Ink Bee Sting Yellow
Shop at:
SSS | IO3
ATELIER GODDESS GREEN
Shop at:
SSS | IO3
Atelier Ink Peacock Blue
Shop at:
SSS | IO3
ATELIER TRINITY TEAL
Shop at:
SSS | IO3
ATELIER MY PURPLE JAM
Shop at:
SSS | IO3
To make supplies easy for you to find, I have linked them above. If something is no longer available I will link to a similar product. Affiliate links may be used depending on the product linked. Please help support my blog by using these links while shopping at no additional cost to you. For more information about the affiliates I use, please visit my disclaimer here. Thanks so much for all your support!

Enjoyed this post? Never miss out on future posts by Following this Blog
Watch this come together 👇

Monday, October 17, 2022

Thankful Blooms Slimline Card | Honey Bee Stamps

Thankful, Beautiful Blooms, Slimline Card, Honey Bee Stamps,Card Making, Stamping, Die Cutting, handmade card, ilovedoingallthingscrafty, Stamps, how to, floral card,Atelier Inks,Ink Blending,

Hello, my friends, and Happy Monday! 

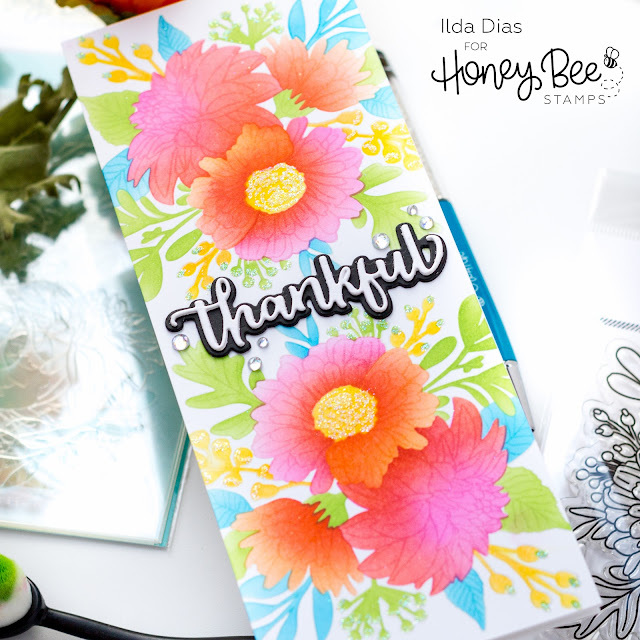
Thought I would start off the week with a colorful creation. I've been wanting to play with the Beautiful Blooms Stamp set for a while and finally this weekend I did. 

Do you want to know a secret? Sometimes I get intimidated by coloring large images, especially when I don't have the time I need. So when I do I try to think of different ways to add color to them. Ink blending is definitely my favorite way of adding color images, and with a stencil, it makes things even easier! Love how this no-line coloring ink blended Slimline Friendship card turned out and hope you do too! 

CARD RECIPE
  • Position the large floral stamp from the Beautiful Blooms in a full-size Misti.
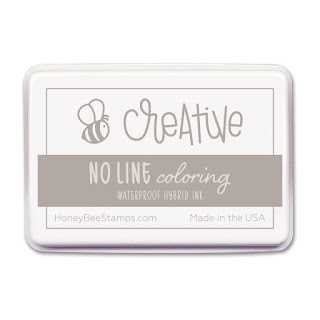
  • Using the Honey Bee No Line Ink, stamp the bottom half of a slimline panel until the image is visible enough to see the lines. Rotate the panel and repeat the image on the top side.
Thankful, Beautiful Blooms, Slimline Card, Honey Bee Stamps,Card Making, Stamping, Die Cutting, handmade card, ilovedoingallthingscrafty, Stamps, how to, floral card,Atelier Inks,Ink Blending,
  • Use the Beautiful Blooms Stencil to line up each layer with the stamped image and blend out the image using your favorite inks for blending.  My go-to inks are the Atelier inks from Inkon3. See the colors used in the supply list below.
  • Once the ink blending was done, I then used a glue pen to add fine glitter to some of the floral details.
  • To the center of the panel, I added the Thankful die-cut sentiment from the Bitty Buzzwords: Fall Dies.
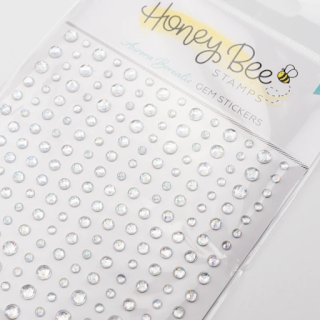
  • I then finished off the front by adding a few Aurora Borealis Gem Stickers for more sparkle.
Thankful, Beautiful Blooms, Slimline Card, Honey Bee Stamps,Card Making, Stamping, Die Cutting, handmade card, ilovedoingallthingscrafty, Stamps, how to, floral card,Atelier Inks,Ink Blending,

Thankful, Beautiful Blooms, Slimline Card, Honey Bee Stamps,Card Making, Stamping, Die Cutting, handmade card, ilovedoingallthingscrafty, Stamps, how to, floral card,Atelier Inks,Ink Blending,

I hope you enjoyed this super simple make yet elegant Thankful Blooms Slimline Card. Let me know in the comments below what is your favorite way to add color to your images.


Thank you for stopping by and until next time... Happy Crafting!
Ilda 🎕

SUPPLIES
Beautiful Blooms
Beautiful Blooms
Shop at:
SSS | HBS
Beautiful Blooms Stencil
Shop at:
SSS | HBS
Bitty Buzzwords: Fall Dies
Shop at:
SSS | HBS
HONEY BEE NO LINE INK
Shop at:
SSS | HBS
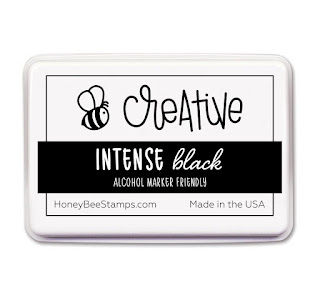
Bee Creative Intense Black Ink
Shop at:
SSS | SB | HBS
Detail Blender Brushes
Shop at:
SSS | HBS
Background Blender Brushes
Shop at:
SSS | HBS
Stamping Pressure Tool
Shop at:
HBS
Bee Creative Glue
Bee Creative Glue
Shop at:
SSS | SB | HBS
Die Release Tool
Die Release Tool
Shop at:
SSS | HBS
Bitty Buzz Cutter
Bitty Buzz Cutter
Shop at:
HBS
Aurora Borealis Gem Stickers
Shop at:
SSS | HBS
Original Misti
Original Misti
Shop at:
SSS | AMZ | SB | HBS
Atelier Ink Sweet Petunia
Shop at:
SSS | IO3
ATELIER MARIGOLD ORANGE
Shop at:
SSS | IO3
Atelier Ink Bee Sting Yellow
Shop at:
SSS | IO3
ATELIER GODDESS GREEN
Shop at:
SSS | IO3
Atelier Ink Peacock Blue
Shop at:
SSS | IO3
Sakura Quickie Glue Pen
Shop at:
SSS | AMZ | SK
PRISMA GLITTER
PRISMA GLITTER
Shop at:
SSS
To make supplies easy for you to find, I have linked them above. If something is no longer available I will link to a similar product. Affiliate links may be used depending on the product linked. Please help support my blog by using these links while shopping at no additional cost to you. For more information about the affiliates I use, please visit my disclaimer here. Thanks so much for all your support!

Monday, March 7, 2022

Modern Spring Bouquet Thank You Card | Honey Bee Stamps

Modern Spring, Bouquet,Thank You, Card,Honey Bee Stamps,Atelier Inks,Spring Leaves Pierced Coverplate, small Card Hot Foil,Card Making, Stamping, Die Cutting, handmade card, ilovedoingallthingscrafty, Stamps, how to,

Hello, sweet crafty friends!

Welcome back to my blog. I am loving this Modern Spring Release from Honey Bee Stamps. So many products to celebrate Spring. Love how this Spring Bouquet turned out.

CARD RECIPE


This card features many new products from the Modern Spring Collection. Here is the breakdown.

Modern Spring, Bouquet,Thank You, Card,Honey Bee Stamps,Atelier Inks,Spring Leaves Pierced Coverplate, small Card Hot Foil,Card Making, Stamping, Die Cutting, handmade card, ilovedoingallthingscrafty, Stamps, how to,

Doesn't this just make you wish Spring was already here?! I cannot wait for the snow to be gone!

Modern Spring, Bouquet,Thank You, Card,Honey Bee Stamps,Atelier Inks,Spring Leaves Pierced Coverplate, small Card Hot Foil,Card Making, Stamping, Die Cutting, handmade card, ilovedoingallthingscrafty, Stamps, how to,


I hope this Modern Spring Bouquet made you smile today. I had so much fun making this. The arrangement possibilities are endless. 


I will chat with you all again really soon. Thank you for stopping by and until next time... Happy Crafting!

Ilda 🎕

SUPPLIES
Whimsical Spring Flowers | Honey Cuts
Shop at:
SSS | SB | HBS
Wooden Crate | Honey Cuts
Shop at:
SSS | SB | HBS
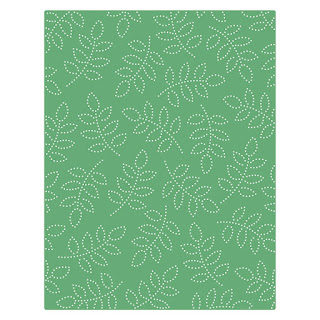
Spring Leaves A2 Pierced Cover Plate
Shop at:
SSS | SB | HBS
Small Card Hot Foil Plates
Shop at:
SSS | SB | HBS
Sentiment Banner Dies
Shop at:
SSS | SB | HBS
Gingham Galore Spring Paper Pad
Shop at:
SSS | SB | HBS
Background Blender Brushes
Shop at:
SSS | HBS
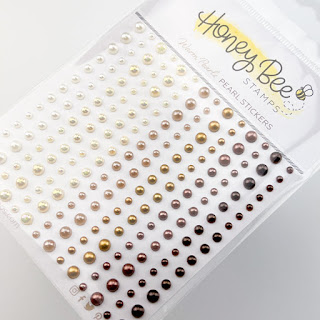
Warm Pearls Stickers
Shop at:
SSS | SB | HBS
White Foam Dots With Tab
Shop at:
HBS
Bee Creative Glue
Bee Creative Glue
Shop at:
SSS | SB | HBS
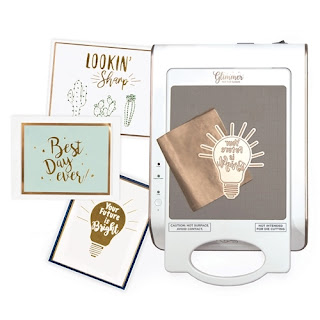
Hot Foil System
Hot Foil System
Shop at:
SSS | SB | SB
Platinum 6 Die Cutting Platform
Shop at:
SSS | SB | SB
Neenah Solar White 110lbs
Shop at:
SSS | AMZ | HBS
POLISHED BRASS - Glimmer Foil
Shop at:
SSS | SB | SB
To make supplies easy for you to find, I have linked them above. If something is no longer available I will link to a similar product. Affiliate links may be used depending on the product linked. Please help support my blog by using these links while shopping at no additional cost to you. For more information about the affiliates I use, please visit my disclaimer here. Thanks so much for all your support!