Hello friends and happy weekend!
I finally got a chance to play with the
My Monthly Hero Kit March 2022 and I am absolutely in love with the cards I made! Don't worry, I will be sharing them throughout the month.
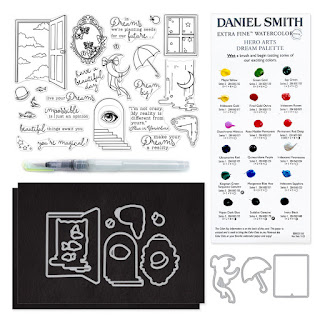
This month's KIT INCLUDES:
• 4" x 6" Clear Stamp Set
• Fancy Window Die
• 4 Embossing Powders in Goldenrod, Orange, Blue, Purple (1/4 oz. each)
• Clear Embossing & Watermark Ink Cube
• 2 Sheets Extra Thick Canvas Paper (4.25" x 5.5")
• 1 Sheet Canvas-textured Paper (5.5" x 8.5")
Kits arrive in a Hero Arts reusable 8" x 10" zipper pouch.
Your kit will arrive in a Hero Arts reusable 8" x 10" zipper pouch. With all of the goodies packed into this kit, it's an incredible value at $34.99. (Contents add up to $70 if bought separately.)
Valued at $34.99. (Contents add up to $70 if bought separately.)
Today's card features the dies included in this
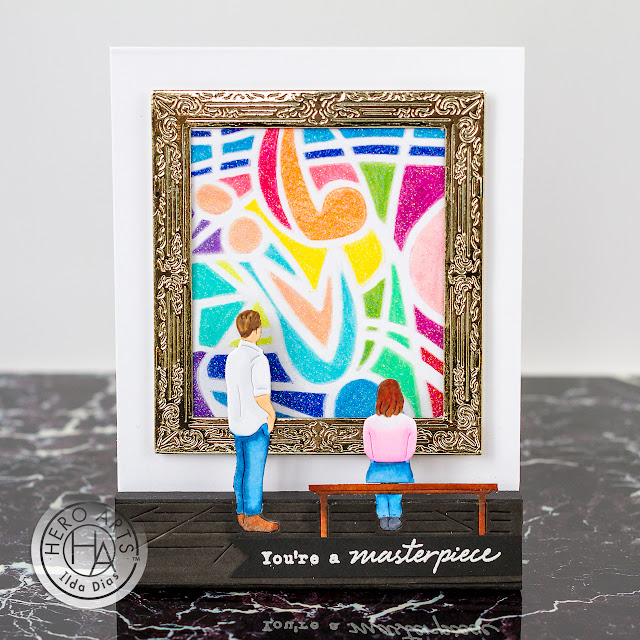
month's kit. I soon as I saw the dies, I knew I had to make a Pop Up using a technique
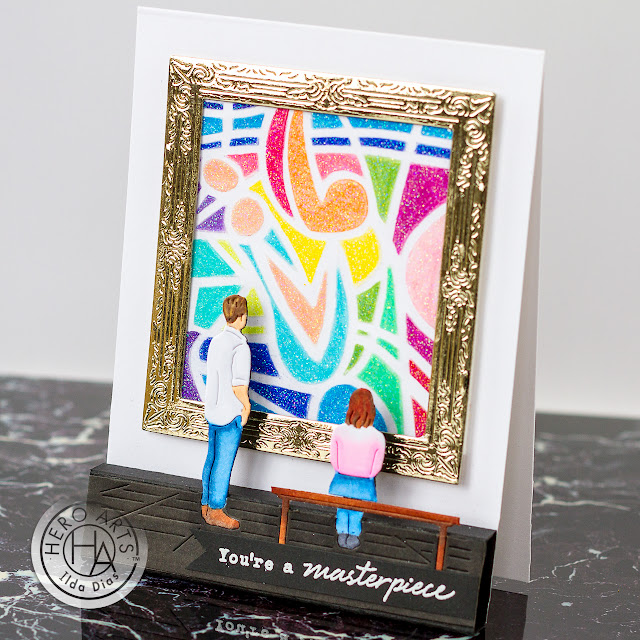
Jennifer McGuire recently shared (she's so clever). This would give the card a 3-dimensional vibe and give you the feeling like you are also staring at a gorgeous piece of art at a museum.
CARD RECIPE
To begin, I actually started with the art piece. I used the
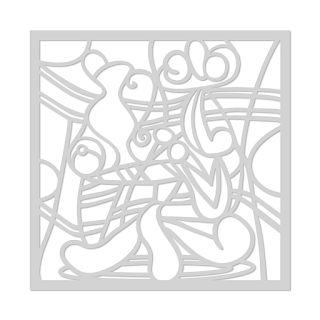
Picasso Inspired Stencil with Prismacolor pencils to color in the individual openings of the stencil. Once the coloring was done I then applied a layer of
Hero Paste Glitter to the top and set it aside to dry.
Next, I die cut the frame using a scrap piece of foiled gold paper. I then glue the frame to the stenciled glitter piece that I had trimmed down to fit the frame.
Using the dies from the
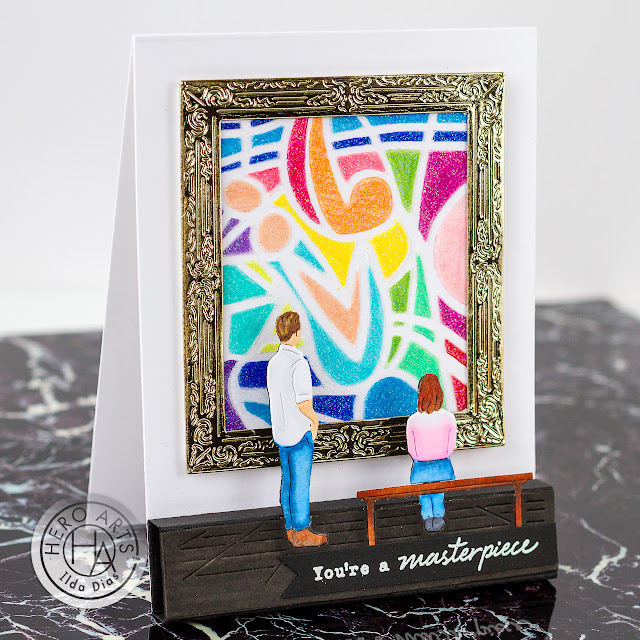
kit, I die cut two layers of the bottom half of the images using a white and black piece of cardstock. I then snipped the pieces off that I wasn't going to use leaving only the man, the bench, and the woman. I used Copic markers to color in the images and the floor. I then glued the images to the black layer to make the pieces sturdier.
To create the box for the pop-up, I just measured the height of the floor, which was 7/8" inches. I then scored a black piece of cardstock that was 4 1/4" wide and scored it at 7/8" then at 1 1/4", then at 2 1/8" and again at 2 1/2", I then trimmed the paper at 3 inches. I then used a bone folder to crease the scorelines and glue the box together, ensuring that the box folded flat and that it made a perfect rectangle. Once the box was made I glued the tiled area of the die-cut piece to the front of the rectangle. Once the pop-up piece had dried I then glued it to the bottom of the front of the card base so that the box would fold upward. I then added the art piece with foam tape and centered it on the wall/card front.
As you can see from this next picture the card folds nicely into an envelope.
I hope you loved your trip to the museum with me today. I'm still trying to figure out the Picasso-inspired painting I made. What do you see in it? I'm really curious. Leave me a comment if you do see something and I will reply with what I see.
Thank you for stopping by and until next time... Happy Crafting!

