Showing posts with label Cardmaking. Show all posts

Monday, January 29, 2024

Love Birds Valentines Card | Honey Bee Stamps | Vintage Love Sneak Peeks

Love Birds Valentines Card,Honey Bee Stamps, Vintage Love, how to,handmade card,Stamps,ilovedoingallthingscrafty,stamping, diecutting,cardmaking

Happy Wednesday Crafty Friends and welcome to Day 1 Sneak Peeks for the Honey Bee Stamps Vintage Love Release. The Vintage Love Release will go live on 1/31 after the Live Release Party on YouTube at 8 pm EST. So if you are wondering why the links do not work it is because they have not gone live yet!


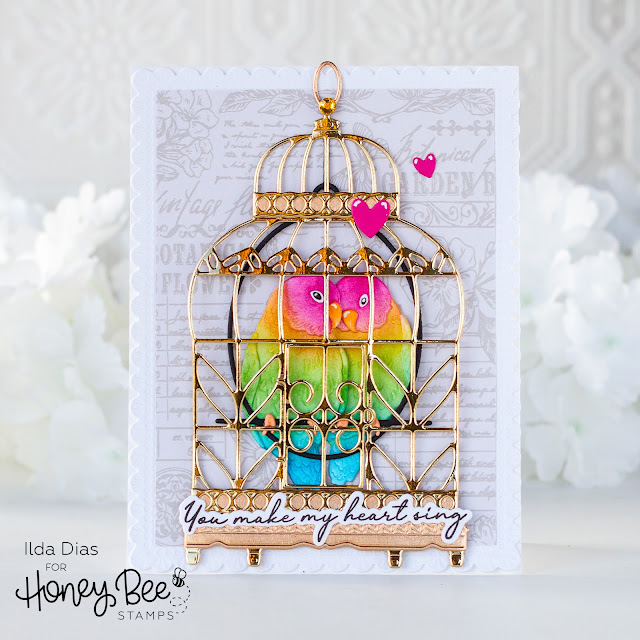
For this card, I am featuring a couple of new Lovely Layer Dies. Lovely Layers: Birdcage Dies and the Lovely Layers: Love Birds Dies. I am also using a new By Your Side Sentiment Stamp and Die set

Love Birds Valentines Card,Honey Bee Stamps, Vintage Love, how to,handmade card,Stamps,ilovedoingallthingscrafty,stamping, diecutting,cardmaking

How pretty is the pattern paper I used? This one comes from the new Textiles and Texture Vintage Paper Pad. I also ended up using a frame that is actually a Day 2 Sneak Peak, shhhhh don't say anything, lol! This frame set is gorgeous, and it is the new Lace Heart Layering Frames Dies.


If you want to see this card come together, make sure you check out my Instagram Reel coming later today! Thank you for stopping by and I will see you back here tomorrow for day 2 sneak peeks... Happy Crafting!


Ilda 🦜

To make supplies easy for you to find, I have linked them above. If something is no longer available I will link to a similar product. Affiliate links may be used depending on the product linked. Please help support my blog by using these links while shopping at no additional cost to you. For more information about the affiliates I use, please visit my disclaimer here. Thanks so much for all your support!

Enjoyed this post? Never miss out on future posts by Following this Blog

Monday, January 22, 2024

Bee Mine Valentine Card - with Felt Fridge Magnet | Honey Bee Stamps

Bee Mine, Valentine Card, Felt Fridge Magnet, Honey Bee Stamps, felt craft, stitching, how to,handmade card,lovedoingallthingscrafty,diecutting,cardmaking,Valentine's Day,
Hello Friends!

I am back today with the cutest Valentine's Card I have ever made, IMO😆 If you love this bee as much as I do and need to have it, hurry and make sure to grab it now as it is RETIRING forever from the Honey Bee Stamp Shop as supplies are limited and for a great price too! 👉Honey Bee Stitching Die 

CARD RECIPE

Felt Bee - Honey Bee Stitching Die - retiring soon!
Sentiment - Slimline Sentiments: Stitched Dies - retiring soon!
Embellishment - Sweethearts - Clay Hearts

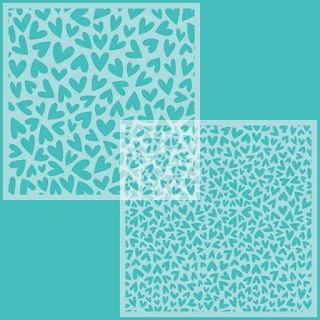
As you can see the card is pretty basic. To create it I used one of the Stencils from the Fluttering Hearts Background Stencils and used pink ink to blend out the hearts. The sentiment is cut from black shiny cardstock using the Bee Mine Slimline Sentiments: Stitched Dies 👈also RETIRING! For the dot of the "i", I used a clay heart.

Bee Mine, Valentine Card, Felt Fridge Magnet, Honey Bee Stamps, felt craft, stitching, how to,handmade card,lovedoingallthingscrafty,diecutting,cardmaking,Valentine's Day,

To make the felt bee, I wanted it to have 2 wings and be finished on both sides. To do that I die-cut each piece x2 from felt. I then first stitched the yellow body layers and the white wing layers together leaving a tiny hole for stuffing later. I used yellow embroidery floss to create a Backstitch all the way around the body. (I ended up using the back side of the bee as I like how the backside of the backstitch looked. Usually, the back side is the messy stitched side). Before completing the Backstitch I added some stuffing between the middle layers. I then finished stitching the body using black embroidery floss to attach the black pieces. For the wings, I used white embroidery floss but used a Blanket Stitch

Bee Mine, Valentine Card, Felt Fridge Magnet, Honey Bee Stamps, felt craft, stitching, how to,handmade card,lovedoingallthingscrafty,diecutting,cardmaking,Valentine's Day,

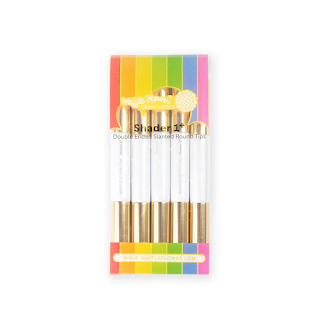
Next, I stitched some eyelashes in place before gluing on some black enamel dots for the eyes. For the antennae, I used a thin wire that I threaded through the top and just twisted it to stay in place. I then snipped the excess length and curled ends. Now for the cheeks, I applied some pink ink using a shader brush, then added a white dot to the center using a gel pen.

To the backside of the bee, I used hot glue to attach a magnet to it. Once it is completely dry,  attach it to the card base by using another magnet to secure it in place on the inside of the card. For fun and a little magic, watch the bee move by sliding around the inside magnet!

Bee Mine, Valentine Card, Felt Fridge Magnet, Honey Bee Stamps, felt craft, stitching, how to,handmade card,lovedoingallthingscrafty,diecutting,cardmaking,Valentine's Day,

Obviously, this card will not fit into an envelope. To solve this problem and keep the felt clean, I will store it and gift it in an A7 cello bag.


I hope this darling Felt Bee has inspired you to think out of the box when it comes to cardmaking! I love how this Bee Mine Valentine - Felt Fridge Magnet Card turned out and I hope my Valentine will too 😉For those of you following me on Instagram, stay tuned for a Reel coming soon!


Thank you for stopping by and until next time... Happy Crafting!
Ilda🐝

SUPPLIES
Honey Bee Stitching Die
Shop at:
SB | HBS
Slimline Sentiments: Stitched Dies
Shop at:
SB | HBS
Fluttering Hearts Background Stencils
Shop at:
HBS
Essential Enamel Stickers
Shop at:
SSS | SB | HBS
Sweethearts - Clay Hearts
Shop at:
HBS
Background Blender Brushes
Shop at:
SSS | HBS
A7+ Cello Bags
A7+ Cello Bags
Shop at:
HBS
Honey Bee Reverse Tweezers
Shop at:
HBS
Platinum 6 Die Cutting Platform
Shop at:
SSS | SB | SB
Bearly Art Precision Glue
Shop at:
SSS | AMZ | HBS
Shader Brush 1+ - 5/pk
Shop at:
SSS | WF
Atelier Ink Sweet Petunia
Shop at:
SSS | IO3
White Gelly Roller Pen
Shop at:
SSS | AMZ | SB | HBS
embroidery floss
embroidery floss
Shop at:
AMZ
Aluminum Wire
Aluminum Wire
Shop at:
AMZ
Adhesive Technologies 0449M Precision Pro Glue Gun
Shop at:
AMZ
Craft Magnet
Craft Magnet
Shop at:
AMZ
To make supplies easy for you to find, I have linked them above. If something is no longer available I will link to a similar product. Affiliate links may be used depending on the product linked. Please help support my blog by using these links while shopping at no additional cost to you. For more information about the affiliates I use, please visit my disclaimer here. Thanks so much for all your support!

Enjoyed this post? Never miss out on future posts by Following this Blog

Watch this cutie come together👇

Sunday, January 14, 2024

Hooray Sprinkle Cards | Picket Fence Studios

how to,handmade card,Stamps,ilovedoingallthingscrafty,stamping,Diecutting,Cardmaking,Picket Fence Studios,Hooray Sprinkle Cards,

Hello friends and happy Sunday.

It's official, I have joined the Picket Fence Studios Reels Team! And, although I do not have a Reel to share with you today, I have two fun Hooray Sprinkle Cards that are part of the January Release Instagram Hop

CARD RECIPE

Inks - Atelier Inks 

For this first shaker card, I used the negative from the Hooray Word Die. To the back of the panel, I added an acetated sheet cut down to size and a thin foam strip along the edge to house the shaker bits. I then glued the extra pieces to complete the letters on the front. A super simple card, perfect for any celebration!

how to,handmade card,Stamps,ilovedoingallthingscrafty,stamping,Diecutting,Cardmaking,Picket Fence Studios,Hooray Sprinkle Cards,

This next card was even simpler to make. The most work involved was the ink blending required for the background using the Sprinkles Layering Stencil Set

how to,handmade card,Stamps,ilovedoingallthingscrafty,stamping,Diecutting,Cardmaking,Picket Fence Studios,Hooray Sprinkle Cards,

I then just added some foam tape to pop up the Hooray Word Die and there you have another simple awesome celebration card! I just love when I can get two for one cards!

how to,handmade card,Stamps,ilovedoingallthingscrafty,stamping,Diecutting,Cardmaking,Picket Fence Studios,Hooray Sprinkle Cards,

Don't forget to join me on Instagram for the January Release IG Hop as there are many chances to win some amazing prizes! 


Thank you for stopping by and until next time... Happy Hoping!
Ilda 💖

To make supplies easy for you to find, I have linked them above. Affiliate links may be used depending on the product linked. Please help support my blog by using these links while shopping at no additional cost to you. For more information about the affiliates I use, please visit my disclaimer here. Thanks so much for all your support!

Enjoyed this post? Never miss out on future posts by Following this Blog

Wednesday, January 10, 2024

Fresh Picked Buttercup Cards | Spellbinders

Spellbinders, #neverstopmaking, how to, handmade card, ilovedoingallthingscrafty, die cutting, cardmaking,Fresh Picked collection, Buttercups Etched Dies, spring

Hello friends!

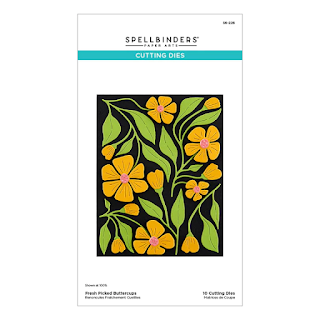
Today I have some Spring-inspired floral cards to share with you from the Spellbinders Fresh Picked CollectionDespite the irony of the weather taking a dip to its lowest here, these vibrant cards serve as a cheerful reminder that Spring is still on its way.

CARD RECIPE


Dies - Fresh Picked Buttercups Etched Dies

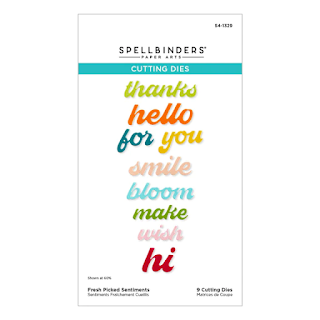
Sentiment - Fresh Picked Sentiments Etched Dies

Shading - done with Copics

Embellishments - ULTRAMARINE Crystals


Spellbinders, #neverstopmaking, how to, handmade card, ilovedoingallthingscrafty, die cutting, cardmaking,Fresh Picked collection, Buttercups Etched Dies, spring

In addition to the color palette used on this card, I opted for shade-free flowers and took a unique approach to snipping and stitching the buttercup layout.

Spellbinders, #neverstopmaking, how to, handmade card, ilovedoingallthingscrafty, die cutting, cardmaking,Fresh Picked collection, Buttercups Etched Dies, spring

Spellbinders, #neverstopmaking, how to, handmade card, ilovedoingallthingscrafty, die cutting, cardmaking,Fresh Picked collection, Buttercups Etched Dies, spring

Which card did you like the most? Personally, I can't decide between the two! If you loved the style of these cards make sure to check out the rest of the Spellbinders Fresh Picked Collection


Have an amazing day and if you are experiencing the Polar Vortex weather stay warm! Thank you for stopping by and until next time... Happy Crafting!
Ilda 💙

SUPPLIES

Fresh Picked Buttercups Etched Dies
Shop at:
SB
Fresh Picked Sentiments Etched Dies
Shop at:
SB
Platinum 6 Die Cutting Platform
Shop at:
SSS | SB | SB
Copic Sketch Markers
Shop at:
SSS | AMZ 
Bearly Art Precision Glue
Shop at:
SSS | AMZ | HBS
ULTRAMARINE Crystals
Shop at:
SSS
To make supplies easy for you to find, I have linked them above. If something is no longer available I will link to a similar product. Affiliate links may be used depending on the product linked. Please help support my blog by using these links while shopping at no additional cost to you. For more information about the affiliates I use, please visit my disclaimer here. Thanks so much for all your support!

Enjoyed this post? Never miss out on future posts by Following this Blog

Monday, January 8, 2024

Love You Valentine's Day Card | Honey Bee Stamps

Love You, Valentine's Day Card, Honey Bee Stamps,how to,handmade card, Stamps, ilovedoingallthingscrafty, stamping, die cutting, cardmaking,Ink Blending,stencils, sparkle

Hello, my crafty friends, and Happy New Year!

I am starting off the year by spreading some much-needed love with this Valentine's Love You Card featuring some staples from Honey Bee Stamps.

CARD RECIPE
Here is the breakdown of the card, so I won't go into too much explanation as it is pretty straightforward. I will share a Reel of it coming together on Instagram for those of you who like visuals.

Ink - Black / Yellow / Pink
Glitter - Chunky / Fine

Love You, Valentine's Day Card, Honey Bee Stamps,how to,handmade card, Stamps, ilovedoingallthingscrafty, stamping, die cutting, cardmaking,Ink Blending,stencils, sparkle

Love the sparkle on this card so much, I wish the camera could catch that. It looks even better in real life. Thank you for stopping by and until next time... Happy Crafting!

Ilda 💖

SUPPLIES

Hearts in Bloom Stencils
Shop at:
SSS | SB | HBS
Love A2 Cover Plate
Love A2 Cover Plate
Shop at:
SSS | SB | HBS
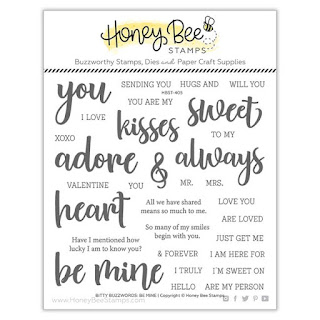
Bitty Buzzwords: Be Mine
Shop at:
SSS | SB | HBS
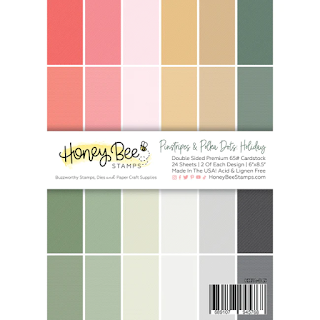
Pinstripes & Polka Dots Holiday Pad
Shop at:
SSS | SB | HBS
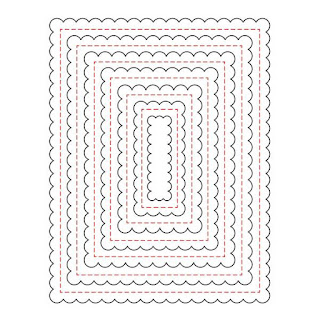
Scallop A2 Frame Dies
Shop at:
SSS | SB | HBS
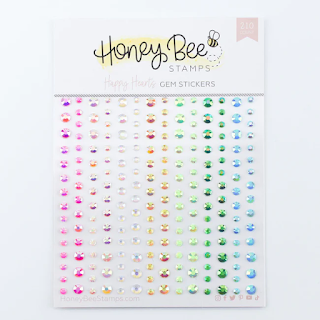
Happy Hearts Gem Stickers
Shop at:
SSS | SB | HBS
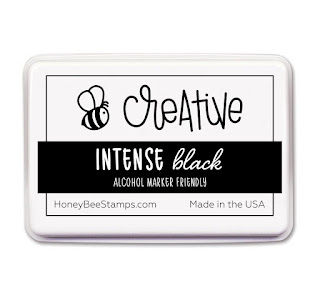
Bee Creative Intense Black Ink Pad
Shop at:
SSS | SB | HBS
Detail Blender Brushes
Shop at:
SSS | HBS
Stamping Pressure Tool
Shop at:
HBS
New Mini Misti
New Mini Misti
Shop at:
SSS | SB | HBS
Platinum 6 Die Cutting Platform
Shop at:
SSS | SB | SB
Atelier Ink Sweet Petunia
Shop at:
SSS | IO3
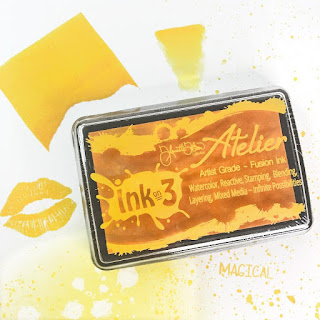
Atelier Ink Bee Sting Yellow
Shop at:
SSS | IO3
Bearly Art Precision Glue
Shop at:
SSS | AMZ | HBS
PRISMA GLITTER
PRISMA GLITTER
Shop at:
SSS
Chunky Glitter
Chunky Glitter
Shop at:
AMZ
To make supplies easy for you to find, I have linked them above. If something is no longer available I will link to a similar product. Affiliate links may be used depending on the product linked. Please help support my blog by using these links while shopping at no additional cost to you. For more information about the affiliates I use, please visit my disclaimer here. Thanks so much for all your support!

Enjoyed this post? Never miss out on future posts by Following this Blog

Monday, December 25, 2023

Happy Holiday Full Panel Shakers | Honey Bee Stamps

Holiday Full Panel Shakers, Honey Bee Stamps, Frameless, Flat, Edge to Edge, pattern Paper, Shaker pockets, DIY, how to,handmade card, Stamps, ilovedoingallthingscrafty, stamping, die cutting, cardmaking

Merry Christmas my Crafty Friends and Happy New Year as this will be my last post of the year!

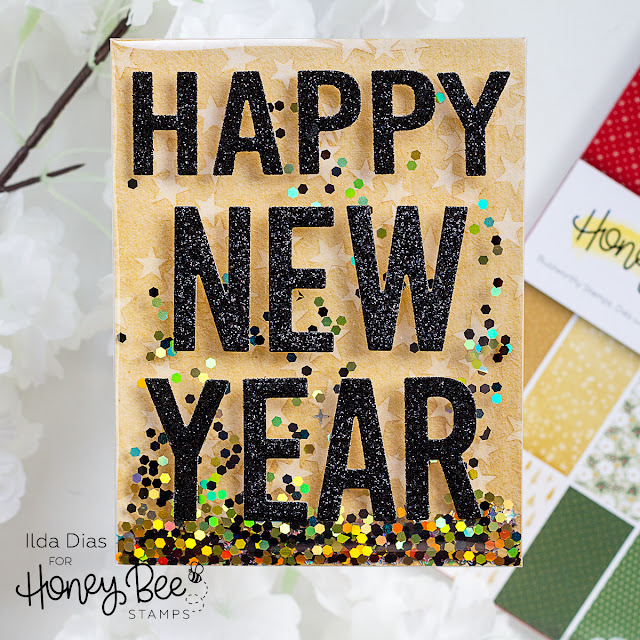
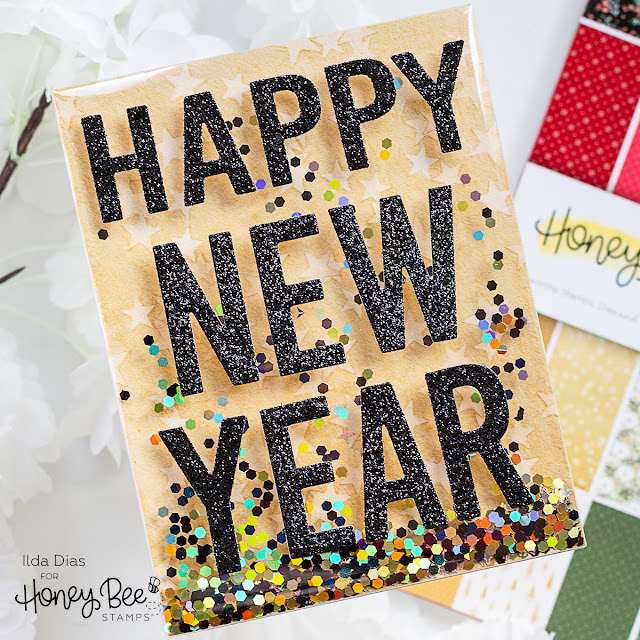
For today's post, I have a few fun shakers to share featuring goodies from Honey Bee Stamps inspired by the latest Holiday Wishes Paper Pad.

CARD RECIPE

Background - Holiday Wishes Paper Pad

HAPPY - Happy Happy Happy A2 Cover Plate 

NEW YEAR - Bee Bold Alphabet Dies

Shaker Pocket Panel - DIY from Acetate or use plastic wrapping 

(watch the video of the original DIY Full Panel Shaker

Shaker Bits - Mixed from supply stash to coordinate


Holiday Full Panel Shakers, Honey Bee Stamps, Frameless, Flat, Edge to Edge, pattern Paper, Shaker pockets, DIY, how to,handmade card, Stamps, ilovedoingallthingscrafty, stamping, die cutting, cardmaking
  • Trim your background panel to A2 size. I used the pattern paper from the Holiday Wishes Paper Pad but you can definitely create your own.
  • Place the panel into the acetate shaker panel with the pattern side facing down and the adhesive tabs facing up (if you don't have a pre-made acetate cover you can DIY your own with acetate or some recycled plastic from old packaging).
  • Secure 3 of the sides to the panel to create the shaker pocket using strong adhesive tape
  • Fill with your shaker pocket with bits and bling and seal the last tab. 
  • Adhere the panel to a card base using a strong adhesive.
  • Add the die cuts to the front of the panel.
Here are a few more examples. Using the MERRY and a sentiment from the Mini Messages: Holiday Stamps die cut using the Mini Messages Dies

Holiday Full Panel Shakers, Honey Bee Stamps, Frameless, Flat, Edge to Edge, pattern Paper, Shaker pockets, DIY, how to,handmade card, Stamps, ilovedoingallthingscrafty, stamping, die cutting, cardmaking

This next Christmas Shaker features the Merry Christmas from the Bitty Buzzwords: Holidays Dies and the greenery from the Lovely Layers: Candy Cane Dies and Decorative Star Layering Frames Dies.

Holiday Full Panel Shakers, Honey Bee Stamps, Frameless, Flat, Edge to Edge, pattern Paper, Shaker pockets, DIY, how to,handmade card, Stamps, ilovedoingallthingscrafty, stamping, die cutting, cardmaking

Making shakers this way is much easier than using foam tape. The hardest part is actually photographing them as they are so reflective, lol!

Wishing you all a very restful and Happy Holiday Season. I will try and do the same 😉 Thank you for stopping by and until next year... Happy Crafting!
Ilda 💖

To make supplies easy for you to find, I have linked them above. If something is no longer available I will link to a similar product. Affiliate links may be used depending on the product linked. Please help support my blog by using these links while shopping at no additional cost to you. For more information about the affiliates I use, please visit my disclaimer here. Thanks so much for all your support!

Enjoyed this post? Never miss out on future posts by Following this Blog

Monday, December 11, 2023

Snowflake Spinner Card | Honey Bee Stamps

Snowflake, Spinner Card, Honey Bee Stamps,interactive, christmas,how to,handmade card,Stamps,ilovedoingallthingscrafty,stamping, diecutting,cardmaking,Lovely Layers Large Snowflakes,

Hello Crafty Friends!

Today I have an interactive card to share with you. It's been quite a while since I made a spinner card and thought the new Lovely Layers Large Snowflakes would be perfect for this type of card. You will have to check it out in motion on my Instagram, it is so pretty in action.

CARD RECIPE

Snowflakes - 2 of each size dies - Lovely Layers Large Snowflakes

Circle - Window and frame - Sweet Stacks: Circles Dies

Sentiment - Mini Messages: Holiday Stamps

Paper - Holiday Wishes Paper Pad

Ink - Bee Creative Intense Black Ink Pad

Gems - Holiday Wishes Gem Stickers


Die cut the snowflakes. Assemble the 3 sizes together to create the front snowflake. To the back of the snowflake secure a clear thread along its center and sandwich the remaining 3 snowflakes on top. Set aside to create the window for the spinner.


Layer the pattern paper over the card base front and use the smaller circle to die cut through both layers. This will make the front window match the card base front perfectly.  Set the pattern piece aside.

Find the center of the circle that is now die-cut from the card front. Affix the clear thread to the top and bottom of the card base. To make this easier I used low tack tape to stretch out the thread first and then added a little drop of glue to the tread followed by tape to each end. For extra securement, I then pulled the thread to another area of the card base and secured that end with another piece of tape, I then snipped off any excess thread. 

Place the pattern paper piece over the card front to cover up all the thread and tape and secure everything in place. Finish the window by adding a frame to the circle. I used two stacking circle dies.

Stamp out the sentiment and finish the card with some gems to match. Behold, your spinner masterpiece is now complete!

Snowflake, Spinner Card, Honey Bee Stamps,interactive, christmas,how to,handmade card,Stamps,ilovedoingallthingscrafty,stamping, diecutting,cardmaking,Lovely Layers Large Snowflakes,

With a flick of the hand, watch the magic unfold. Twirl the snowflake around and then lay the card flat and insert it into your envelope. Once the recipient removes it from the envelope and opens it up to read it will surprise them with a spin.

Hope you enjoyed today's handmade spinner card. Thank you for stopping by and until next time... Happy Crafting!
Ilda ❅❄❆

SUPPLIES
Lovely Layers Large Snowflakes
Shop at:
SSS | SB | HBS
Sweet Stacks: Circles Dies
Shop at:
SSS | SB | HBS
Mini Messages: Holiday Stamps
Shop at:
SSS | SB | HBS
Holiday Wishes Paper Pad
Shop at:
SSS | SB | HBS
Bee Creative Intense Black Ink Pad
Shop at:
SSS | SB | HBS
Stamping Pressure Tool
Shop at:
HBS
Bee Creative Bitty Buzz Cutter
Shop at:
HBS
Holiday Wishes Gem Stickers
Shop at:
SSS | SB | HBS
Bee Creative Glue
Bee Creative Glue
Shop at:
SSS | SB | HBS
Honey Bee Reverse Tweezers
Shop at:
SSS | HBS
Platinum 6 Die Cutting Platform
Shop at:
SSS | SB | SB
New Mini Misti
New Mini Misti
Shop at:
SSS | SB | HBS
Glitter Paper Holiday Sparkle
Shop at:
SSS | SB | HA
Holographic Cardstock
Shop at:
SB | HA
To make supplies easy for you to find, I have linked them above. If something is no longer available I will link to a similar product. Affiliate links may be used depending on the product linked. Please help support my blog by using these links while shopping at no additional cost to you. For more information about the affiliates I use, please visit my disclaimer here. Thanks so much for all your support!

Enjoyed this post? Never miss out on future posts by Following this Blog

Watch the magic unfold 👇