***Please note links in the post are no longer active, if you are looking for something specific use this link here to 👉 HONEY BEE STAMPS and search for the product listed. My apologies for the inconvenience ***
Happy Monday crafty friends!
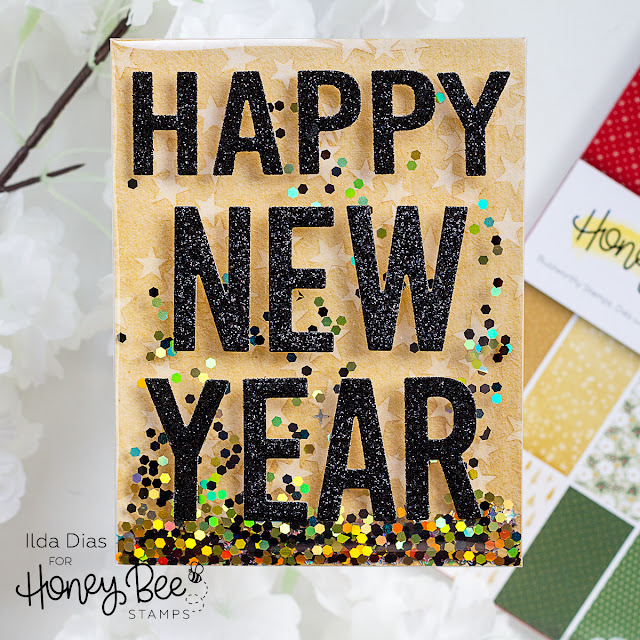
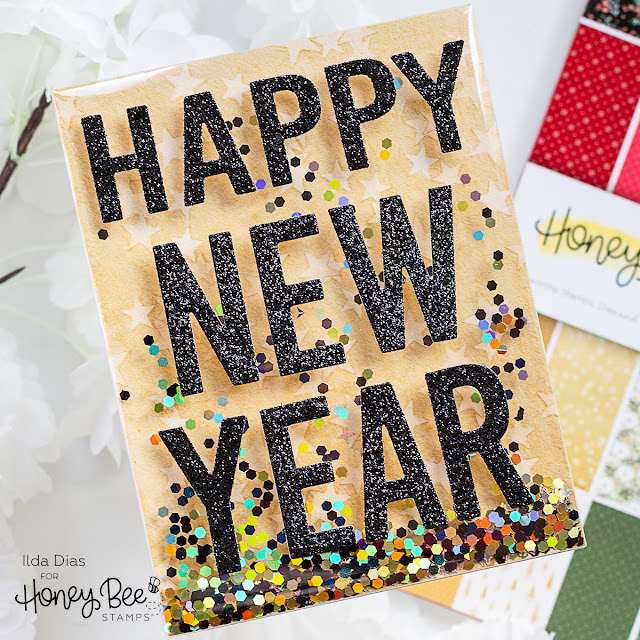
Today's post is all about sharing my TIPs and TRICKs for creating the perfect shaker using a Shaker Pockets. If you have played with them before, you may already know not all shaker pockets are made the same way, as they are all manufactured differently for various companies. Even though the original idea for these pockets was mine, I had no part in manufacturing them, but I have perfected ways to make them all work.
This yummy Ice Cream Sundae Shaker is very straightforward to make so I will skip the how-to's today and focus on the tips and tricks.
SHAKER TIPS & TRICKS when using Shaker Pockets
- TRY NOT to remove the protective film until it is glued to the card base, this will prevent scratches and keep the front clean. If you do remove it, place it lightly onto the front until you need to glue or add elements to it.
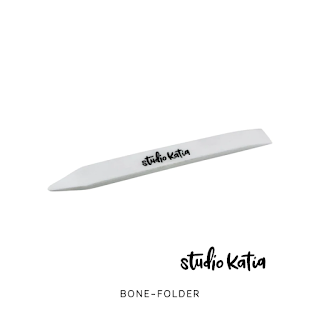
- USE and bone folder to crease the tabs down as flat as possible.
- TRIM insert/background panel 1/8th inch from the top and the side (2 sides only)
- DO NOT overfill the pocket with shaker pieces. I fill about 1 inch height from the bottom.
- USE strong adhesive to secure the finished pocket to the card base. Recommend Redline tape.
- PLACE tape along the entire perimeter of the pocket, as close to the edge of the tab as possible. Include at least one piece down the middle, more for larger pockets.
- When attaching the card base to the Shaker Pocket, ALIGN the bottom edges with each other before pressing them together. This ensures perfect alignment of all components. Ensure the card base is the same size before attaching them together.
- USE strong adhesive to attach elements to the front of the acetate. If using liquid glue, place a weight on top and allow for drying time.
- IF there is glue smudging or accidents, USE a baby wipe to wipe off excess glue and gently wipe it with a clean microfiber dry cloth to remove streaks while still wet.
- IF mailing the shaker, AVOID adding extra bulk to the front of the panel. Instead, stamp on the background panel and add die-cut pieces to the inside of the pocket or directly onto the acetate without using extra foam or dimension.
- AVOID using small glitter and microelements with these shaker pockets. These shaker pockets have tiny openings at each corner to allow for air compression. Using small glitter or microelements may result in them escaping through these openings, potentially causing a mess and reducing the effectiveness of the shaker pocket.
PHOTOGRAPHY TIPs
- I take my photos in natural light, in front of large windows. It is difficult to take pictures of these reflective cards when sunny and there is direct light as you will end up with glare on the reflective surfaces. I will wait until the sun is not shining directly into the window or when it is cloudy.
- If I can't wait, I have also used tissue paper on the window to diffuse the light when it is too sunny.
- Use foam boards to block the reflections that you may see when looking through the camera lens.
Check out another fun way to photograph your cards. Display them using the new Ornate Card Stand 😍
I used coordinating papers and double-sided it to make it sturdier. Fold the stand and tuck it into your card for the recipient to display.
I hope you will save this post and refer to it the next time you create a shaker card using these pockets, especially if you haven't had the best results in the past. Make sure to watch my latest Reel to see how I use all these tips and tricks to create this yummy card.
Thank you for stopping by and until next time... Happy Crafting!
Ilda 🍨
SUPPLIES
Enjoyed this post? Never miss out on future posts by Following this Blog
 Bee Creative A2 Shaker Pockets Shop at: HBS |
 Let's Party Paper Pad Shop at: SSS | SB | HBS |
 3D Rosette Die Shop at: SSS | SB | HBS |
 Lovely Layers: Cupcakes & More Shop at: SSS | SB | HBS |
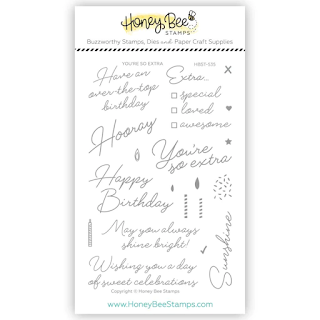 You're So Extra Shop at: SSS | SB | HBS |
 You're So Extra - Honey Cuts Shop at: SSS | SB | HBS |
 Ornate Card Stand - Honey Cuts Shop at: SSS | SB | HBS |
 Golden Afternoon - Sequin Mix Shop at: HBS |
 Sticky Red Tape 1/4" Shop at: HBS |
 Bee Creative Glue Shop at: SSS | SB | HBS |
 Bee Shimmery Liquid Shop at: SSS | SB | HBS |
 Honey Bee Reverse Tweezers Shop at: HBS |
 Bee Creative Bitty Buzz Cutter Shop at: HBS |
 Platinum 6 Die Cutting Platform Shop at: SSS | SB | HBS |
 New Mini Misti Shop at: SSS | SB | HBS |
 Glossy Accents Shop at: SSS | AMZ | SB | HBS |
To make supplies easy for you to find, I have linked them above. If something is no longer available I will link to a similar product. Affiliate links may be used depending on the product linked. Please help support my blog by using these links while shopping at no additional cost to you. For more information about the affiliates I use, please visit my disclaimer here. Thanks so much for all your support!


