Wednesday, April 20, 2022

It's Your Day Mandala Card | Hero Arts

Floral Mandala Bundle, It's Your Day, Hero Arts,  Add Ons, Card Making, Stamping, Die Cutting, handmade card, ilovedoingallthingscrafty, Stamps, how to,Ink Blending,gold embossing,

Hello crafty friends! Hope you are all having a wonderful week.

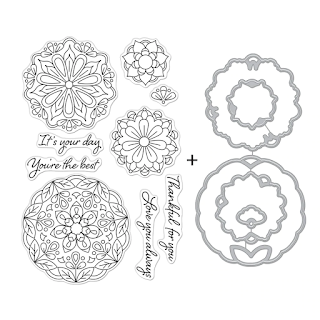
I finally got around to playing with the new Hero Arts My Monthly Hero Kit for April 2022 and Add Ons. This kit is so awesome for many occasions coming up, especially for those of us who love flowers. I definitely will share a couple of cards featuring the new kit soon, but for today's card, I am focusing on one of the Add On sets, specifically the Floral Mandala Bundle.

This card could be used for really any occasion. I love making cards like this so that I can just quickly stamp a specific greeting on the inside and make it a birthday card, a wedding card, or any other reason that it would be your day. 

CARD RECIPE

I began this card by cutting a piece of HA Plum Cardstock to A2 size. I then used 3 Distress Oxide Inks to blend out the top of the panel (see list below).

Once the ink blending was dry, I stamped out 3 of the Mandalas and the sentiment from the Floral Mandala Bundle, onto the panel using Versa Mark Ink and then heat set it using Gold Embossing Pwd. I then die-cut the 3 Mandalas using the coordinating dies. To prevent the white from showing under the die cuts I glued the ink blended panel onto another piece of Plum cardstock. I then popped the die-cut Mandalas back into place using foam to elevate each one of them.

Floral Mandala Bundle, It's Your Day, Hero Arts,  Add Ons, Card Making, Stamping, Die Cutting, handmade card, ilovedoingallthingscrafty, Stamps, how to,Ink Blending,gold embossing,

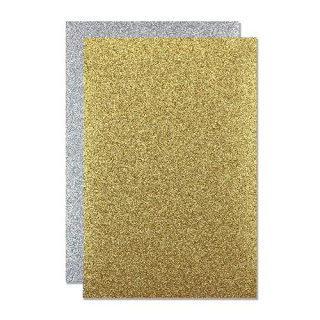
For a touch of bling... cause I always need to add bling to my cards 😆,  I trimmed the panel down slightly and then glued it to a Gold Glitter piece of cardstock cut to A2 size. This was then glued onto a 5x7 Ivory card base. I also added some gem stickers to the Mandalas and Pearls.

Floral Mandala Bundle, It's Your Day, Hero Arts,  Add Ons, Card Making, Stamping, Die Cutting, handmade card, ilovedoingallthingscrafty, Stamps, how to,Ink Blending,gold embossing,

Hope this pretty Mandala Card inspired you today. I love how this simple card turned out. 

Thank you all for stopping by and until next time... Happy Crafting!
Ilda 🔆

SUPPLIES
April Add-Ons
April Add-Ons
Shop at:
HA
Floral Mandala Bundle
Shop at:
SSS | SB | HA
Hero Hues Premium Cardstock Plum
Shop at:
SSS | SB | HA
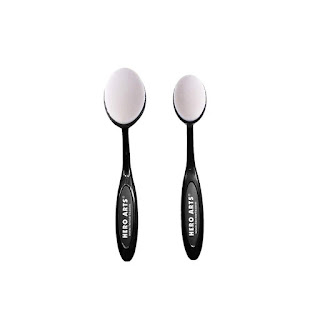
Ink Blending Brushes
Shop at:
SSS | SB | HA
Gold Embossing Powder
Shop at:
SSS | SB | HA
Glitter Paper Holiday Sparkle
Shop at:
SSS | SB | HA
Precision Glue
Precision Glue
Shop at:
SSS | SB | HA
Chipped Sapphire Oxide Ink
Shop at:
SSS | SB | HBS
Prize Ribbon Oxide Ink
Shop at:
SSS | SB | HBS
Oxide Ink Pad WILTED VIOLET
Shop at:
SSS | SB | HBS
Magic Powder Bag
Magic Powder Bag
Shop at:
SSS
VersaMark Watermark Stamp Pad
Shop at:
SSS | AMZ
Gemini Jr. Die-Cutter
Shop at:
SSS | SB
Black Foam Dots 1/4
Black Foam Dots 1/4"
Shop at:
HBS
Raw Honey Gem Stickers
Shop at:
SSS | SB | HBS
Gold Foil Pearls
Gold Foil Pearls
Shop at:
SSS | SK
Embellishment Wand
Embellishment Wand
Shop at:
SSS | SK
To make supplies easy for you to find, I have linked them above. If something is no longer available I will link to a similar product. Affiliate links may be used depending on the product linked. Please help support my blog by using these links while shopping at no additional cost to you. For more information about the affiliates I use, please visit my disclaimer here. Thanks so much for all your support!

Monday, April 18, 2022

Happy Bee Day Card | Honey Bee Stamps

Happy Bee Day Card, Honey Bee Stamps, Birthday, Hive, Honeycomb, Card Making, Stamping, Die Cutting, handmade card, ilovedoingallthingscrafty,  how to,  Pun, bee, Copic Coloring

Hello, dear friends, and Happy Easter Monday to those who celebrate Easter 🕇 I hope you all had a lovely weekend. I had to work but was able to enjoy Easter Sunday Dinner with the family.

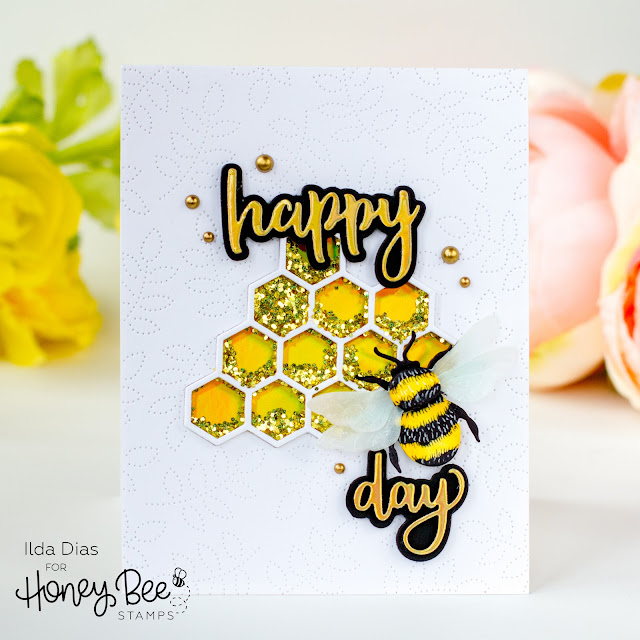
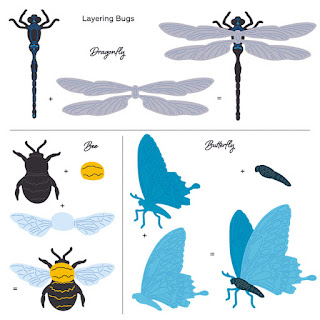
Today's card features the darling bee from the Lovely Layers: Bugs | Honey Cuts. I love this realistic-looking bee only because I know it is paper, lol! This card could either be used as I intended, as a "b-day" card, or it could just be a Happy Day card too.

CARD RECIPE

To begin, I actually started by die-cutting the pieces for the bee. This time I cut out 2 layers of the wings from vellum, not for realistic purposes but for an artistic one. I just thought it would give it more interest and added dimension. I then colored the layers using Copic Markers and added pen details for that extra layer of detail. To give the wings some sparkle I added a layer of liquid pixie dust.

Happy Bee Day Card, Honey Bee Stamps, Birthday, Hive, Honeycomb, Card Making, Stamping, Die Cutting, handmade card, ilovedoingallthingscrafty,  how to,  Pun, bee, Copic Coloring

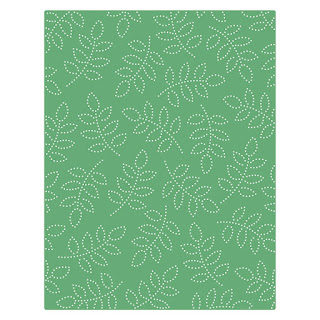
Next, I die cut the honeycomb, using the HEXAGON BUNCHES Die. To give it the thickness I needed I glued 6 layers together and set it aside. I then worked on the card base. To the front of the card base panel, I used the Spring Leaves A2 Pierced Cover Plate to emboss it. I then ran the card front through the die machine using the HEXAGON BUNCHES Die which created a window. Behind the opening, I used a piece of Gold Mirror Cardstock to close up the window and then glued the finished honeycomb in place. You could also use an acetate piece here if you wanted to leave the card center transparent.

To add all the sparkly bling, I used the Bee Creative Glue to fill in the wells of the honeycomb and then poured the gold glitter on top while the glue was still wet.

Happy Bee Day Card, Honey Bee Stamps, Birthday, Hive, Honeycomb, Card Making, Stamping, Die Cutting, handmade card, ilovedoingallthingscrafty,  how to,  Pun, bee, Copic Coloring

For the sentiment, I used a couple of the dies from the BITTY BUZZWORDS Die set, the happy and birthday. Since I only wanted to use the day from birth"day" I cut off the birth part. I stacked and glued 3 black cardstock layers and then topped it off with the same gold mirror paper for both words and then added it to the black shadow layer. 


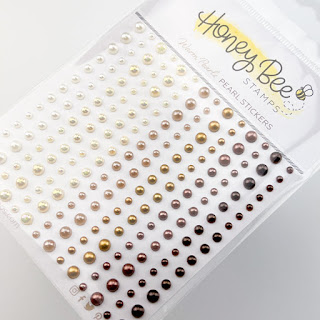
To finish, I used a few of the gold pearls from the Warm Pearls Sticker set


I really love how this card turned out and I hope it inspired you too. Thank you for stopping by and until next time... Happy Crafting!

Ilda 🐝

SUPPLIES
Lovely Layers: Bugs | Honey Cuts
Shop at:
SSS | SB | HBS
Honey Bee HEXAGON BUNCHES Die
Shop at:
SSS | SB | HBS
Spring Leaves A2 Pierced Cover Plate
Shop at:
SSS | SB | HBS
BITTY BUZZWORDS DIES
Shop at:
SSS | SB | HBS
Warm Pearls Stickers
Shop at:
SSS | SB | HBS
Bee Creative Glue
Bee Creative Glue
Shop at:
SSS | SB | HBS
Black Foam Dots 1/4
Black Foam Dots 1/4"
Shop at:
HBS
Honey Bee Reverse Tweezers
Shop at:
SSS | HBS
Die Release Tool
Die Release Tool
Shop at:
SSS | HBS
Gemini Jr. Die-Cutter
Shop at:
SSS | SB
Neenah Solar White 110lbs
Shop at:
SSS | AMZ | HBS
Vellum Value Pack
Vellum Value Pack
Shop at:
SSS | AMZ
Gold Mirror Cardstock
Shop at:
SSS | HBS
ZIG Glue Pen
ZIG Glue Pen
Shop at:
SSS | HBS
Liquid Pixie Dust
Liquid Pixie Dust
Shop at:
SSS | IO3
GOLD FEVER GLITTER
GOLD FEVER GLITTER
Shop at:
SSS | SK
To make supplies easy for you to find, I have linked them above. If something is no longer available I will link to a similar product. Affiliate links may be used depending on the product linked. Please help support my blog by using these links while shopping at no additional cost to you. For more information about the affiliates I use, please visit my disclaimer here. Thanks so much for all your support!

Watch how this card came together!

Wednesday, April 6, 2022

Easter Blessings Cross Shaker Card | Studio Katia

Easter Blessings, Cross Shaker Card, Studio Katia, Pastel, rainbow, Card Making, Stamping, Die Cutting, handmade card, ilovedoingallthingscrafty, Stamps, how to, ink blending,

Happy Wednesday Friends!

Do you send out Easter Cards? Well if you do I think you will love today's card featuring the new Shaker Simple Cross from Studio Katia. Not only is this cross perfect for Easter, but it can also be used for sympathy, Christmas, and many Religious Events even weddings! 

CARD RECIPE


So let me tell you how to put this together.  I first started by ink blending the backgrounds using the UNDERWATER SUN RAYS in pastel ink colors in rainbow order (I used a few of the Pawsitively Saturated Inks from SSS).


I then die-cut the SHAKER SIMPLE CROSS from the center of the panel. I only saved the inner cross frame from this layer and discarded the rest of the cuts. I then die cut another 2 layers of the cross using white cardstock and another one using gold foil cardstock. Next, I stacked and glued together the inside cross finishing it off with the gold layer on top.


To create the shaker window, I added a piece of ACETATE to the back of the blended panel. I then glued both the outside and inside Cross frames to the window opening. To the center of the cross, I added a gold foil pearl.


Easter Blessings, Cross Shaker Card, Studio Katia, Pastel, rainbow, Card Making, Stamping, Die Cutting, handmade card, ilovedoingallthingscrafty, Stamps, how to, ink blending,

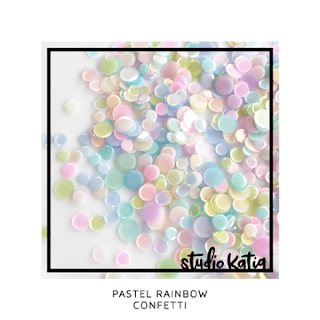
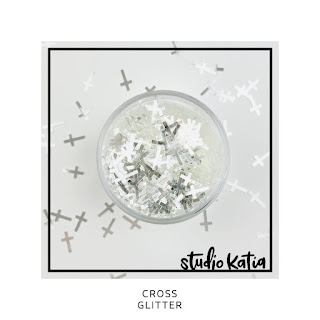
To the back of the blended panel, I outlined the edges and the perimeter around the cross with foam tape. I then used CROSS GLITTER and PASTEL RAINBOW CONFETTI to fill in the shaker well. I closed up the shaker area by attaching the card base to the panel.

Easter Blessings, Cross Shaker Card, Studio Katia, Pastel, rainbow, Card Making, Stamping, Die Cutting, handmade card, ilovedoingallthingscrafty, Stamps, how to, ink blending,

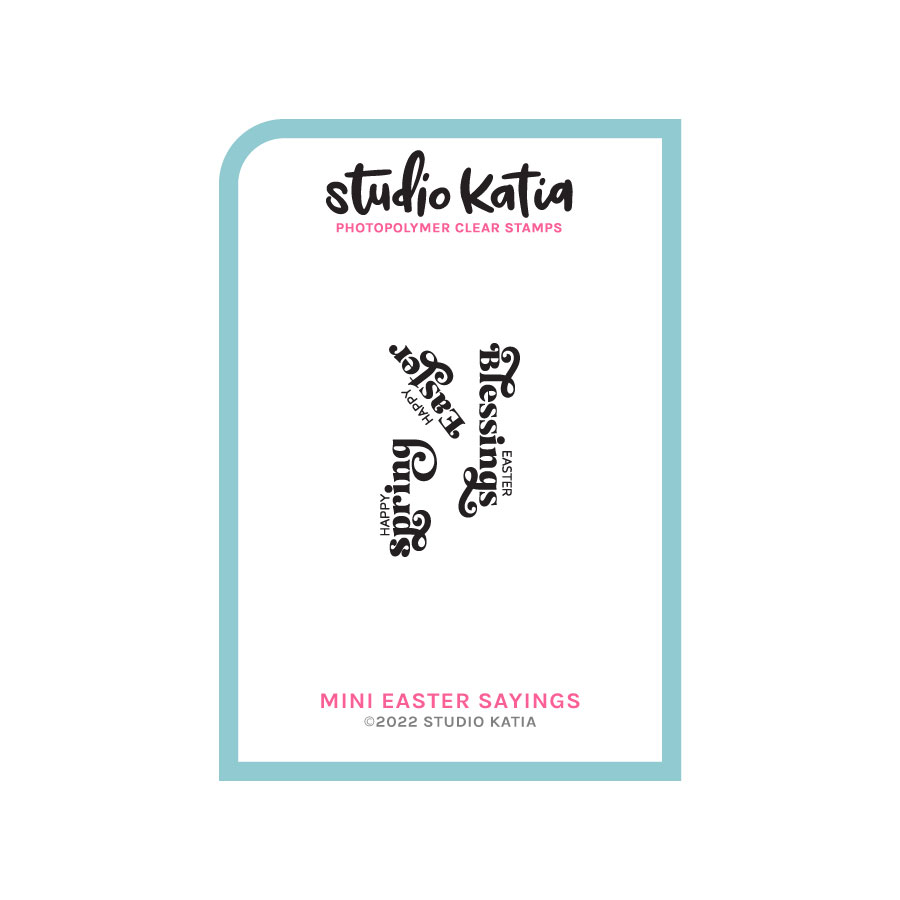
The sentiment comes from the new MINI EASTER SAYINGS that I did by using gold embossing and then stacked 3 of the shadow layers to make the sentiment pop up using the MINI EASTER SAYINGS DIES.


As a final finishing touch I added a sprinkle of pearls using a variety of sizes and colors from the SATIN PEARLS - MIX


I hope you are inspired by this pastel rainbow Easter Blessings Cross Shaker Card.


Thank you for stopping by and until next time... Happy Crafting!
Ilda 🌈🕆

SUPPLIES
SHAKER SIMPLE CROSS
SHAKER SIMPLE CROSS
Shop at:
SSS | SK
MINI EASTER SAYINGS
MINI EASTER SAYINGS
Shop at:
SSS | SK
MINI EASTER SAYINGS DIES
Shop at:
SSS | SK
UNDERWATER SUN RAYS
UNDERWATER SUN RAYS
Shop at:
SSS | SK
Ink Blender Brushes
Ink Blender Brushes
Shop at:
SSS | SK
CLEAR ACETATE SHEETS
Shop at:
SSS | SK
SK Foam Tape
SK Foam Tape
Shop at:
SSS | SK
SATIN PEARLS - MIX
SATIN PEARLS - MIX
Shop at:
SSS | SK
Gold Foil Pearls
Gold Foil Pearls
Shop at:
SSS | SK
PASTEL RAINBOW CONFETTI
Shop at:
SSS | SK
CROSS GLITTER
CROSS GLITTER
Shop at:
SSS | SK
TRIANGLE TRAY
TRIANGLE TRAY
Shop at:
SSS | SK
Embellishment Wand
Embellishment Wand
Shop at:
SSS | SK
SK Glue
SK Glue
Shop at:
SSS | SK
Neenah Solar White 110lbs
Shop at:
SSS | AMZ | HBS
New Mini Misti
New Mini Misti
Shop at:
SSS | SB
Stamping Pressure Tool
Shop at:
HBS
Juicy Ink
Juicy Ink
Shop at:
SSS | HBS | IO3
Gold Rush Emb. Pwd.
Gold Rush Emb. Pwd.
Shop at:
SSS | IO3
Gemini Jr. Die-Cutter
Shop at:
SSS | SB
To make supplies easy for you to find, I have linked them above. If something is no longer available I will link to a similar product. Affiliate links may be used depending on the product linked. Please help support my blog by using these links while shopping at no additional cost to you. For more information about the affiliates I use, please visit my disclaimer here. Thanks so much for all your support!