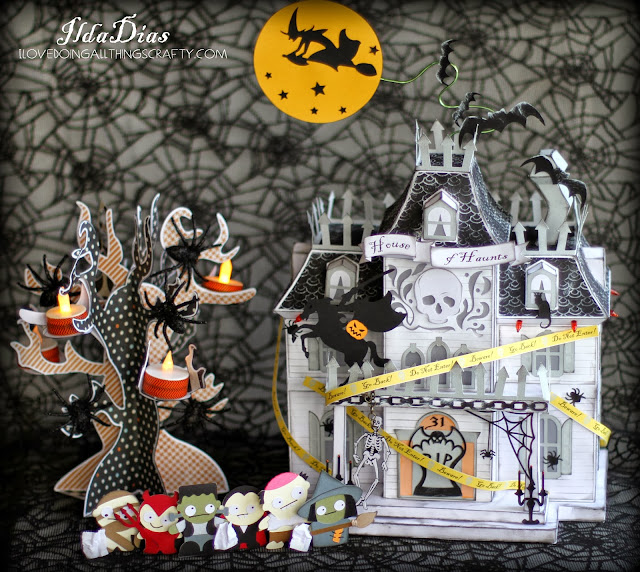
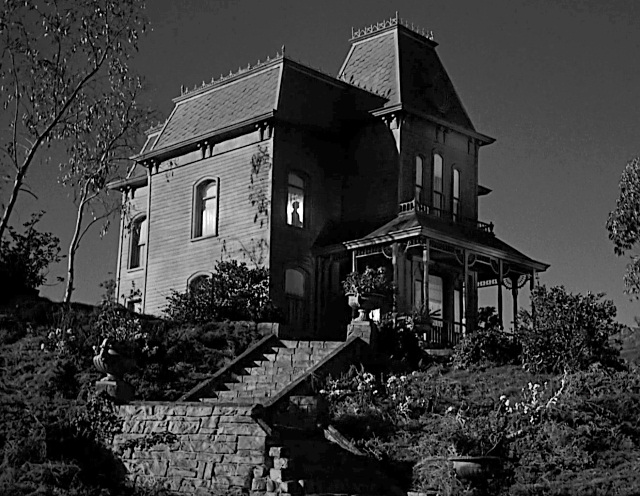
So how did I do? Looks a bit like the Bates house, doesn't it? OK well, maybe minus Norman!
For those that are interested, here are all the SVG Cuts Kits I used:
WOW, right! Love how it looks all lit up... I think this has to be one of my favorite paper projects to date and one of my most challenging for sure!
Look at those little faces on the Trick or Tr-eaters! The Witch looks like she's ready to beat someone with her broom... leave it to the boys to send in the girl first, LOL!
I can see why they are so scared... the skeleton, the headless horseman, the spiders, the creepy tombstone door! These little cuties are working hard for their candy!
To make these little guys stand, I used a strip of paper and created score lines at different depths, essentially creating steps. Then adhered each one of them to a step.
Poor Witch, she looks terrified! And, just for some scale, the skeleton measures 3 inches tall! I'm sure she can take him on!!!
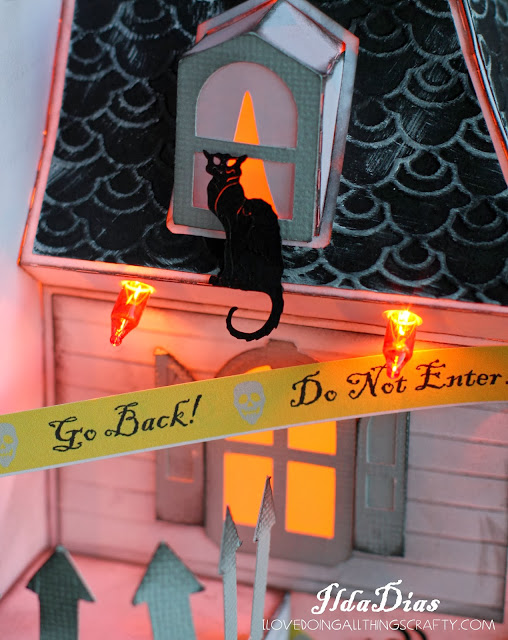
Did you notice the lights? It's a modern-day Victorian, complete with outdoor lighting, hehe!
To add the string of lights, all I did when I cut out my house panels was add a couple of circle cutouts just underneath the roofline to poke my mini lights through.
Because I also wanted the top of the house to light up I also created two more holes in the top roof tower as shown below. Still, plenty of room to fill with goodies if you want to give a house like this away!
I wanted to make the house look Evil, so another modification I did to the house was to remove the top window from the tower and add the
Skull and flames. The banner was made using Print and Cut, and the file comes from TOIL AND TROUBLE KIT
here.
To the rooftop, I added iron roof trim from ELMHURST HOLLOW
here. To attach it, I added a score line to make a bend and then I adhered it to the edge of the roofline and porch. I also added the crooked
chimney from the same kit.
Is that not the scariest-looking
cat? He has no eyes... EEK! The file comes from
MAPLE MANOR KIT.
The yellow tape you see I created with the Print and Cut feature of the Silhouette. The name of the font I used is Blackadder ITC. For the roof, I used a Japanese Scale embossing folder and ran them through the Cuttlebug. Then distressed them with a white ink pad.
For my
tree of spiders comes from the Spooky Soiree SVG Kit, I used a white card stock base and inked the edges black. The patterned paper comes from My Mind's Eye Mischievous Paper Kit. To make my tea lights coordinate with the rest of the scene I wrapped Washi tape (Recollections) around them.
Here is what the inside looks like with the string of lights through it... You could secure them all the top part of the roof but I found the lighting better when some of the lights were on the base of the house. This would also be a great idea for a Christmas Themed house, with all the lights around the house!
To close it up, I just created a little slit with my scissors and pulled the end of the cord through.
Did you notice the siding? I didn't have an embossing folder that looked like a siding of any kind, so I thought I would make my own. I did it by creating score lines on my panels with my
scoreboard. What took me forever was the ink distressing and "dirtying" of the house! But all so worth it, I absolutely love how it all came together :) Now I just have to clean up my dirty craft room :(
Here's one last look at the House of Haunts. Oh, almost forgot the flying witch comes from Midnight Jamboree SVG Kit
here and the bats from Party On Elm Street SVG Kit
here. I used some floral wiring and poked a hole through the top of the roof tower and used hot glue to secure it.
I hope you have enjoyed my House of Haunts! I have had so much fun coming up with it, and if you haven't entered there are still a few days left! Good luck to all who are participating, there are already many great entries.
Wish me luck on the Challenge, I sure would love to win a Sizzix Eclipse or anything else for that matter!
Thanks so much for stopping by, would love to hear what you think :)
Happy Crafting Everyone!


.JPG)
.JPG)


.JPG)


.JPG)


