***Please note links in the post are no longer active, if you are looking for something specific use this link here to 👉 HONEY BEE STAMPS and search for the product listed. My apologies for the inconvenience and thanks in advance for using my link ***
Hello, my friends!
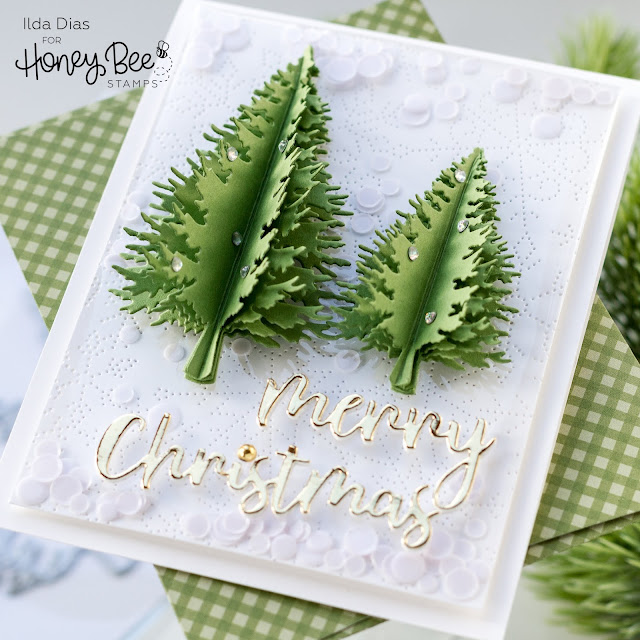
Today's 3D Christmas Christmas Tree Shaker card is part of the Honey Bee Stamps Vintage Holiday Release Instagram Hop. I hope you can join us →there and leave a comment to qualify for two $25 Gift Cards to their shop.
This card is a bit of an oxymoron. It has 3D elements along with a flat shaker window, but the trees do fold flat to fit in an envelope. I will also share a Reel on Instagram where I show you what that looks like later today.
CARD RECIPE
- Dry emboss the snowflake design using the Pierced Fancy Flakes Cover Plate onto a card panel using white cardstock.
- Trim off the edges of the panel. (This isn't necessary but I wanted to create a smaller frame to glue to the card front).
- Build your shaker pocket.
- Cut plastic/acetate slightly larger than the panel.
- Cut off corners.
- Fold sides flaps down and adhere in behind with double-sided tape, leaving one side open.
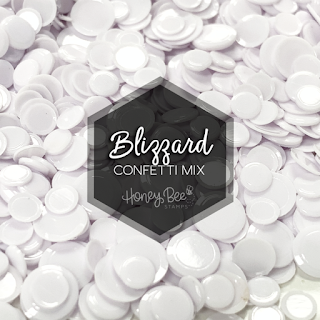
- Pour in shaker bits I used Blizzard Confetti Mix (Glitter, flat sequins, or confetti work best to keep down the bulk and they slide around better with limited space).
- Adhere the remaining flap down to close the shaker pocket.
- Add the shaker pocket to the front panel of the card base. I used foam tape, but not necessary if you want to make it flat.
- Use either scrap plastic from packaging, acetate, or a premade shaker pocket. I used packaging plastic this time. If you want to see how I created the first-ever frameless/edge to edge/infinity/flat shaker card watch this video I made a few years ago→ HERE.
- Cut four layers for each tree using the Pine Tree Dies (Largest and smallest were used here).
- Used a scoring board and score each tree down the middle.
- Fold each tree.
- Add a line of liquid adhesive down the middle score line of each layer. Glue scored edge of the next tree down. Repeat until the last tree is glued to the top. Allow them to dry completely before fluffing.
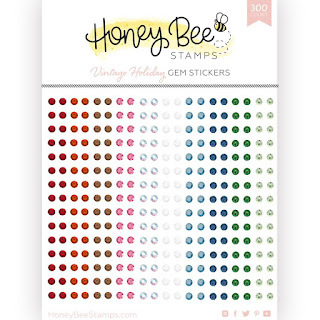
- Add gems or embellish as desired.
- Die-cut the Merry Christmas greeting from Bitty Buzzwords: Holidays Dies I glued four layers together to give it that chipboard thickness and look.
- Finish off by gluing the elements to the card front.
I hope you were inspired by this 3D Christmas Tree Flat Shaker Card. I had so much fun making it. This technique will work with many other die cuts to create the 3D effect. I hope you give it a try!
Here's a quick video to show you how this came together.
Thank you for stopping by and until next time... Happy Crafting!
Ilda😊
SUPPLIES
 Pine Trees Dies Shop at: SSS | SB | HBS |
 Pierced Fancy Flakes Cover Plate Shop at: SSS | SB | HBS |
 Bitty Buzzwords: Holidays Dies Shop at: SSS | SB | HBS |
 Bee Creative Glue Shop at: SSS | SB | HBS |
 Vintage Holiday Gem Stickers Shop at: SSS | SB | HBS |
 BLIZZARD CONFETTI MIX Shop at: HBS |
 Gingham Galore: Holiday Envelopes Shop at: HBS |
 Neenah Solar White 110lbs Shop at: SSS | AMZ | HBS |
 GEMINI JR. DIE CUTTER Shop at: SSS | SB |
 Scor-Pal MINI SCOR-BUDDY Shop at: SSS | HBS |
 Gold Hearted Paper Pad Shop at: TS US | TS UK |
 FOAM TAPE Shop at: SSS | SK |
To make supplies easy for you to find, I have linked them above. If something is no longer available I will link to a similar product. Affiliate links may be used depending on the product linked. Please help support my blog by using these links while shopping at no additional cost to you. For more information about the affiliates I use, please visit my disclaimer here. Thanks so much for all your support!


No comments:
Post a Comment
Thanks so much for taking the time and leaving me a comment! I always love hearing from you and I appreciate you stopping by! Hugs, Ilda