***Please note links in the post are no longer active, if you are looking for something specific use this link here to 👉 HONEY BEE STAMPS and search for the product listed. My apologies for the inconvenience ***
Hello friends and Happy 2023!
Yes, this is my first post of the New Year, so I wanted to wish you all the best and thank you all for your support over the years.
EYE UPDATE: As I have mentioned recently I have been struggling with the vision in my left eye, I barely see anything out of it now. What I do see is mostly shapes and colors, no detail. Because of that, I have been limiting my screen time. For now, I am patching my left eye to avoid straining it when I am online, and still trying to figure out how to decrease the stress on my good eye. I am hoping my left-side vision will stabilize and improve, I just don't want it to get worse. Thankfully, I have a great team of doctors that are following me closely and I am so thankful for all the support I have received. Don't worry I will still be creating just less often, so I am hoping you still will stick with me.
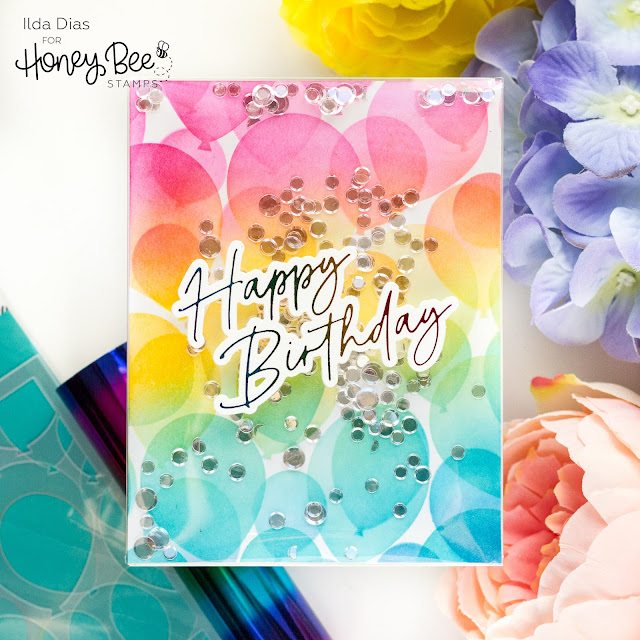
If you saw my last post, you will recognize the similarities between the two backgrounds. I loved my last background so much that I had to recreate the rainbow background again, but this time using balloons from
Honey Bee Stamps. Birthday cards are definitely my favorite cards to make and shakers just make the best birthday cards because they are like a party on their own.
CARD RECIPE
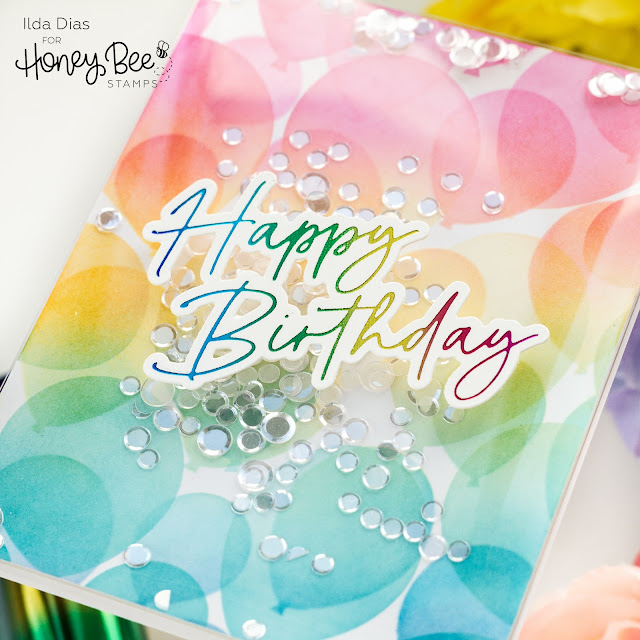
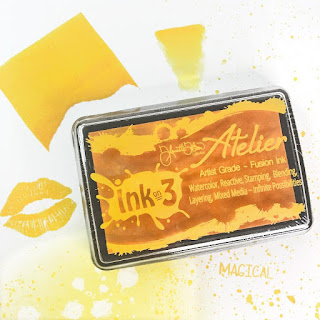
- To begin, I used one of the stencils from the Layering Balloon Stencils and started by blending the yellow ink in the center, followed by the pink ink on top and then the blue on the bottom. When you overlap with the previous color it results in a rainbow blend. Repeat the process with the top layer of the stencil. Use light pressure when blending to create somewhat of a transparent effect.
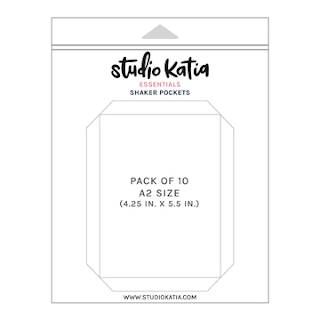
- Once the background is done, add double-sided tape to the back and secure 3 of the shaker pocket tabs. I filled the pocket with Bokeh Lights Confetti and sealed the last tab. Remove the protective plastic layer from the pocket if it has one.
- Attach the finished shaker pocket to a card base.
A card like this would be easy to mass-produce and have on hand for upcoming birthdays. Change up the colors to make switch things up and make the cards more personal. I think I may have to take my own advice and make some for my stash as I am always running low.
I hope you got some inspiration from today's Birthday Balloon Shaker Card. Thank you for stopping by and until next time... Happy Crafting!
.jpg)









.jpg)
.jpg)
.jpg)
