Showing posts with label copics. Show all posts

Friday, February 11, 2022

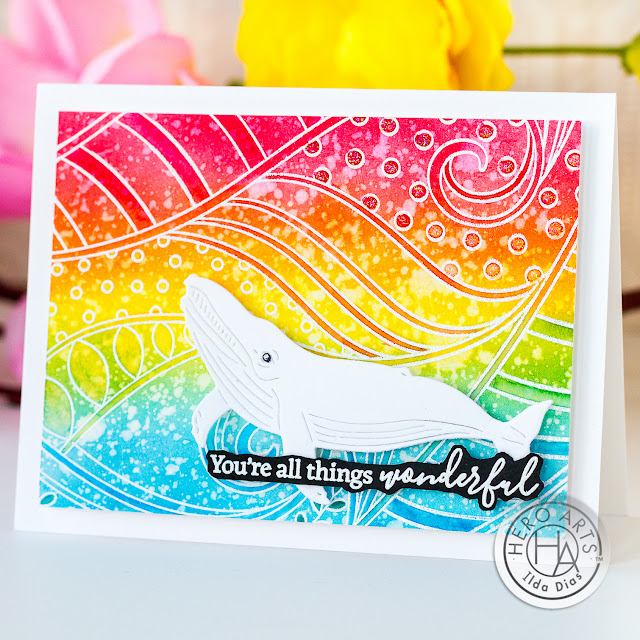
Whaley Cool Rainbow Inspired Friendship Cards | Hero Arts | MMHK 02/22

https://shrsl.com/37kwj

Happy Friday Friends!

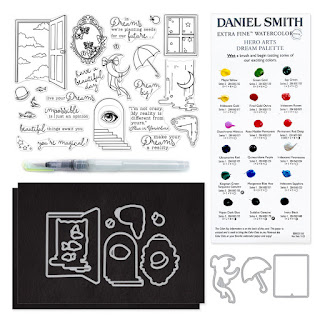
I hope you have all had a wonderful week. I have been busy crafting away with the My Monthly Hero Kit February 2022 from Hero Arts. This month's release is inspired by the art of the Surrealist masters and the magical imagery of dreams. Dreams can be so strange. It makes you wonder how and why sometimes you dream such weird events. Guess it is what inspired some masterpieces by many artists. Take a look at this month's kit valued at $75 if sold separately for only $34.99.
KIT INCLUDES:
• 6” x 8” Clear Stamp Set
• 15 Coordinating Frame Cuts
• 2 Sheets of Black Watercolor Paper (5.5" x 8.5")
• Watercolor Dot Dream Palette (18 Dots)
• Water Flow Brush

So let's take a look at some Whaley Cool Rainbow Inspired Friendship Cards that I made using the February Add-Ons.
 
CARD RECIPES


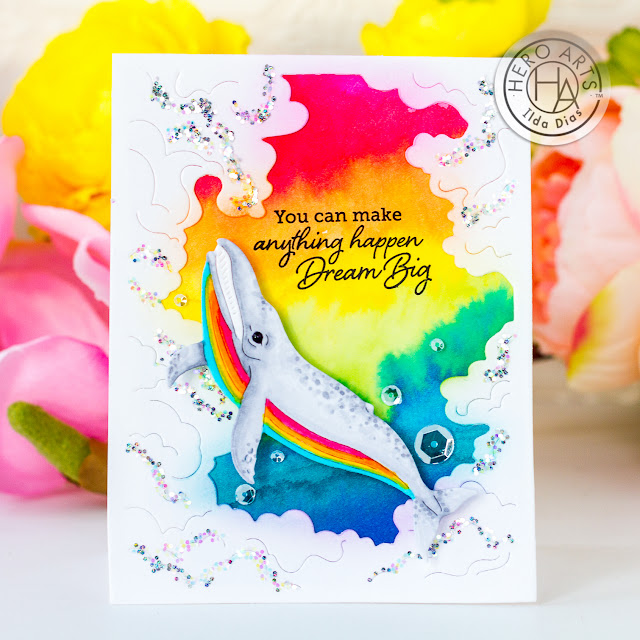
To begin, I die-cut the whale from the Dream Accessories Fancy Dies and then used Copic Markers to color it in. 


Next, I found a background I had made a while ago using Atelier Reinkers, that I thought would make a great background for this card. If you have the Hero Arts Reactive Ink Reinkers, you could create a similar background by saturating a watercolor piece of cardstock with water and then adding the colors.


I then blended out the edge of the clouds using coordinating ink to match the background and glued the pieces together.


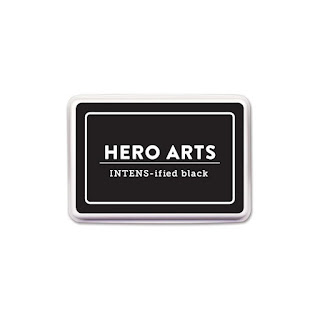
The greeting comes from a couple of sentiment stamps from the Dream Messages set, that was stamped out using Intens-ified Black Ink Pad.

I then embellished the card using sequins and glitter.


https://shrsl.com/37kwj

SUPPLIES
Dream Accessories Fancy Dies
Shop at:
SSS | SB | HA
Cloud Window Fancy Die
Shop at:
SSS | SB | HA
Dream Messages
Dream Messages
Shop at:
SSS | SB | HA
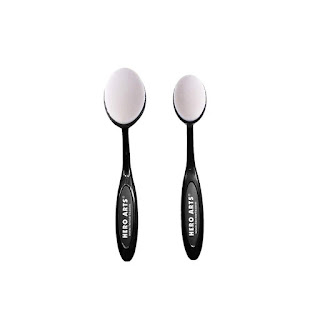
Ink Blending Brushes
Shop at:
SSS | SB | HA
Intens-ified Black Ink Pad
Shop at:
SSS | SB | HA
Precision Glue
Precision Glue
Shop at:
SSS | SB | HA
New Mini Misti
New Mini Misti
Shop at:
SSS | SB
Gemini Jr. Die-Cutter
Shop at:
SSS | SB
MAJESTIC GLITTER
MAJESTIC GLITTER
Shop at:
SSS | SK
SILVER FEVER GLITTER
Shop at:
SK
Assorted Moonshine Sequins
Shop at:
SSS
Glossy Accents
Glossy Accents
Shop at:
SSS | AMZ | SB | HBS

For this next card once again, I had pre-made the background this time using Atelier Inks. Onto the background, I then used the Swirls and Dots Bold Prints Rubber stamp to add white lines using Unicorn Pigment Ink then heat setting them with White Detail Embossing Powder.

Next, I used the Watercolor Dot Dream Palette from Daniel Smith set that is included in the My Monthly Hero Kit February 2022 to add some extra detailing to the background.

I once again die cut the whale from the Dream Accessories Fancy Dies, this time only coloring in the black of the eye.

https://shrsl.com/37kwj

The sentiment comes from the You Sparkle stamp set, which I stamped onto black cardstock and heat embossed in white then fussy cut.

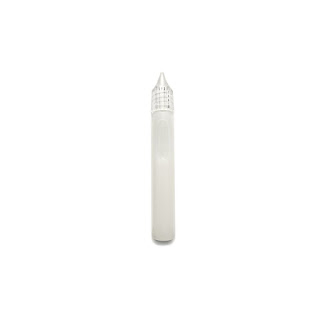
For a touch of sparkle, I used the Sparkle Clear Lacquer Pen to add texture and shine to the dots in the design.

https://shrsl.com/37kwj

SUPPLIES
Swirls and Dots Bold Prints
Shop at:
SSS | SB | HA
You Sparkle Bundle
You Sparkle Bundle
Shop at:
SSS | SB | HA
Dream Accessories Fancy Dies
Shop at:
SSS | SB | HA
My Monthly Hero Kit February 2022
Shop at:
HA
Pitch Black Cardstock
Shop at:
SSS | HA
Ink Blending Brushes
Shop at:
SSS | SB | HA
Unicorn Pigment Ink
Unicorn Pigment Ink
Shop at:
SSS | SB | HBS | HA
White Detail Embossing Powder
Shop at:
SSS | HA
Precision Glue
Precision Glue
Shop at:
SSS | SB | HA
Sparkle Clear Lacquer Pen
Shop at:
HA
New Mini Misti
New Mini Misti
Shop at:
SSS | SB
Gemini Jr. Die-Cutter
Shop at:
SSS | SB
Glossy Accents
Glossy Accents
Shop at:
SSS | AMZ | SB | HBS

Hope you dream about my cards today or at least are inspired to get creative with your designs. I had a whaley fun time sharing them. Ok, I'm done with the puns, LOL 😂

Thank you for stopping by and until next time... Happy Crafting!
Ilda 🌈🐋

To make supplies easy for you to find, I have linked them above. If something is no longer available I will link to a similar product. Affiliate links may be used depending on the product linked. Please help support my blog by using these links while shopping at no additional cost to you. For more information about the affiliates I use, please visit my disclaimer here. Thanks so much for all your support!

Friday, November 20, 2020

Rainbow Christmas Gnomes | Frameless Slimline Shaker Card | Alex Syberia Design


Hello, my friends, and Happy FriYAY!

Today I have another fun Frameless Slimline Shaker Card, this time featuring the cute Digital Christmas Gnomes designed by Alex Syberia done in my favorite palette, Rainbow colors! For those of you that want a visual on how to make these Frameless shaker cards, click HERE for a video I made last year.

CARD DETAILS

As with all digital stamps, I downloaded the image from the Alex Syberia shop and then printed it out onto Neenah Cardstock.

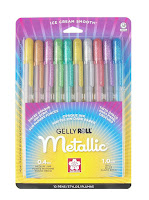
Next, I colored the images using Copic markers. This image actually took me several days to color as I have been doing it for Kathy Racoosins 30 11 Day Coloring Challenge. Once the background was colored I added details to the images using gel pens. I then added white ink splatters to create a snowfall on the entire background panel. 


Now to create the frameless shaker... I used the plastic from a page protector to cut a piece larger than the panel. I usually like about 1/2 to 3/4 of an inch border. I then snip off the corners to make it easier to fold the plastic completely flat. 


To the back of the colored panel, I add strips of scor-tape along the outer edges. I then lay the colored background face down onto the plastic sheet. Next, I remove the protective layer from the adhesive strips and fold down three of the plastic tabs, leaving one side open, creating a pocket that I then fill with my shaker bits. Once I am happy with the shaker bit amount I fold and adhere down the last plastic tab.


Now, to add a sentiment to the front of the card. This greeting stamp comes from the Simon Says Stamp GOOD CHEER set, which was stamped onto vellum and heat embossed using Silver Emb. Pwd. I then just fussy cut around the sentiment and glued it onto the front of the shaker panel.


The last thing to do is to attach the panel to a Slimline card base cut to the same size as the card panel to give it the frameless look. I find I get the best results using scor-tape on the panel rather than a wet adhesive. 

These cards are so easy to do, there is no messing with foam tape and the best part is that they are super thin for mailing! I hope I have inspired you tho give them a try. HERE is the link again for a visual tutorial.

Thank you for stopping by and until next time... Happy Crafting!

SUPPLIES
GNOMES
GNOMES
Shop at:
AS
NEENAH SOLAR WHITE 110
Shop at:
SSS | AMZ | HBS
Gelly Roll Metallic Gel Ink Pen Set
Shop at:
AMZ
WHITE GELLY ROLLER PEN SET
Shop at:
SSS | AMZ | SB
COPIC SKETCH
COPIC SKETCH
Shop at:
AMZ
ATELIER SHARK TOOTH RE-INKER
Shop at:
IO3
Vellum Value Pack
Vellum Value Pack
Shop at:
SSS | AMZ
GOOD CHEER cz
GOOD CHEER cz
Shop at:
SSS
JUICY INK
JUICY INK
Shop at:
SSS | HBS | IO3
CHROME EMB PWD
CHROME EMB PWD
Shop at:
SSS | IO3
MAJESTIC GLITTER
MAJESTIC GLITTER
Shop at:
SSS | SK
Sparkling Stars | Confetti Glitter
Shop at:
SSS | SK
Scor-Tape 0.25 Inch
Scor-Tape 0.25 Inch
Shop at:
SSS | AMZ | HBS
To make supplies easy for you to find, I have linked them above. If something is no longer available I will link to a similar product. Affiliate links may be used depending on the product linked. Please help support my blog by using these links while shopping at no additional cost to you. For more information about the affiliates I use, please visit my disclaimer here. Thanks so much for all your support!

Tuesday, July 7, 2020

Hello Summer Blog Hop Day 2 | Hello Tropical Lattice Garden Slimline Card | Honey Bee Stamps


Hello Summer, Blog Hop, Hello, Tropical Lattice, Friendship Card, Honey Bee Stamps, Paradise Blooms, Copics, Distress Oxide, Card Making, Stamping, Die Cutting, handmade card, ilovedoingallthingscrafty, Stamps, how to, blending,

Welcome to Day TWO of the Honey Bee Stamps Hello Summer Release Blog Hop. If you have already hopped your way here you would have arrived from Vera Yates' Blog. Stick around and I will let you know where to hop next at the end of this post. If you just want to start again from the beginning click HERE to get you started.


CARD DETAILS

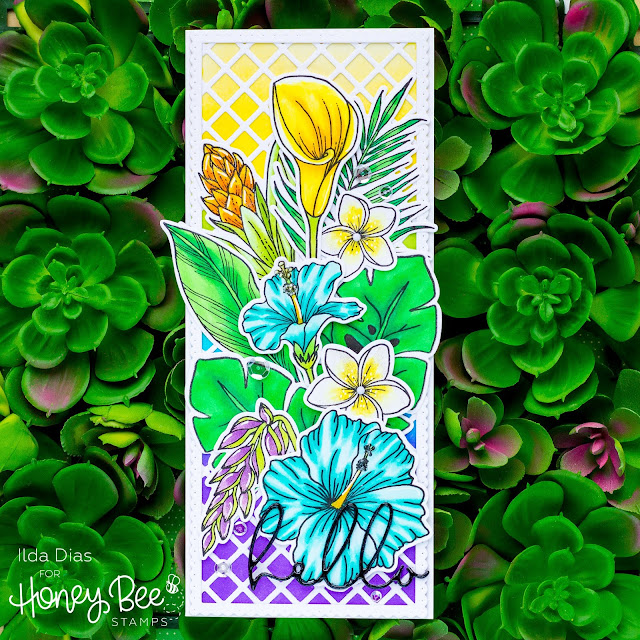
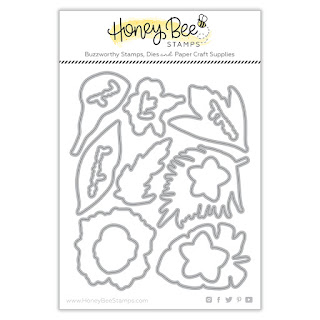
My card today features the beautiful PARADISE BLOOMS that I stamped out and colored using Copic Markers and then die cut them with the coordinating PARADISE BLOOM Dies.

Hello Summer, Blog Hop, Hello, Tropical Lattice, Friendship Card, Honey Bee Stamps, Paradise Blooms, Copics, Distress Oxide, Card Making, Stamping, Die Cutting, handmade card, ilovedoingallthingscrafty, Stamps, how to, blending,

I then embellished each flower with glossy accents and added Liquid Pixie Dust to some and set them aside to dry while I worked on the background.

Hello Summer, Blog Hop, Hello, Tropical Lattice, Friendship Card, Honey Bee Stamps, Paradise Blooms, Copics, Distress Oxide, Card Making, Stamping, Die Cutting, handmade card, ilovedoingallthingscrafty, Stamps, how to, blending,

For the slimline background, I first blended distress oxide inks onto a paper panel. I then trimmed it down to fit behind the frame from the SLIMLINE SENTIMENTS EYELET DIE set.  I then created the lattice for the background using the GARDEN LATTICE CP TOP. To extend the size of the lattice, I used a partial die cut technique, but if you don't want to do that you can just join two die-cut pieces as the flowers in front will cover up the seem anyways. I then trimmed the edges of the lattice to fit under the slimline scallop frame and then glued all the layers to the card front.

Hello Summer, Blog Hop, Hello, Tropical Lattice, Friendship Card, Honey Bee Stamps, Paradise Blooms, Copics, Distress Oxide, Card Making, Stamping, Die Cutting, handmade card, ilovedoingallthingscrafty, Stamps, how to, blending,

Next, I arranged the flowers and glued them all to the card front using foam tape in areas to add dimension. To the centers of the Plumeria flowers, I added some white GEM STICKERS.

The hello sentiment die also comes from the SLIMLINE SENTIMENTS EYELET DIE set, I die cut it 3 times, stacked and glued it together. I also added a layer of Liquid Pixie Dust to the top of and finished off with a layer of glossy accents.

GIVEAWAY
Make sure to hop along to each stop on the hop and leave a comment to be entered in the giveaway for a $25 Gift Card for each day of the Giveaway. Click the link to get started on the Day ONE HOP if you missed it.

BLOG HOP
Your next stop on the hop is to Laura Jane's Blog. If you'd like to start at the beginning click → HERE

SHOP
The new Hello Summer Release → HERE

I hope you were inspired by this Tropical Lattice Garden Slimline Card. I wish I lived somewhere tropical so I could see these beautiful flowers all the time. Let me know what you think of my card in the comments below and what is in your shopping cart from this new release?

Thank you for stopping by and until next time... Happy Hopping👋


SUPPLIES
PARADISE BLOOMS
PARADISE BLOOMS
Shop at:
HBS
PARADISE BLOOM DIES
PARADISE BLOOM DIES
Shop at:
HBS
GARDEN LATTICE CP TOP
Shop at:
HBS
SLIMLINE SENTIMENTS EYELET DIES
Shop at:
HBS
BACKGROUND BLENDER BRUSHES
Shop at:
SSS | HBS
WHITE GEM STICKERS
WHITE GEM STICKERS
Shop at:
SSS | HBS
ORIGINAL MISTI
ORIGINAL MISTI
Shop at:
SSS | AMZ | SBC | HBS
NEENAH SOLAR WHITE 110
Shop at:
SSS | AMZ | HBS
BLACKOUT INK
BLACKOUT INK
Shop at:
SSS | IO3
COPIC SKETCH
COPIC SKETCH
Shop at:
AMZ
GEMINI JR. DIE CUTTER
Shop at:
SSS | AMZ | SBC
WILTED VIOLET DISTRESS OXIDE
Shop at:
SSS | SBC | HBS
MUSTARD SEED DISTRESS OXIDE
Shop at:
SSS | SBC | HBS
MERMAID LAGOON DISTRESS OXIDE
Shop at:
SSS | AMZ | SBC | HBS
Oxide Ink Pad TWISTED CITRON R
Shop at:
SSS
MAJESTIC FUSION
MAJESTIC FUSION
Shop at:
SSS | SK
LIQUID PIXIE DUST
LIQUID PIXIE DUST
Shop at:
SSS | IO3
SMALL TIP WATER BRUSH PEN
Shop at:
SSS | IO3
GLOSSY ACCENTS
GLOSSY ACCENTS
Shop at:
SSS | AMZ | SBC | HBS
FOAM TAPE - WHITE
FOAM TAPE - WHITE
Shop at:
SSS | SK
Uni-Ball Impact Gel Pen
Shop at:
SSS | AMZ | SBC

To make supplies easy for you to find, I have linked them above. If something is no longer available I will link to a similar product. Affiliate links may be used depending on the product linked. 
Please help support my blog by using these links while shopping at no additional cost to you. For more information about the affiliates I use, please visit my disclaimer here. Thanks so much for all your support!

MORE INSPIRATION
Click on the images below for more details.