Showing posts with label Butterflies. Show all posts

Thursday, February 22, 2024

Butterfly Rainbow Shaker Card | Picket Fence Studios

Butterflies, Rainbow, Shaker, Picket Fence Studios, how to, hand made card, Stamps, stamping, die cutting, card making, ilovedoingallthingscrafty, Wreath-building butterfly wings, Atelier Inks,

Hello, my friends. Hope you are having a wonderful week.

I don't know about you but I am ready for Spring. I'm tired of the cold and can't wait for the rain, rainbows, and all the joys that Spring brings. Just take a look at the colorful butterfly card I'm sharing today—it says it all!

CARD RECIPE

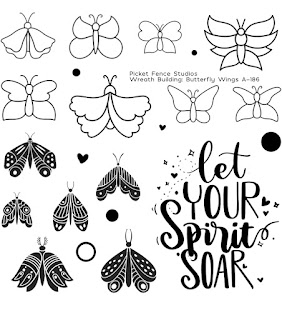
Butterflies - Wreath-building butterfly wings

Frame - A2 rectangles for card layering set

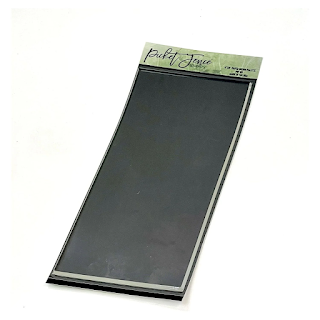
DIY Shaker Pocket - Shaker Sheets - Picket Fence Studios

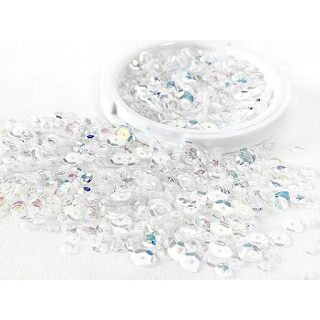
Shaker bits - Sequin Mix - Iridescent Moonshine

Sentiment - Wreath-building butterfly wings

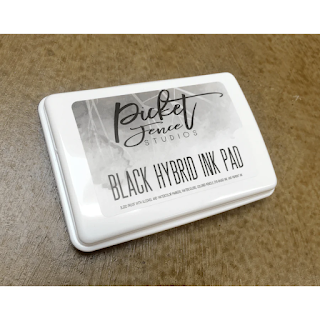
Black Ink - Black Hybrid Ink Pad


To start, I trimmed the shaker panel using one of the frames from the A2 rectangles for card layering set. Then to ensure that there would be absolutely no movement when stamping, I inserted the Paper Inking Palette - 5x6 into my Misti. For it to fit nicely, I did trim off a little edge around the palette. I then added the panel to the ink palette, it should stick nicely to the palette without the use of magnets or tape. Next, I used a circle die to plan out the butterfly ring. I placed all of the butterfly stamps on the top half of the circle die to form an semi-circle, I then picked up the stamps with the lid of the Misti and removed the die in preparation for stamping.


Butterflies, Rainbow, Shaker, Picket Fence Studios, how to, hand made card, Stamps, stamping, die cutting, card making, ilovedoingallthingscrafty, Wreath-building butterfly wings, Atelier Inks,

Using the Pint-sized Paper Pouncers I began transferring the ink to each butterfly by pouncing ink onto the stamps creating gradient colors of the rainbow, and stamping the images one at a time. Wiping the ink off if necessary from the stamps if I didn't want the colors to blend. Once I was done stamping the top semi-circle, I cleaned off all the stamps and rotated the panel to continue stamping the rest of the rainbow circle.

Now that the rainbow butterflies were complete, I then stamped out the sentiment using Black Hybrid Ink Pad. I then created a shaker pocket using the Shaker Sheets that I wrapped around the panel. Before securing the last flap I added the Iridescent Moonshine Sequin Mix. To the back of the panel, I added a foam backing adhesive. Finally, I glued the shaker panel to a card base that I had blended out rainbow ink to the edges.


Butterflies, Rainbow, Shaker, Picket Fence Studios, how to, hand made card, Stamps, stamping, die cutting, card making, ilovedoingallthingscrafty, Wreath-building butterfly wings, Atelier Inks,

Make sure to check out my Instagram as I will be sharing a Reel there on how this came together. If you are like me, it is much easier to see how this came together. I hope this colorful card brought some joy to your winter day.


Thank you for stopping by and until next time... Happy Crafting!
Ilda 🌈🦋

SUPPLIES
wreath building butterfly wings
Wreath-building butterfly wings
Shop at:
SSS | SB | PFS
a2 rectangles for card layering set
A2 rectangles for card layering set
Shop at:
SSS | SB | PFS
Paper Inking Palette - 5x6
Shop at:
SSS | SB | PFS
Pint-sized Paper Pouncers - Bright Rainbow
Shop at:
SSS | SB | PFS
Black Hybrid Ink Pad
Shop at:
PFS
Stamp Pressure Tool
Stamp Pressure Tool
Shop at:
SSS | SB | PFS
Paper Inking Palette - 4x9
Shop at:
SSS | SB | PFS
BLENDER BRUSH Set
BLENDER BRUSH Set
Shop at:
SSS | SB | PFS
Shaker Sheets - Picket Fence Studios
Shop at:
SSS | SB | PFS
Sequin Mix - Iridescent Moonshine
Shop at:
PFS
The Stamp Scrubber
The Stamp Scrubber
Shop at:
SSS | SB | PFS
Platinum 6 Die Cutting Platform
Shop at:
SSS | SB | SB
New Mini Misti
New Mini Misti
Shop at:
SSS | SB | HBS
Atelier Ink Sweet Petunia
Shop at:
SSS | IO3
ATELIER MARILYN RED
ATELIER MARILYN RED
Shop at:
SSS | IO3
ATELIER MARIGOLD ORANGE
Shop at:
SSS | IO3
Atelier Ink Bee Sting Yellow
Shop at:
SSS | IO3
ATELIER GODDESS GREEN
Shop at:
SSS | IO3
Atelier Ink Peacock Blue
Shop at:
SSS | IO3
ATELIER TRINITY TEAL
Shop at:
SSS | IO3
ATELIER MY PURPLE JAM
Shop at:
SSS | IO3
To make supplies easy for you to find, I have linked them above. If something is no longer available I will link to a similar product. Affiliate links may be used depending on the product linked. Please help support my blog by using these links while shopping at no additional cost to you. For more information about the affiliates I use, please visit my disclaimer here. Thanks so much for all your support!

Enjoyed this post? Never miss out on future posts by Following this Blog
Watch this come together 👇

Friday, October 1, 2021

Rainbow Butterflies Slimline Card | Studio Katia

ink blending,Butterflies,card,copic markers,rainbow,DOTTED SLIMLINE SET 3,Studio Katia,Card Making, Stamping, Die Cutting, handmade card, ilovedoingallthingscrafty, Stamps, how to,

Hello sweet friends!

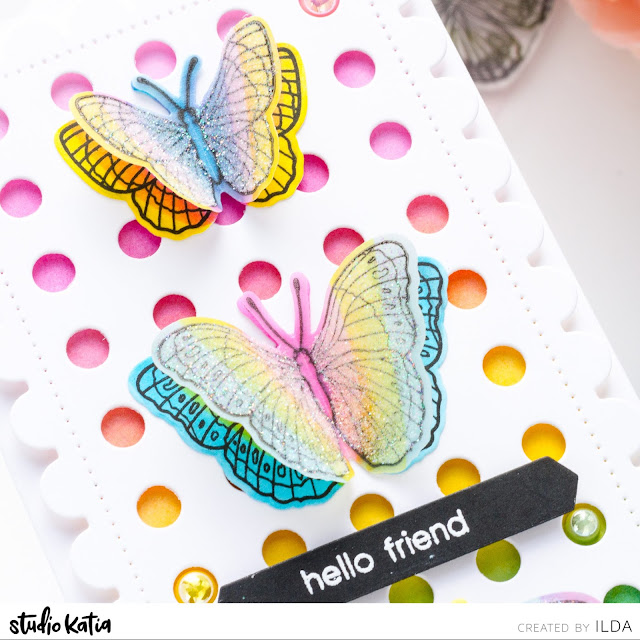
Today I have a rainbow-inspired slimline Butterfly card to share with you. As you may already know by now, my favorite color is rainbow because I love all of them, lol! So if you can't decide like me, always chose rainbow... they just make for the happiest of cards. 🌈😊

My cards today feature some of the newest products from Studio Katia. 

CARD RECIPE

Here is a breakdown of what I used and where.


Let me explain some parts.

For the background, I used three colors of ink to blend out the rainbow. I then trimmed the panel and popped it behind the new DOTTED SLIMLINE SET 3 die.

vink blending,Butterflies,card,copic markers,rainbow,DOTTED SLIMLINE SET 3,Studio Katia,Card Making, Stamping, Die Cutting, handmade card, ilovedoingallthingscrafty, Stamps, how to,

For the butterflies, I stamped the butterflies using Blackout Ink on both white cardstock and vellum. I then used 3 colors of Copic markers (pink, yellow, and blue) to blend out the rainbow colors over the entire butterfly image. As you can see I was not careful to stay in the lines. It really was about adding a quick color. For each butterfly, I just moved the markers in different directions overlapping the colors in between to give create the rainbow blend. I repeated the same thing to the vellum butterflies only this time I colored the underside of the vellum making sure I colored them in the same pattern as the coordinating paper layer.

ink blending,Butterflies,card,copic markers,rainbow,DOTTED SLIMLINE SET 3,Studio Katia,Card Making, Stamping, Die Cutting, handmade card, ilovedoingallthingscrafty, Stamps, how to,

Once the butterflies were colored I then added a thin layer of glue using a glue pen (sorry forgot to link below) to the top of the vellum wings. Once they were dry I then bent and curled the wings and glued the bodies together and added them to the card front.

ink blending,Butterflies,card,copic markers,rainbow,DOTTED SLIMLINE SET 3,Studio Katia,Card Making, Stamping, Die Cutting, handmade card, ilovedoingallthingscrafty, Stamps, how to,

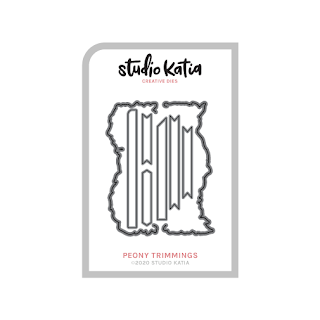
The sentiment was stamped and heat-embossed onto a banner from the PEONY TRIMMINGS DIES.

ink blending,Butterflies,card,copic markers,rainbow,DOTTED SLIMLINE SET 3,Studio Katia,Card Making, Stamping, Die Cutting, handmade card, ilovedoingallthingscrafty, Stamps, how to,

Here is a closer look at the gorgeous sparkle on the wings. I am a bit obsessed with SPARKLE GLITTER!

ink blending,Butterflies,card,copic markers,rainbow,DOTTED SLIMLINE SET 3,Studio Katia,Card Making, Stamping, Die Cutting, handmade card, ilovedoingallthingscrafty, Stamps, how to,

I then just finished this Rainbow Butterflies Slimline card by dropping some coordinating pearls into the die-cut holes of the card panel.

I hope this rainbow creation inspired you. Thank you for stopping by and until next time... Happy Crafting!
Ilda 🌈💗

SUPPLIES
BUTTERFLIES
BUTTERFLIES
Shop at:
SSS | SK
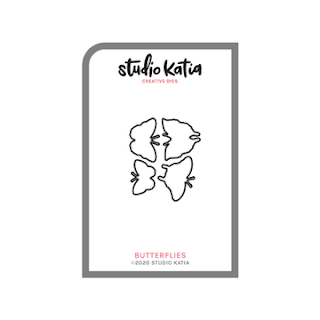
BUTTERFLIES DIES
BUTTERFLIES DIES
Shop at:
SSS | SK
DOTTED SLIMLINE SET 3
Shop at:
SSS | SK
PEONY TRIMMINGS DIES
Shop at:
SK
INK BLENDER BRUSHES
INK BLENDER BRUSHES
Shop at:
SSS | SK
BUBBLEGUM PEARLS
BUBBLEGUM PEARLS
Shop at:
SSS | SK
LEMON BURST PEARLS
LEMON BURST PEARLS
Shop at:
SSS | SK
SEAFOAM PEARLS
SEAFOAM PEARLS
Shop at:
SSS | SK
PRISMATIC SKY PEARLS
Shop at:
SSS | SK
AMETHYST PEARLS
AMETHYST PEARLS
Shop at:
SSS | SK
EMBELLISHMENT WAND
EMBELLISHMENT WAND
Shop at:
SSS | SK
SPARKLE GLITTER
SPARKLE GLITTER
Shop at:
SSS | SK
FOAM TAPE
FOAM TAPE
Shop at:
SSS | SK
STUDIO KATIA GLUE
STUDIO KATIA GLUE
Shop at:
SSS | SK
BLACKOUT INK
BLACKOUT INK
Shop at:
SSS | HBS | IO3
New Mini Misti
New Mini Misti
Shop at:
SSS | SB
NEENAH SOLAR WHITE 110
Shop at:
SSS | AMZ | HBS
Vellum Value Pack
Vellum Value Pack
Shop at:
SSS | AMZ
COPIC SKETCH
COPIC SKETCH
Shop at:
SSS | AMZ
GEMINI JR. DIE CUTTER
Shop at:
SSS | AMZ | SB
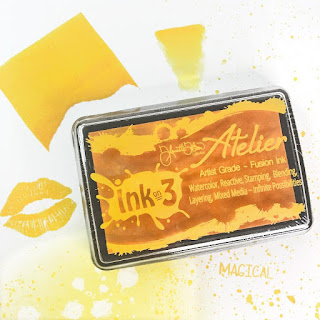
ATELIER BEE STING YELLOW
Shop at:
SSS | HBS | IO3
ATELIER SWEET PETUNIA
Shop at:
SSS | IO3
ATELIER PEACOCK BLUE
Shop at:
SSS | HBS | IO3
ATELIER SHARK TOOTH
ATELIER SHARK TOOTH
Shop at:
SSS | IO3
ARCTIC WHITE POWDER
ARCTIC WHITE POWDER
Shop at:
SSS | IO3
To make supplies easy for you to find, I have linked them above. If something is no longer available I will link to a similar product. Affiliate links may be used depending on the product linked. Please help support my blog by using these links while shopping at no additional cost to you. For more information about the affiliates I use, please visit my disclaimer here. Thanks so much for all your support!