Hello, my sweet crafty friends.
Today I am sharing this beautiful Merry Christmas Ornament Card featuring a few sets from the Hero Arts Awesome Add-Ons that are still available. If you love heat embossing and a simple design this one is perfect for you.
I began by preparing the Pitch Black Cardstock panel by using an anti-static powder duster. I then stamped out the top and bottom using the first layer of the Color Layering Merry Christmas stamp set with Unicorn Pigment Ink. I then used white embossing powder to heat set the first layer. I repeated the previous step twice to get a good white embossed layer for the next step. Next, line up the top detail layer of the stamps, this time inked the stamp with Versamark ink and then heat set it using gold embossing powder.
Cut out the ornament using the Nesting Circle Infinity Dies. Stamp, heat emboss the top of the ornament, and fussy cut it out. Glue it to the top of the die-cut circle "ornament". Pierce a hole through the top to add the gold thread through later.
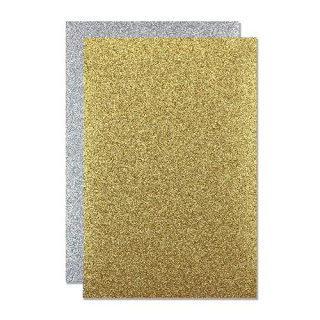
Stamp out the background panel using Versamark ink, and heat set it using gold embossing powder. Trim the panel. Attach it to another black panel to create a shadow and to tie the colors together. Now pop the ornament in the center of the panels using foam tape. Secure the gold thread behind the panels. Use foam tape to adhere the embossed panel to a gold piece of Glitter Paper Holiday Sparkle cardstock cut to A2 size and then attach it to the card base.
Finish off the card by adding a few gold pearls and a bow to the top of the ornament as a finishing touch.
I hope you got some inspiration for your Holiday cards today. Thank you for stopping by and until next time... Happy Crafting!
Ilda 😊
SUPPLIES
 Color Layering Merry Christmas Shop at: HA |
 Candy Canes Bold Prints Shop at: HA |
 Nesting Circle Infinity Dies Shop at: HA |
 Pitch Black Cardstock Shop at: HA |
 Glitter Paper Holiday Sparkle Shop at: HA |
 Unicorn Pigment Ink Shop at: SSS | HA |
 Precision Glue Shop at: HA |
 Neenah Solar White 110lbs Shop at: SSS | AMZ | HBS |
 Magic Powder Bag Shop at: AMZ |
 New Mini Misti Shop at: SSS | SB |
 Gemini Jr. Die-Cutter Shop at: SSS | SB |
 GUILLOTINE PAPER TRIMMER Shop at: SSS | AMZ | SB |
 GOLD RUSH EMB. PWD. Shop at: SSS | IO3 |
 Arctic White Emb.Pwd. Shop at: SSS | IO3 |
 GOLD FOIL PEARLS Shop at: SSS | SK |
To make supplies easy for you to find, I have linked them above. If something is no longer available I will link to a similar product. Affiliate links may be used depending on the product linked. Please help support my blog by using these links while shopping at no additional cost to you. For more information about the affiliates I use, please visit my disclaimer here. Thanks so much for all your support!


this is beautiful Ilda, I love all your pretty layers
ReplyDeleteThank you Sandi!
ReplyDelete