***Please note links in the post are no longer active, if you are looking for something specific use this link here to 👉 HONEY BEE STAMPS and search for the product listed. My apologies for the inconvenience ***
Hello and Happy Monday!
Hope you all had a wonderful weekend. Yesterday we celebrated my God Daughter's Aleinas15th Birthday and above is the card I made for her.
If you remember from the cards I shared last week (
see card below) I made this fun background using the
Good Vibes Stencil. When you blend out backgrounds using the stencil there is always ink left on top of the stencil and rather than wiping them clean, I like to save the ink and use it to create more backgrounds as I did for both the cards I made today. To do that, place the stencil on a paper towel (this will absorb the runoff of water) and then spray water over the stencil until it is saturated. Remove the paper towel and press your paper into the stencil. Lift up the paper and allow the inks to dry, this will leave your paper with a watercolored transfer look.
.jpg)
CARD RECIPE
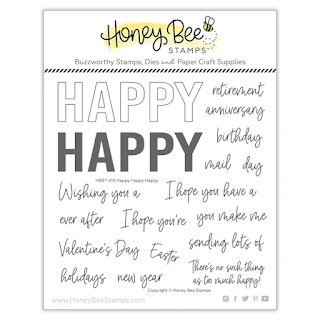
I have already explained how these backgrounds were made, so I won't get into that. If you want to skip that step you could use the pattern paper from the Look For The Rainbow Paper Pad. Next, I stamped the outline Happy from the Happy Happy Happy stamp set onto the panel using 3 ink colors to blend out the rainbow in the same order as the panel.
I then used the
Happy Happy Happy A2 Cover Plate, and cut out the Happy die cuts. I then stacked and glued the letters together and finished the top with silver glitter paper. Next, I glued the letters in place where I had stamped the outlines.
This next was made the exact same way only no die cuts were used. I instead used the solid stamps from the
Happy Happy Happy stamp set and first stamped it in rainbow colors then slightly offset the same stamp and stamped it out using black ink creating a shadow layer.
Hopefully next time your stencils are inky, you will give this background idea a try and create some awesome backgrounds for your cards.
Thank you for stopping by and until next time... Happy Crafting!


.jpg)

.jpg)
.jpg)
.jpg)
.jpg)
.jpg)
.jpg)










.jpg)
.jpg)
.jpg)
.jpg)
.jpg)
.jpg)
