It's my very good friend's birthday today, which also happens to be my oldest friend as well. We have been friends since 1983... Whoa, that's almost 30 years! Happy Birthday Suzie!!!
So for Suzie's birthday, I thought I would surprise her with one of my paintings. For a while, I used to sell them on my Etsy store, but now I just make them for friends and family. Suzie had mentioned she would like me to paint some word art for her a while ago. I normally would ask her for a whole bunch of words that she would like that described her and her family. I'll make her subway art painting for next time when I know what words she would like. But, since I wanted it to be a surprise I thought instead of making the typical subway art type painting, I would make it look like a word search. The circled words would be her family names. I love how it turned out. I hope she will too!
Here is how I make my word art paintings. I've seen many different ways of doing this on Pinterest, so I thought I would share how I make mine.
The first thing you want to do is decide on your words. I use my
Silhouette to out my word, fonts, layout. I then cut out my letters. Instead of using vinyl which is expensive and you are just going to discard it, I use contact paper. I then remove the letters from the contact paper leaving behind the negative of the letters.
Next, prepare the canvas. For this project, I chose a 16X20 frame. I like to wet down the canvas first just with water and roll it on with a foam roller.
Now it's time to give your canvas some color. I used acrylic paints. Give the canvas at least 2 coats of color.
Once the canvas is dry remove the backing on the contact paper and as straight as possible lay it on your canvas. Try to smooth it out as much as possible.
Time to start painting in your words. For this painting, I used a foam brush and dabbed the paint on a little at a time. In the past, I have just a foam roller to roll it on. (If the contact paper isn't very tacky, it's probably better not to use a roller, or the paint might bleed under your stencil)
This is what it looked like prior to the big reveal.
For this painting, I just freehanded the circled words.
Once all the paint has dried I give the painting a protective clear coating with a paint sealer.
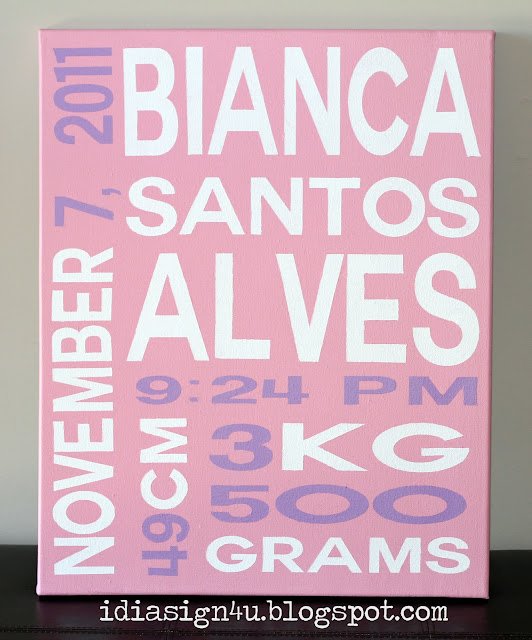
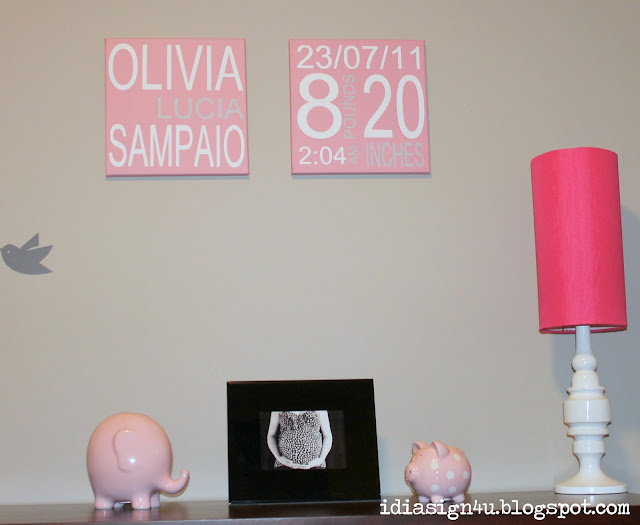
Here are a few more of the paintings I have made in the past for myself, friends and family. Enjoy!
Hope you've enjoyed my word art paintings! Maybe I've inspired you to make your own!
Thanks for visiting,


