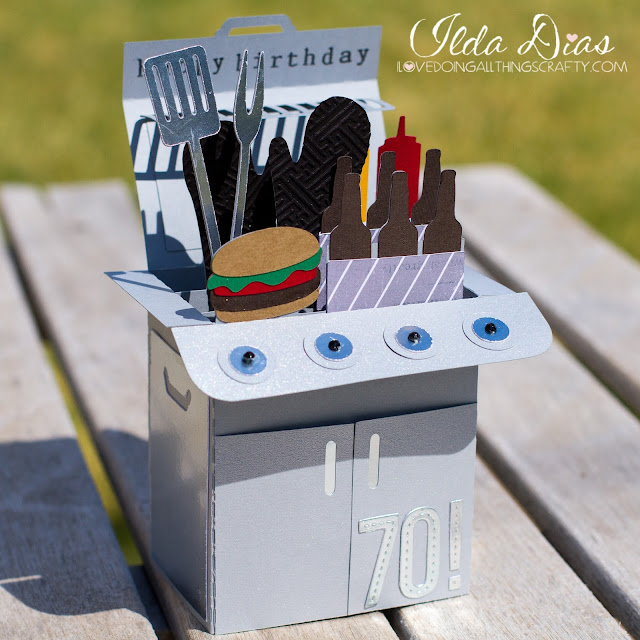
Hope you all aren't tired of all the Box Cards recently?!
This BBQ Box Card comes from SVGCuts Father's Day Box Card Kit. It's the perfect kit for those who want to get started on making cards for Father's Day. I made this card for my father-in-law, who celebrated his 70th Birthday a few weekends ago. I used the stitched number dies from MFT to add the 70! to the bottom of the card. The stamps I used come from Snarky Stamps by Paper Issues.
How cool is that, the perfect card for the guy who loves to BBQ, or girl ;)
Here is a closer look.
Looking at it now, I wish I had added some more detail to the burger, and maybe added glossy accents to the beer bottles. Oh, well... maybe next time. This card was super quick and easy to put together!
Hope you were inspired to go and make your own BBQ Box Card for the BBQ'er in your life!
Thanks for stopping by!
Happy Crafting :)


