Showing posts with label Wedding. Show all posts

Monday, August 8, 2022

Lovely Layers Magnolia Cards | Honey Bee Stamps

Lovely Layers Magnolia Dies, Honey Bee Stamps, floral card,Card Making, Stamping, Die Cutting, handmade card, ilovedoingallthingscrafty, Stamps, how to, foil stamping,Glimmer Hot Foil, sympathy, wedding,

Hello friends, and welcome back.

Today I am featuring the beautiful Lovely Layers: Magnolia Dies. These beautiful flowers are perfect for any occasion as you will see from the cards I'll be sharing.

CARD RECIPE


I won't go into too much detail as most of these cards were created by die-cutting and I am pretty sure you all can figure it out from the pictures. 


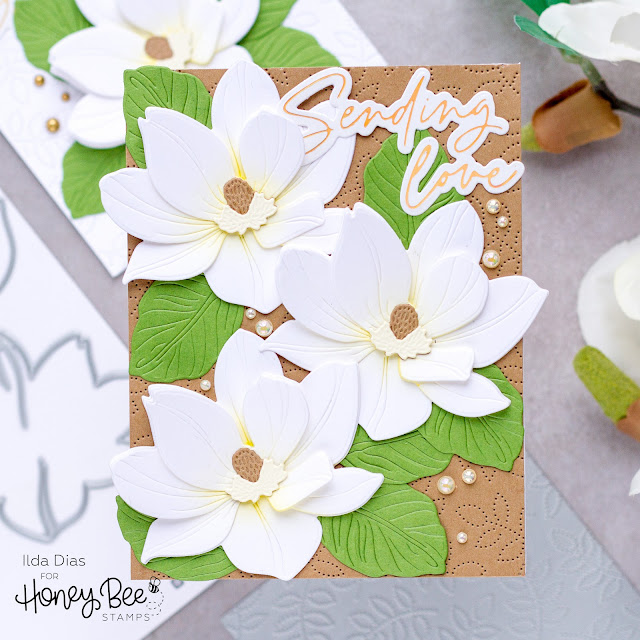
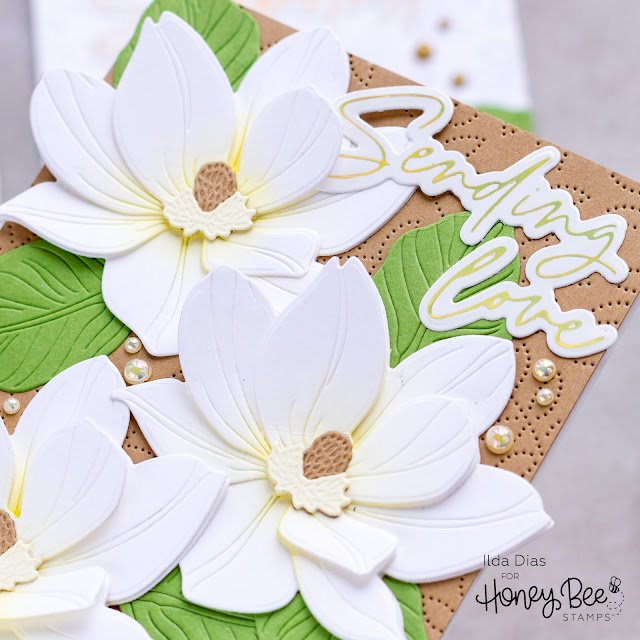
This first card could be for a friend, or rather really anyone you want to send your love to. It could also be used for a wedding. The foiled sentiments from the Foil Script: Wishes Hot Foil Plate/Dies just seem to elevate these cards to the next level giving them that extra finishing detail. To the centers of these magnolias, I blended some yellow ink.


Lovely Layers Magnolia Dies, Honey Bee Stamps, floral card,Card Making, Stamping, Die Cutting, handmade card, ilovedoingallthingscrafty, Stamps, how to, foil stamping,Glimmer Hot Foil, sympathy, wedding,

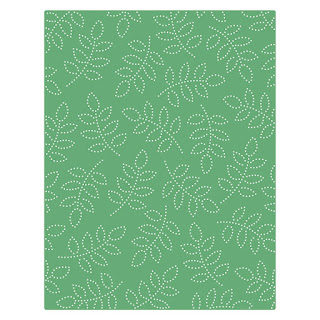
This sympathy card was done the same way as the previous card only this time I used a white background with the Spring Leaves A2 Pierced Cover Plate

Lovely Layers Magnolia Dies, Honey Bee Stamps, floral card,Card Making, Stamping, Die Cutting, handmade card, ilovedoingallthingscrafty, Stamps, how to, foil stamping,Glimmer Hot Foil, sympathy, wedding,

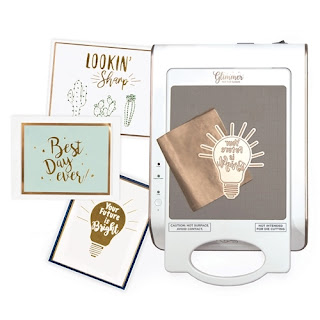
For the foiled sentiments, I used POLISHED BRASS - Glimmer Foil with the Hot Foil System. 

Lovely Layers Magnolia Dies, Honey Bee Stamps, floral card,Card Making, Stamping, Die Cutting, handmade card, ilovedoingallthingscrafty, Stamps, how to, foil stamping,Glimmer Hot Foil, sympathy, wedding,

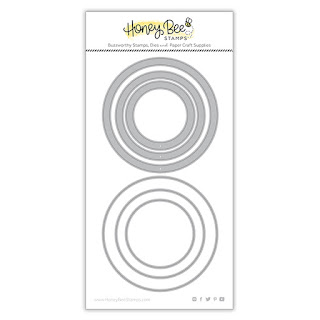
This last wedding shaker, I shared during the release on Instagram, but not here on the blog. For this card, I used the Circlescapes Shaker Frames to create the shaker parts for this easel card.

Lovely Layers Magnolia Dies, Honey Bee Stamps, floral card,Card Making, Stamping, Die Cutting, handmade card, ilovedoingallthingscrafty, Stamps, how to, foil stamping,Glimmer Hot Foil, sympathy, wedding,

For this magnolia, I blended pink ink to the outside of the petals. I also used quite a bit of foam to make the flower look more dimensional. Obviously, this would not be a card I would send through the mail πŸ˜‰

Lovely Layers Magnolia Dies, Honey Bee Stamps, floral card,Card Making, Stamping, Die Cutting, handmade card, ilovedoingallthingscrafty, Stamps, how to, foil stamping,Glimmer Hot Foil, sympathy, wedding,

As I mentioned earlier, this is an easel card. To do that I added the shaker to a circle card base that I had scored in half to allow for the card to fold up and be displayed. Once again I used a sentiment from the Foil Script: Wishes Hot Foil Plate/Dies to create the stopper for the card to remain in the folded position.


I hope these Lovely Layers Magnolia Cards inspired you today and you saw that they could be used for any occasion. 


Thank you for stopping by and until next time... Happy Crafting!
Ilda πŸ’–

SUPPLIES
Lovely Layers: Magnolia Dies
Shop at:
SSS | SB | HBS
Foil Script: Wishes Hot Foil Plate/Dies
Shop at:
SSS | SB | HBS
Spring Leaves A2 Pierced Cover Plate
Shop at:
SSS | SB | HBS
Circlescapes Shaker Frames
Shop at:
SSS | SB | HBS
Detail Blender Brushes
Shop at:
SSS | HBS
Acetate Sheets
Acetate Sheets
Shop at:
HBS
White Foam Dots With Tab
Shop at:
HBS
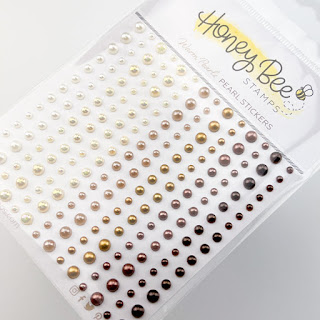
Warm Pearls Stickers
Shop at:
SSS | SB | HBS
Bee Creative Glue
Bee Creative Glue
Shop at:
SSS | SB | HBS
POLISHED BRASS - Glimmer Foil
Shop at:
SSS | SB | HBS | SB
Platinum 6 Die Cutting Platform
Shop at:
SSS | SB | SB
Hot Foil System
Hot Foil System
Shop at:
SSS | SB | SB
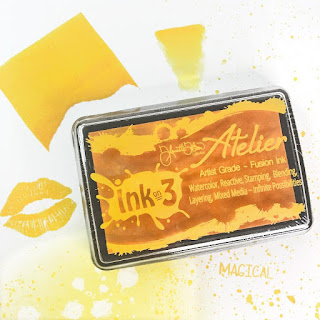
Atelier Ink Bee Sting Yellow
Shop at:
SSS | IO3
Atelier Ink Sweet Petunia
Shop at:
SSS | IO3
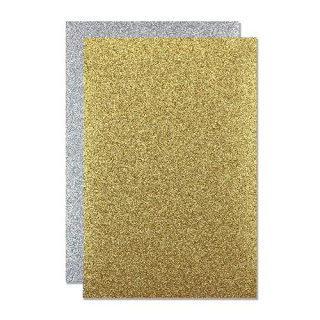
Glitter Paper Holiday Sparkle
Shop at:
SSS | SB | HA
Assorted Moonshine Sequins
Shop at:
SSS
To make supplies easy for you to find, I have linked them above. If something is no longer available I will link to a similar product. Affiliate links may be used depending on the product linked. Please help support my blog by using these links while shopping at no additional cost to you. For more information about the affiliates I use, please visit my disclaimer here. Thanks so much for all your support!

Monday, May 4, 2020

Barnyard Party Invitation | Honey Bee Stamps


Barnyard Party Invitation - Farm Theme Party Card | Honey Bee Stamps

Hello Friends and Happy Monday!

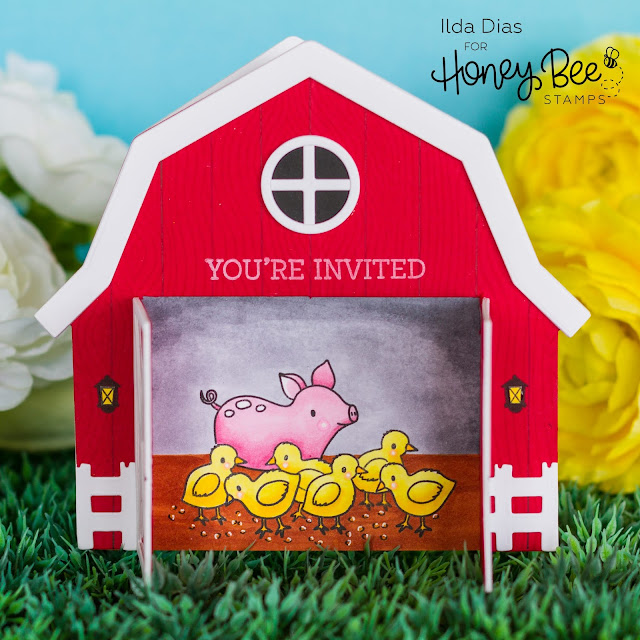
I am back again with a post for Honey Bee Stamps. In today's blog post I am sharing the cutest ever Barnyard Party Invitation. This card could be used for pretty much any event that has to do with a farm theme, a child's birthday party, or even a wedding. How cute would it be to receive an invitation like this? Everyone definitely will be at your partyπŸ˜‰

CARD DETAILS

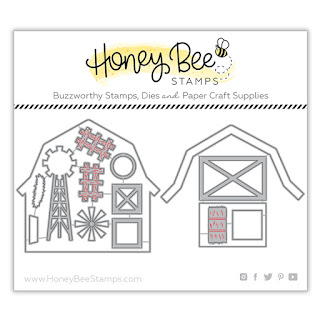
To begin, I die cut the barn pieces for the front panel of the card using the new BARN BUILDER DIES. On the red barn layer, I used the WOODGRAIN BACKGROUND stamp to add detail to the wood panels and then drew in the lines using a ruler.

Barnyard Party Invitation - Farm Theme Party Card | Honey Bee Stamps

Next, I used the Barn Door frame die to create the barn doors by doing some partial die-cutting. I then just scored the paper to create the hinge for each of the doors. To finish the barn doors I stacked a glued 2 layers of the white wood frames and glued them to each door.

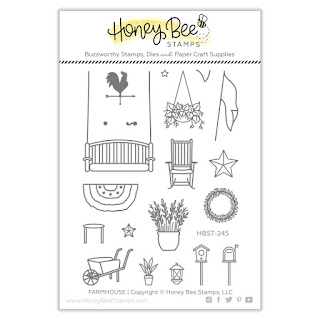
I also die-cut and pieced the little round window for the top of the barn. The lights come from FARMHOUSE ADD-ON that I stamped colored and fussy cut, simply because I didn't want a white border but you could use the coordinating FARMHOUSE ADD-ON DIES.

To let the recipient know this card has a little surprise I stamped out the look inside from the ONE-OF-A-KIND set.

Barnyard Party Invitation - Farm Theme Party Card | Honey Bee Stamps

On another piece of paper, I stamped out the little chicks and the pig from the WAY TO GOAT set by doing some masking. I then colored these cuties in and the background using Copic markers and glued the panel in the opening of the barn doors.

Barnyard Party Invitation - Farm Theme Party Card | Honey Bee Stamps

The You're Invited stamped in white comes from the PARTY Stamp Set. Below is a closer look at these cuties inside the barn.

Barnyard Party Invitation - Farm Theme Party Card | Honey Bee Stamps

To finish the front panel and the inside of the card I die cut two more Barn house panels (one to cover the colored panel and another to make the back piece of the card). To the back panel, I stamped out Let's Party from using the PARTY stamp set, you could also add all the details of the party →the who, what, where, when, and rsvp details here. I then created a score on the left of the barn panel to make the hinge for the card and glued it to the front panel.

Barnyard Party Invitation - Farm Theme Party Card | Honey Bee Stamps

I hope this Barnyard Party Invitation gave you some inspiration for the next time you are looking to send out invitations for a farm theme party.

Thank you for stopping by and until next time... Happy Crafting πŸ‘‹


SUPPLIES
BARN BUILDER DIES
BARN BUILDER DIES
Shop at:
HBS
WOODGRAIN BACKGROUND
Shop at:
SSS | SB | HBS
FARM HOUSE ADD-ON
FARMHOUSE ADD-ON
Shop at:
SSS | HBS
ONE-OF-A-KIND
ONE-OF-A-KIND
Shop at:
SSS | SB | HBS
WAY TO GOAT
WAY TO GOAT
Shop at:
SSS | HBS
PARTY
PARTY
Shop at:
SSS | HBS
MISTI TOOL - ORIGINAL SIZE
Shop at:
SSS | AMZ | SB | HBS
BLACKOUT INK
BLACKOUT INK
Shop at:
SSS | IO3
VersaFine ONYX BLACK Ink
Shop at:
SSS | AMZ | SB | HBS
WHITE UNICORN INK
WHITE UNICORN INK
Shop at:
SSS | AMZ
Acme Junior T-Square
Shop at:
SSS | AMZ
Scor-Pal MINI SCOR-BUDDY
Shop at:
SSS | HBS
Micron Pens
Micron Pens
Shop at:
SSS
GEMINI JR. DIE CUTTER
Shop at:
SSS | AMZ | SB
STUDIO KATIA GLUE
STUDIO KATIA GLUE
Shop at:
SSS | SK
To make supplies easy for you to find, I have linked them above. If something is no longer available I will link to a similar product. Affiliate links may be used depending on the product linked. Please help support my blog by using these links while shopping at no additional cost to you. For more information about the affiliates I use, please visit my disclaimer here. Thanks so much for all your support!

Wednesday, May 8, 2019

Save The Date See Through Window Shaker | Studio Katia


I am back with another wedding themed card today. This time it is for a Save the Date Invitation See Through Window Shaker. I think this would also make a great destination wedding card idea.

CARD DETAILS

To begin, I lined up the beige cardstock piece with the card base then ran them both through the die cut machine using the SHAKER HEART DIE to ensure the heart windows line up. I then used the same die to die cut the gold heart frame that will be glued on later. To the edge of the beige panel, I added the scalloped edge by die cutting the piece using the outer frame from the SCALLOP HEARTS COVER.

Next, I added a piece of ACETATE behind the heart opening and glued the gold heart to the edge of the window. I then flipped over the piece and created a foam tape well around the heart to fill with the sequins and shaker bits (CRYSTAL CLEAR FUSION and
MAJESTIC FUSION SEQUINS). Then cut another piece of acetate to lock in all my shaker pieces. Next, I added foam tape to the backside of the shaker panel, removed the protective backing from the foam tape and lined it up to the opening of the card base and glued it in place using the heart window to make sure it all lined up properly. 

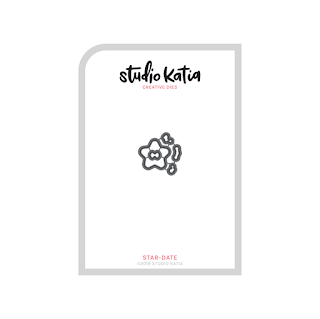
I then stamped out the stars from the STAR DATE set and embossed them in gold embossing powder and die cute them with the coordinating STAR DATE Dies. I then stamped in their little faces and colored them in using Zig markers and also added glossy accents details for a little shine. For fun and even more shine, I added the IRIDESCENT BUBBLES to the front of the card.

Save The Date See Through Window Shaker for Studio Katia by ilovedoingallthingscrafty.com

On the inside of the card, right where the window opens I blended out the sun rays using the UNDERWATER SUN RAYS stencil and then just used some masking tape to blend out the sand and the ocean. Lastly, I stamped out the save the date sentiment. 


Save The Date See Through Window Shaker for Studio Katia by ilovedoingallthingscrafty.com
 SUPPLIES
STAR DATE
STAR DATE
Shop at:
SSS | SK
STAR DATE DIES
STAR DATE DIES
Shop at:
SSS | SK
SCALLOP HEARTS COVER
Shop at:
SSS | SK
SHAKER HEART
SHAKER HEART
Shop at:
SSS | SK
UNDERWATER SUN RAYS
UNDERWATER SUN RAYS
Shop at:
SSS | SK
ACETATE SHEETS
ACETATE SHEETS
Shop at:
SSS | SK
CRYSTAL CLEAR FUSION SEQUINS
Shop at:
SSS | SK
MAJESTIC FUSION
MAJESTIC FUSION
Shop at:
SSS | SK
IRIDESCENT BUBBLES
IRIDESCENT BUBBLES
Shop at:
SSS | SK
TRIANGLE TRAY
TRIANGLE TRAY
Shop at:
SSS | SK
STUDIO KATIA GLUE
STUDIO KATIA GLUE
Shop at:
SSS | SK
Double Ended Jewel Picker
Shop at:
SSS | AMZ | HBS
Strathmore Bristol Pad
Shop at:
SSS | AMZ
Mini Misti Tool
Mini Misti Tool
Shop at:
SSS | AMZ | SB | SK
Juicy  Ink
Juicy Ink
Shop at:
SSS | IO3
Gold Rush Embossing Powder
Shop at:
SSS | IO3
Blackout Ink
Blackout Ink
Shop at:
SSS | IO3
Gemini Jr Die Cutting/Embossing Machine
Shop at:
SSS | AMZ | SB
Zig CLEAN COLOR 60+ 80 SET
Shop at:
SSS | AMZ
BLENDER BRUSH Set
BLENDER BRUSH Set
Shop at:
SSS | AMZ | IO3
Oxide Ink Pad MUSTARD SEED
Shop at:
SSS | HBS
Oxide Ink Pad SALTY OCEAN
Shop at:
SSS | AMZ
Oxide Ink Pad ANTIQUE LINEN
Shop at:
SSS
Foam Mounting Tape
Foam Mounting Tape
Shop at:
AMZ
Glossy Accents
Glossy Accents
Shop at:
SSS | AMZ | SB | HBS

To make supplies easy for you to find, I have linked them here above. If something is no longer available I will link to a similar product. Affiliate links may be used depending on the product linked. By shopping through my links you help keep my blog running at no extra cost to you. So thank you in advance for supporting my creations!


I hope you got some inspiration from this Save The Date See Through Window Shaker. Thanks so much for stopping by and have a wonderful day!

Until next time... Happy Crafting πŸ‘‹


PIN IT! 
Save The Date See Through Window Shaker for Studio Katia by ilovedoingallthingscrafty.com