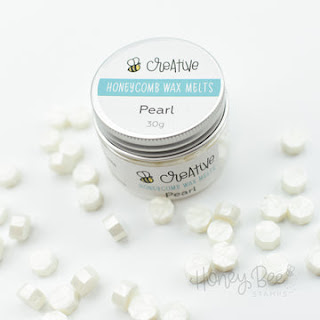
***Please note links in the post are no longer active, if you are looking for something specific use this link here to 👉 HONEY BEE STAMPS and search for the product listed. My apologies for the inconvenience ***
Hello, my friends!
Today I have some fall-inspired inklended cards to share with you. Recently I watched a Reel of someone making wax seals with multiple colors and I really wanted to give them a try. I can honestly say there is a bit of a learning curve. I did waste some wax, but I did figure out what worked best for me.
For my wax seals, I started by melting the wax that I wanted to use on the maple leaf. I used yellow and green melts from the Spooktacular Wax Melts to create two different seals.
- Once the wax is melted over the melting furnace, I poured it onto the Maple Leaf Stamper. (Make sure to heat up the end of the stamper because if it is cool the wax will set instantly). I used my heat gun on it for a few seconds.
- While the wax is still wet, use a metal spatula to scrape off the excess wax.
- I had my heat gun going nearby and used it to heat up the spatula as well. This gave me more time to work before the wax set.
- To remove the wax from all my elements (spatula, spoon) I found it easier if I heated them up for a few seconds and then used a baby wipe to clean off the wax.
- Be careful and avoid touching the metal directly while cleaning to avoid burns.
- Next, melt the background color, I used black melts from the Tuxedo Wax Melts, and then pressed the maple leaf stamper into the black poured wax to complete the seal.
- I used the Bee Creative Silicone Craft Mat to pour the wax onto. Once it is cooled it peels off really easily.
So naturally after I had made these seals, I thought I should add them to the front of a card.
CARD RECIPE
For my background, I used a variety of fall-inspired distress oxide inks (see supply list below) and ink blended them onto a couple of cardstock panels.
- Next, I used the Fall Leaves 3D Embossing Folder to add the detail embossing to the blended backgrounds. To make the foliage pop, I used a brayer and Bee Creative Gold Metallic Ink to add touches of gold and detail to the background. You may notice more detail on this card below as I initially used black ink and really disliked how it looked and before tossing it I thought I would just try saving it by using the Gold ink over top. It worked, I was really impressed with the results as it deepened the details and I was happy I hadn't thrown it out.
- Before trimming each panel slightly, I splattered them with some black ink and set them aside to dry.
- I then wrapped some black and gold bakers twine around the panel and secured the ends on the back of the panel with tape.
- The foliage I used on the card fronts comes from the Lovely Layers: Autumn Bouquet Dies.
- I then created the bouquet and glued it in the center where the twine crossed.
- Next, I glued the wax seal in place by using a wax seal sticker.
- Add the panels to a black piece of cardstock and glue them onto an A2 top folding card base.
- To finish each card, I added a sentiment from the Heartfelt Hello Stamps and Dies that I first stamped in Bee Creative Gold Metallic Ink and then heat set it with gold emb. pwd. To make the sentiments level with the seals I used Black Foam Dots.
Let me know if you have any questions about the process. It is very hard to explain sometimes and way easier to watch. If I have time I will create a Reel over on Instagram for you all to watch.
I hope you enjoyed today's Ink Blended Embossed Autumn Cards. Thank you for stopping by and until next time... Happy Crafting!
Ilda 🍁
SUPPLIES
Enjoyed this post? Never miss out on future posts by Following this Blog
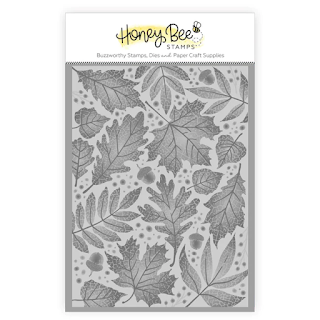 Fall Leaves 3D Embossing Folder Shop at: SSS | HBS |
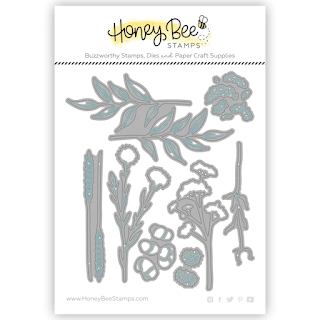 Lovely Layers: Autumn Bouquet Dies Shop at: SSS | HBS |
 Heartfelt Hello Stamps Shop at: SSS | HBS |
 Heartfelt Hello Dies Shop at: SSS | HBS |
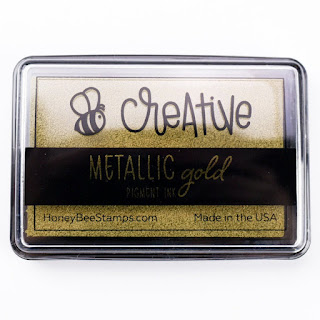 Bee Creative Gold Metallic Ink Pad Shop at: SSS | SB | HBS |
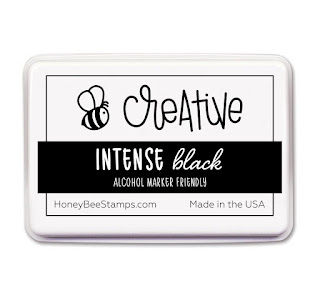 Intense Black Ink Pad Shop at: SSS | SB | HBS |
 Detail Blender Brushes Shop at: SSS | HBS |
 Background Blender Brushes Shop at: SSS | HBS |
 Honey Bee Reverse Tweezers Shop at: SSS | HBS |
 Bee Creative Glue Shop at: SSS | SB | HBS |
Bee Creative Silicone Craft Mat Shop at: SSS | SB | HBS |
 Maple Wax Leaf Stamper Shop at: SSS | SB | HBS |
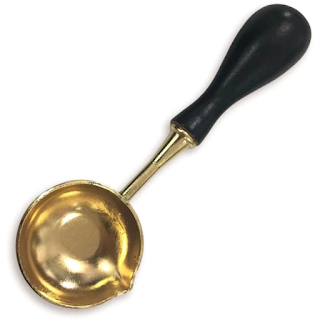 Wax Melting Spoon Shop at: SSS | SB | HBS |
 Wax Melting Furnace Shop at: SSS | SB | HBS |
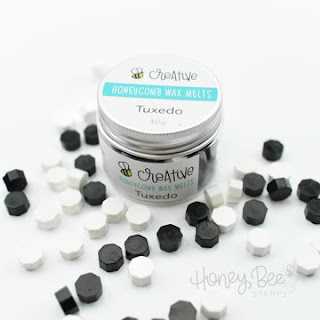 Wax Melts | Tuxedo Shop at: SSS | SB | HBS |
 Spooktacular Wax Melts Shop at: SSS | SB | HBS |
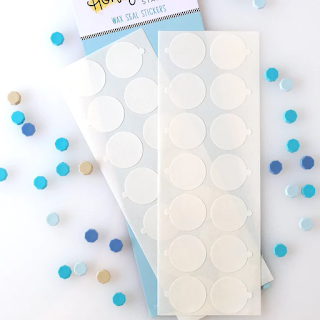 Wax Seal Stickers Shop at: SSS | HBS |
 Black Foam Dots 1/4" Shop at: HBS |
 Bee Creative Bitty Buzz Cutter Shop at: HBS |
 MUSTARD SEED DISTRESS OXIDE Shop at: SSS | SB | HBS |
 Oxide Ink Pad PEELED PAINT Shop at: SSS | SB | HBS |
 RIPE PERSIMMON DISTRESS OXIDE Shop at: SSS | SB | HBS |
 CANDIED APPLE Oxide Ink Shop at: SSS | SB | HBS |
 Oxide Ink Pad SEEDLESS PRESERVES Shop at: SSS | SB | HBS |
 Platinum 6 Die Cutting Platform Shop at: SSS | SB | SB |
 New Mini Misti Shop at: SSS | SB | HBS |
 Bearly Art Precision Glue Shop at: SSS | AMZ | HBS |
 Heat Gun Shop at: AMZ |
 Magic Powder Bag Shop at: SSS |
 Gold Rush Emb. Pwd. Shop at: SSS | IO3 |
 Distress Brayer Shop at: SSS | SB | HBS |
To make supplies easy for you to find, I have linked them above. If something is no longer available I will link to a similar product. Affiliate links may be used depending on the product linked. Please help support my blog by using these links while shopping at no additional cost to you. For more information about the affiliates I use, please visit my disclaimer here. Thanks so much for all your support!


.jpg)
.jpg)
.jpg)
.jpg)


