***Please note links in the post are no longer active, if you are looking for something specific use this link here to 👉 HONEY BEE STAMPS and search for the product listed. My apologies for the inconvenience and thanks in advance for using my link ***
Happy Monday my friends!
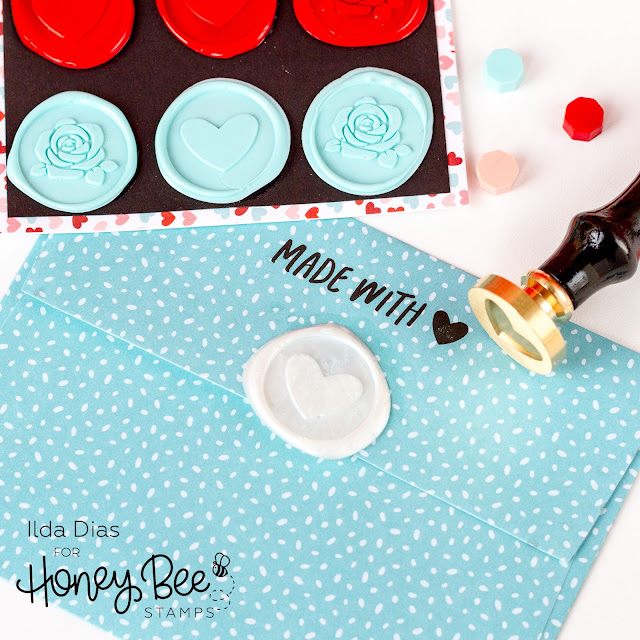
Today I have a bit of a different Valentine's Day card to share with you. Honey Bee Stamps released a wax seal product line with their latest release and I finally had a chance to play with them.
There are many ways to melt wax melts. Probably the most traditional way is to do it using a wax melting spoon over a flame. I am impatient and found that took too long, lol. So I used my heat gun, which worked well too but still not as fast as I would like. And that is when I got the idea to use my Hot Foil System to melt the wax. Although the melting part wasn't as quick either, this method yielded more seals because you were making multiples, which ended up saving time in the end.
After experimenting with various types of papers and materials on what to melt the wax melts onto, I discovered the best way to do it was to use tin foil strips. I tried sticker paper, wax paper, acetate, silicone and found the best results happened when I used the tin foil as it transferred the heat the best and released the wax well once it was cool.
To melt wax using the Hot Foil System,
- I turned the machine on and waited until the green light was on.
- Next, I cut pieces of tin foil large enough to fit two melted wax seals as I only have two stampers, and place the tin foil onto the base of the Hot Foil System.
- I then added two melts to each tin strip.
- Once the first melt had almost melted I added a second wax melt to the middle of the melted wax. I found two wax melts were enough for a seal. (If you like them a little thicker you can try using three melts per seal).
- Remove one tin foil strip from the Hot foil system at a time as the wax hardens quickly, and stamp the wax using the stamper. I have two stampers, (a rose and a heart stamper) and that is why I only did two seals per tin strip.
- Once the wax is cool (about 15-20 seconds) remove the stamper to reveal the results.
- Repeat process with the next seals.
- Peel seals from foil base, and store them for later use.
TIPS:
- If your seal doesn't turn out well, you can always remelt it and restamp it over and over again.
- If you see bubbles in the wax, it means the wax is too hot. I didn't see them using the foil system, but did with the heat gun and candle.
- You can make seals ahead of time for larger projects such as wedding invitations or other events.
- Use a strong adhesive to secure the pre-made wax seals in place. Like double-sided tear tape or strong liquid glue. If using glue, it will take longer to dry in place but it does give you wiggle room to move them around.
CARD RECIPE
This card uses the Hugs & Kisses Wax Melts as well as the white wax from the Tuxedo Melts. All I did was glue them in place using Bee Creative Glue. The liquid glue gave me the extra time to move them around as I was trying to space them as evenly as possible.
Before adding the wax seals in place, I had stamped the sentiment that was heat embossed in white in the center of a black layer of cardstock using a stamp that comes from the Sealed Love Stamp Set. The black panel was then glued to another layer of pattern paper from the Hugs And Kisses Paper Pad.
To create the coordinating envelope I added a Pearl Wax Seal to the flap of a Hugs And Kisses A2 Envelope and finished it with another stamp from the Sealed Love Stamp Set.
I have made an IG Reel that will be showing you how this card and the melts were made over on Instagram, so be sure to check it out there or click the Reel image below.
Hope this project inspired you to give wax seals a try. I love the extra touch they add to the envelope or use them as I did to embellish an entire card front.
Thank you for stopping by and until next time... Happy Crafting!
Ilda 💗
SUPPLIES
To make supplies easy for you to find, I have linked them above. If something is no longer available I will link to a similar product. Affiliate links may be used depending on the product linked. Please help support my blog by using these links while shopping at no additional cost to you. For more information about the affiliates I use, please visit my disclaimer here. Thanks so much for all your support!
 Hugs And Kisses Paper Pad Shop at: SSS | SB | HBS |
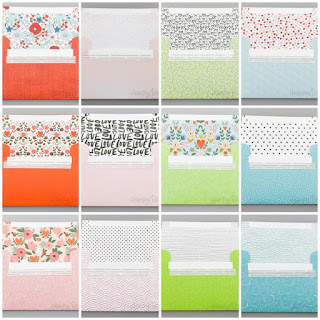 Hugs And Kisses A2 Envelopes Shop at: HBS |
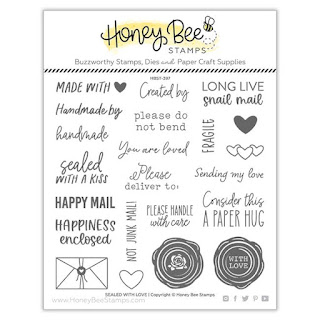 Sealed With Love Shop at: SSS | SB | HBS |
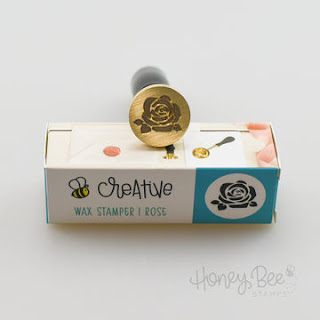 Wax Stamper | Rose Shop at: SSS | SB | HBS |
 Wax Stamper | Heart Shop at: SSS | SB | HBS |
 Wax Melts | Hugs & Kisses Shop at: SSS | SB | HBS |
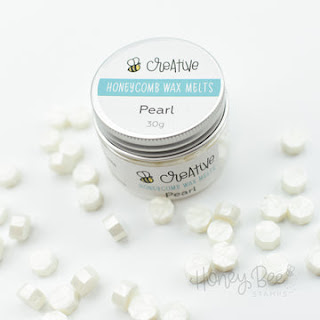 Wax Melts | Pearl Shop at: SSS | SB | HBS |
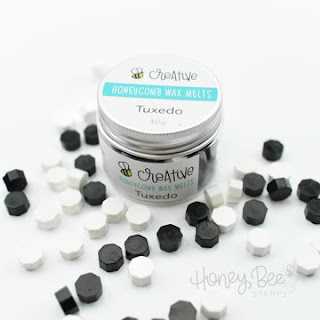 Wax Melts | Tuxedo Shop at: SSS | SB | HBS |
 Bee Creative Glue Shop at: SSS | SB | HBS |
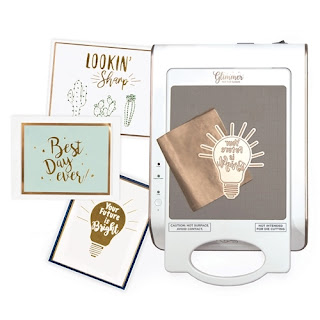 Hot Foil System Shop at: SSS | SB | SB |
 New Mini Misti Shop at: SSS | SB |
 Pitch Black Cardstock Shop at: SSS | HA |
 Magic Powder Bag Shop at: SSS |
 Unicorn Pigment Ink Shop at: SSS | SB | HBS | HA |
 Arctic White Emb.Pwd. Shop at: SSS | IO3 |


