Happy Tuesday Crafty Friends!
Today I am excited to be a Guest Designer for Pinkfresh Studios March Washi, Stamp, Die, Stencil, and Hot Foil Release Instagram Hop. Please join me over there after you are done checking out this post as you could win the ENTIRE release on the Pinkfresh Instagram account, as well as a total of TEN $25 gift cards across the hop! Click 👉HERE to get started.
As you may know, I love all things rainbow, so when I saw this Rainbow Floral Washi Tape I knew I had to play with it! This washi tape makes it so easy to put a card together since it saves you all the time that you normally would spend coloring it first. And then the dies align so perfectly with the designs on the tape that you can mass-produce the die cuts so quickly. What a brilliant idea!
For this card, I stacked the die cuts from the Rainbow Floral Washi Tape on top of a couple of blank layers of the dies and then glued them in somewhat of a rainbow order on the card front, leaving room for a sentiment along the side edge of the card.
Next, I stamped out a few sentiments that come from the Simply Sentiments - Hello Stamp Set using 3 ink colors (Rasberry Bliss, Sunshine and Blue Jay Dye Inks)that when overlapped create a rainbow blend. At first, I had planned on leaving the Hello also in the rainbow colors but it didn't stand out enough so I went back in with black ink to make it pop.
I then just finished the card with coordinating rainbow pearls that I used from my embellishment stash.
For this next card, I decided to stick to a few colors even though I was using the Rainbow Floral Washi Stamp Set. I began by stamping the images out using watermark ink and then heat set the lines using gold embossing powder.
I then used the Rainbow Floral Washi Layering Stencils to ink blend the purple layers (Candy Violet and Lavender Dye Inks) the greens (Grassy Knoll and Olive Dye Inks). Once my blending was done used the coordinating Rainbow Floral Washi Dies to cut out the images. Once again I die cut extra blank-shaped dies to stack the images and make them thicker.
To create the see-through window I used a circle die on the front panel of the card base. I then covered the opening using the wreath image and then added the floral die cuts all around the panel, cutting off any excess that hung over the edge of it.
To complete the front of this card I glued some purple jewels on the berry-like buds. On the inside of the card, I stamped out a couple of sentiments that come from the Floral Vase Stamp set.
Since I had lots of extra die-cut finished images I thought I would make another card. This time I glued the pieces onto a purple cardstock card panel that I had die cut a diamond opening from the center of it and the card base using the Nested Diamonds Die.
I then used the Nested Diamonds Hot Foil Plates with the Hot foil System to add the Brass Foil to the Diamond frame. I then die-cut the frame using a couple of the dies from the Nested Diamonds Die set.
To the inside of the card, I stamped the sentiment that is included in the Rainbow Floral Washi Stamp Set.
Finally, I added the same purple jewels to where there were some open spaces to complete the card front.
And last but not least, is this beautiful see-through die-cut card made using the Dahlia Washi Tape Card inspired by one of Jennifer McGuire's recent videos using die-cuts to create a see-through card front.
To do that I die cut all the Dahlia Washi Tape pieces using the coordinating Dies. I then laid the pieces out and overlapped the edges of the dies. I also used a Nested Diamonds Die that I cut from Gold foiled cardstock as a guide for where the center of the card panel would be. Once I was happy with the layout I glued the overlapping pieces together and trimmed off the edges to create an A2 size panel.
Then to finish off the backside of the front panel and add reinforcement, I glued extra pieces of the dies to the back of the Dahlia Washi Dies. I also used a diamond die cut piece to finish off the inside of the window.
Here is what the inside looks like, I had this extra larger diamond die cut so I used it to stamp out the sentiment. I then just added a couple of metallic gold pearls to complete this card.
I had so much fun playing with the new Washi Tape Collections. I hope you go check out the other tapes that were also released from Pinkfresh, and don't forget to join the IG hop for a chance to win the entire release!
My apologies for this extra long post. I wanted to get all my projects into this one as I will be taking the rest of the week off as we are going to the mountains for a little Spring Break getaway with the family.
Thank you for stopping by and until next time... Happy Crafting!
Ilda 🌼🌸
SUPPLIES
 Rainbow Floral Washi Tape Shop at: SSS | PF |
 Rainbow Floral Washi Layering Stencils Shop at: SSS | PF |
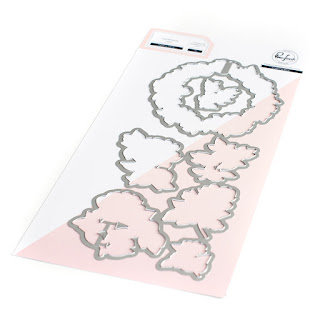 Rainbow Floral Washi Die Shop at: SSS | PF |
 Rainbow Floral Washi Stamp Set Shop at: SSS | PF |
 Dahlia Washi Tape Shop at: SSS | PF |
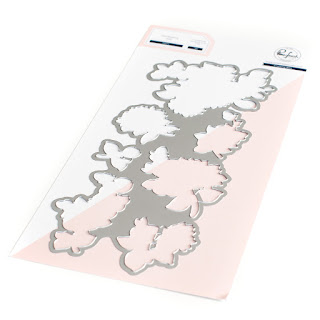 Dahlia Washi Die Shop at: SSS | PF |
 Dahlia Washi Stamp Set Shop at: SSS | PF |
 FLORAL VASE STAMP SET Shop at: SSS | PF |
 SIMPLY SENTIMENTS - HELLO STAMP SET Shop at: SSS | PF |
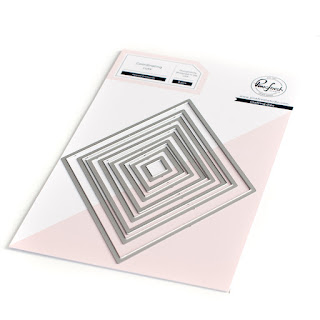 Nested Diamonds Die Shop at: SSS | PF |
 Nested Diamonds Hot Foil Plates Shop at: SSS | PF |
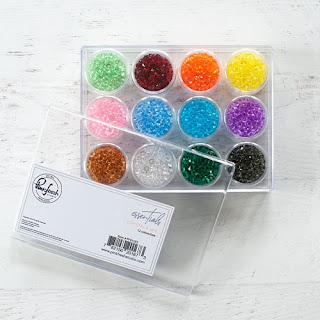 ESSENTIALS: CRYSTALS MIX Shop at: SSS | PF |
 GOLD Metallic Pearls Shop at: SSS | PF |
 Neenah Solar White 110lbs Shop at: SSS | AMZ | HBS |
 New Mini Misti Shop at: SSS | SB |
 Platinum 6 Die Cutting Platform Shop at: SSS | SB | SB |
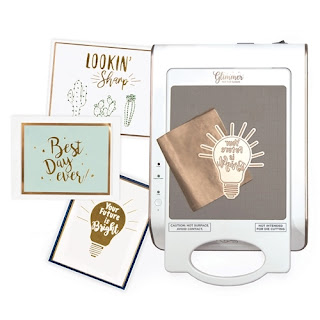 Hot Foil System Shop at: SSS | SB | SB |
 POLISHED BRASS - Glimmer Foil Shop at: SSS | SB | SB |
 Juicy Ink Shop at: SSS | HBS | IO3 |
 Gold Rush Emb. Pwd. Shop at: SSS | IO3 |
To make supplies easy for you to find, I have linked them above. If something is no longer available I will link to a similar product. Affiliate links may be used depending on the product linked. Please help support my blog by using these links while shopping at no additional cost to you. For more information about the affiliates I use, please visit my disclaimer here. Thanks so much for all your support!


.jpg)
.jpg)
.jpg)
.jpg)
.jpg)
.jpg)
.jpg)
.jpg)
.jpg)
.jpg)
.jpg)

