Hello friends and Happy FriYAY! I hope you all are hibernating in your air-conditioned craft rooms these days. We are setting record temperatures here in Edmonton. It has gone up to 38°C/100°F! That is just crazy... and some say there is no such thing as global warming🤔 Thankfully we have air conditioning!
Today's post is part of a collaboration I am doing with Scrapbook.com. They sent me some of their latest summer products to play with and I just had a blast! If you shop Scrapbook.com you may want to check out their 👉COUPON section as they have a ton of deals happening right now!
CARD RECIPE
Let's take a look at how this first bright and colorful slimline came together.
- Die-cut a paper of each color from the Brights Slimline Paper Pad using the Slimline-Nested Rectangles Dies.
- Using a trimmer cut the tops off the frames to create various sizes of rainbow strips.
- Glue each strip in rainbow order onto a Slimline Card front.
- Trim excess pieces that hang over the edge.
- Place the Pineapples Stencil over the bright card stock piece and apply glimmer paste to the pineapple design. You will need to move the stencil to get complete surface coverage of the slimline. Allow for drying time.
- Die-cut a white frame using the Slimline-Nested Rectangles Dies and glue it to the background.
- For the sentiment, I die-cut and stacked the letters using the Tall Skinny Alphabet-Upper and Lower Dies. Two white layers and a top black layer.
- Space the letters evenly and glue them to the card front.
- Finish off by adding a small embellishment detail with the Soft Lilac Pearl Pops of Color.
- Glue to card base.
For this next card, I thought it would be fun to create an Eclipse birthday card.
- Begin by ink blending out the colors to create a rainbow using the Pineapples Stencil on a Slimline Card front.
- Start with the Lantern Light Yellow 1 Ink, when you blend the other 2 colors over it it will create a rainbow gradient.
- Arrange the Tall Skinny Alphabet-Upper Dies evenly spaced on the card panel to die cut "WEAR A CROWN". Use masking tape to secure them down on the panel and run it through the die-cut machine. Repeat with letters that are doubled and ensure you allow enough space. Save the die-cut letters and the negative cuts to create the eclipse effect.
- To pop up the letters, die-cut 2 more layers for each letter. Stack and glue them together finishing the top layer with the colored pieces.
- Glue card panel to the slimline card base.
- Glue the letters back into the corresponding cuts.
- For added shimmer and shine, I added some glimmer to the top of the letters by using a glue pen and then sprinkling on the glitter.
- To finish off the sentiment, I stamped out the It's your day in black ink, centered above the letters.
I hope these fresh Rainbow Pineapple Slimline Cards inspired you today. Stay safe and cool my friends.
Thank you for stopping by and until next time... Happy Crafting!
Ilda👋
SUPPLIES
 Brights Slimline Paper Pad Shop at: SB |
 Slimline-Nested Rectangles Dies Shop at: SB |
 Pineapples Stencil Shop at: SB |
 Tall Skinny Alphabet-Upper and Lower Dies Shop at: SB |
 Slimline Cardfront Shop at: SB |
 Slimline cards and Envelopes Shop at: SB |
 Lantern Light Yellow 1 Ink Shop at: SB |
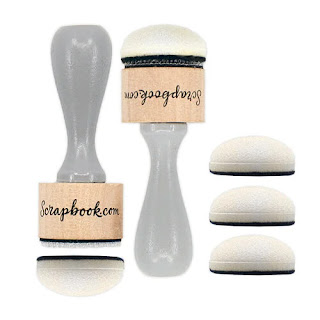
 Ink Blender Domed Foam Shop at: SB |
 Soft Lilac Pearl Pops of Color Shop at: SB |
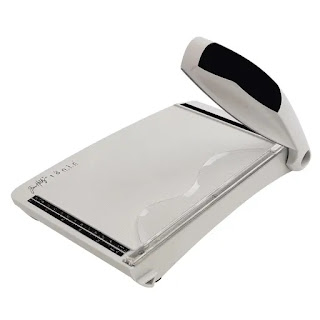
 Tim Holtz 8.5 Inch Trimmer Shop at: SSS | SB | TS UK |
 GEMINI JR. DIE CUTTER Shop at: SSS | AMZ | SB |
 Oxide Ink Pad PICKED RASPBERRY Shop at: SSS | SB | HBS |
 Oxide Ink Pad SALTY OCEAN Shop at: SSS | AMZ | HBS |
 MOONSTONE GLIMMER PASTE Shop at: SSS | SB | TS US |
 MEDIA SPATULAS Shop at: SSS | SB | TS US |
 BIRTHDAY Shop at: SSS | SB | HBS |
 ORIGINAL MISTI Shop at: SSS | AMZ | SB | HBS |
 BEE CREATIVE GLUE Shop at: SSS | SB | HBS |
 ZIG Glue Pen FINE TIP Two Way Acid-Free Shop at: SSS | AMZ |
 SPARKLE GLITTER Shop at: SSS | SK |
To make supplies easy for you to find, I have linked them above. If something is no longer available I will link to a similar product. Affiliate links may be used depending on the product linked. Please help support my blog by using these links while shopping at no additional cost to you. For more information about the affiliates I use, please visit my disclaimer here. Thanks so much for all your support!


No comments:
Post a Comment
Thanks so much for taking the time and leaving me a comment! I always love hearing from you and I appreciate you stopping by! Hugs, Ilda