I kept this card super simple and one layer.
- Stamp the string of lights to stamp across the panel as shown below leaving space for the sentiment. Use Copic-friendly ink. There is a coordinating die set if you want to add extra dimension to this card that you could use.
- Use a small ink-blending brush to blend rainbow-ordered ink circles onto each light.
- Color in the light bulbs with coordinating Copic colored markers.
- Add white gel pen highlights to the bulbs.
- For a little sparkle, I added glue to the string of lights in various spots.
- Before the glue dries, sprinkle on Chucky Sparkle Glitter.
- To embellish the card front even more I added a few Clay Rainbow Stars.
- Glue panel onto an A2 Card base and voila, super simple Christmas Card!
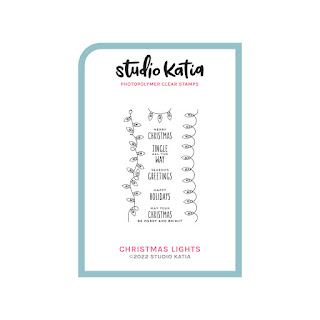 Christmas Lights Shop at: SSS | SK |
 Rainbow Stars Shop at: SSS | SK |
 Chucky Sparkle Glitter Shop at: SSS | SK |
 SK Glue Shop at: SSS | SK |
 Embellishment Wand Shop at: SSS | SK |
 Black Triangle Tray Shop at: SSS | SK |
 Original Misti Shop at: SSS | AMZ | SB | HBS |
 VersaFine ONYX BLACK Ink Shop at: SSS | AMZ | SB | HBS |
 Neenah Solar White 110lbs Shop at: SSS | AMZ | HBS |
 Atelier Ink Sweet Petunia Shop at: SSS | IO3 |
 ATELIER MARIGOLD ORANGE Shop at: SSS | IO3 |
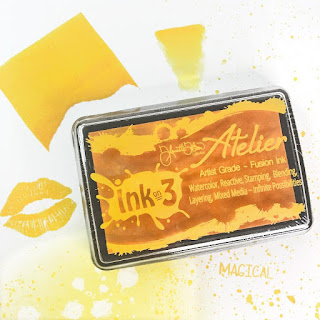 Atelier Ink Bee Sting Yellow Shop at: SSS | IO3 |
 ATELIER GODDESS GREEN Shop at: SSS | IO3 |
 Atelier Ink Peacock Blue Shop at: SSS | IO3 |
 ATELIER MY PURPLE JAM Shop at: SSS | IO3 |
 Finger Sponge Daubers Shop at: SSS |
 Copic Sketch Markers Shop at: SSS | AMZ |
 White Gelly Roller Pen Shop at: SSS | AMZ | SB | HBS |


.jpg)
.jpg)
.jpg)








.jpg)
.jpg)
.jpg)


