Hello Friends!
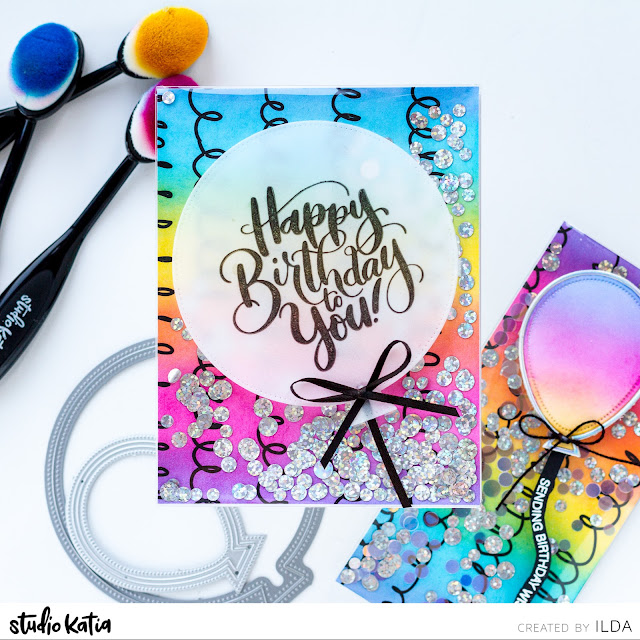
I am back again today to share these two fun Rainbow Shaker Birthday Cards featuring the NEW Shaker Pockets! If you are following me or Studio Katia on Instagram, you may have seen these already in a Reel that was shared this past weekend. But for those that missed it here are all the details!
Fun fact: Did you know that these pockets were developed as a direct result of my DIY Frameless Shaker Cards, no kidding! In fact, Katia was the first person I approached to turn the DIY version into a product to make life easier for anyone who hated messing with foam tape to create shaker cards.
Since then various other companies jumped onto this idea and have created them too (I must admit I couldn't contain my excitement about these and did share this idea with others at Creativation). Even still, I am so happy to see Studio Katia finally releasing these as they truly are a game changer when it comes to making shakers.
CARD RECIPE
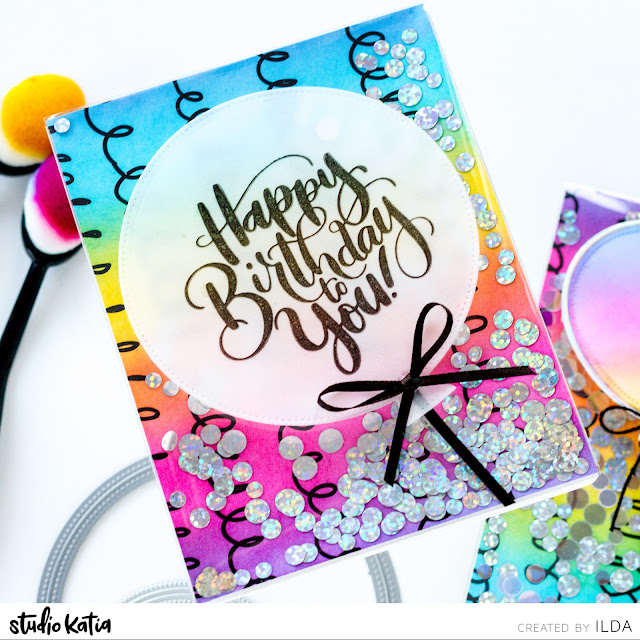
- Begin by creating the background. For both these cards, I used a piece of pattern paper from the Black on White Paper Set. I then Ink Blended the rainbow starting with yellow ink in the center and then ink blending with pink and blue to create the rainbow blends.
- Trim the piece of paper to create a background for a mini slimline shaker and an A2 shaker.
- Remove the protective layer from the Shaker Pocket.
- I added strong adhesive tape to the back of the card panel, but you could also apply it to the side tabs of the pockets.
- Next, I wrapped the tabs around the panel and secured three sides to the card panel, to create a pocket.
- I filled this first shaker card with Silver Foil Discs, then sealed the last pocket tab.
- I then attached the panel to an A2 Card Base.
For the front of the card:
- Stamp out the Birthday Sentiment from the It's Your Birthday stamp set. Use ink that sets quickly or you can heat emboss it too.
- Die cut the sentiment done on vellum, using one of the Dotted Balloons Dies.
- Apply small dots of glue to the balloon behind the stamped image to hide the glue dots.
- Finish by adding a bow.
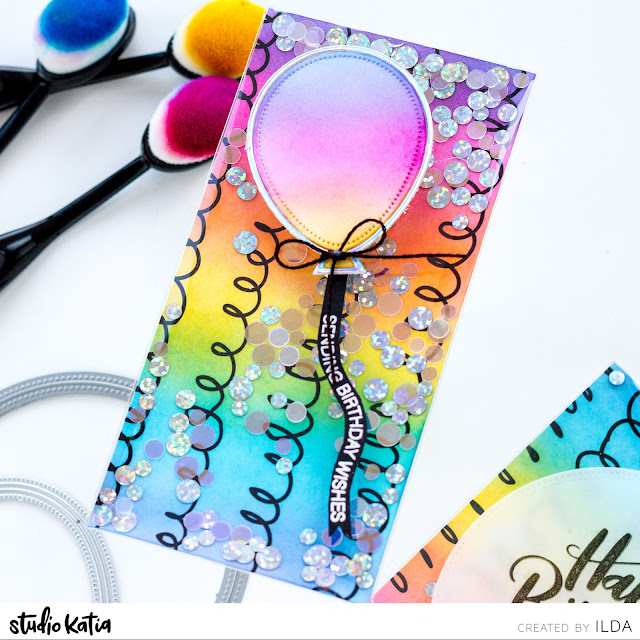
This next card was done the exact same way with a few differences that I will point out next.
- For this card, I used the Mini Slimline Shaker Pockets.
- The balloon I used comes from the Shaker Balloon Die set.
- The sentiment done in white embossing comes from the Mini Sending Greetings stamp set. To make it look like the sentiment is curved I attached it to the Misti front that way and stamped it out. I then heat embossed it and fussy cut the sentiment adding a tail on the end.
- For the shaker filler, I used both Silver Fever Foil Discs and Crystal Discs.
If you have never made a shaker because they look complicated, or you hate messing with foam tape, like I did, I promise you this is the easiest way to make them and the results speak for themselves. Just look, aren't they magical! Give these a try, I think you will love them!
Thank you for stopping by and until next time... Happy Crafting!
Ilda 🌈🧂
SUPPLIES
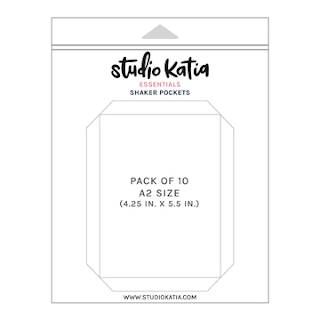 A2 Shaker Pockets Shop at: SSS | SK |
 Mini Slimline Shaker Pockets Shop at: SSS | SK |
 Silver Fever Foil Discs Shop at: SSS | SK |
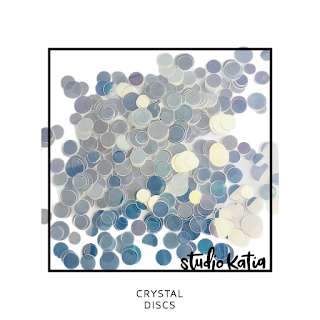 Crystal Discs Shop at: SSS | SK |
 Black on White 6x8.5" Paper Set Shop at: SSS | SK |
 Dotted Balloons Dies Shop at: SSS | SK |
 Shaker Balloon Die Shop at: SSS | SK |
 It's Your Birthday Shop at: SSS | SK |
 Mini Sending Greetings Shop at: SK |
 Ink Blender Brushes Shop at: SSS | SK |
 Black Triangle Tray Shop at: SSS | SK |
 SK Glue Shop at: SSS | SK |
 New Mini Misti Shop at: SSS | SB | HBS |
 Vellum Value Pack Shop at: SSS | AMZ |
 Arctic White Emb.Pwd. Shop at: SSS | IO3 |
 Black and Decker Heat Gun Shop at: AMZ |
 Platinum 6 Die Cutting Platform Shop at: SSS | SB | SB |
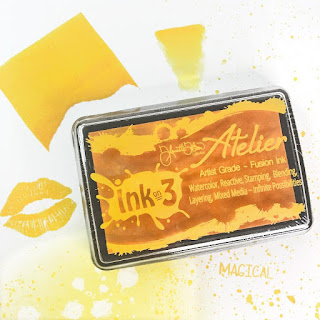 Atelier Ink Bee Sting Yellow Shop at: SSS | IO3 |
 Atelier Ink Sweet Petunia Shop at: SSS | IO3 |
 Atelier Ink Peacock Blue Shop at: SSS | IO3 |
 Blackout Ink Shop at: SSS | HBS | IO3 |
 Shark Tooth White Atelier Ink Shop at: SSS | IO3 |
 Holographic Cardstock Shop at: ELC |
.png) Red Line Tape 1/4" Shop at: SSS | HBS |
To make supplies easy for you to find, I have linked them above. If something is no longer available I will link to a similar product. Affiliate links may be used depending on the product linked. Please help support my blog by using these links while shopping at no additional cost to you. For more information about the affiliates I use, please visit my disclaimer here. Thanks so much for all your support!
Watch these being made!


