***Please note links in the post are no longer active, if you are looking for something specific use this link here to 👉 HONEY BEE STAMPS and search for the product listed. My apologies for the inconvenience ***
Hello, my friends!
It probably feels like forever since my last post! Right now my family and I should be returning to Portugal after our Mediterranean Cruise and spending a little more time with our family before heading back home. I hope you are all enjoying your Summer and I will be back to regular posts soon. Make sure you are following me on Instagram as I will most likely be sharing photos of our vacation. Now back to the post!
Summertime is the busiest time of year for birthdays. As a majority of our family was born from June to August. So I thought it was the perfect time to share some of the birthday cards I will be sending out this year.
For both of my cards today, I created the backgrounds using a similar Double Stencil Technique. Basically starting off with one stencil and then adding detail to that stencil with another one.
CARD RECIPE
1. For this hidden inlay card, I began by blending out the background using Layering Balloon Stencils by blending the yellow at the bottom up to the middle of the panel. I then repeated the process this time blending from the top toward the middle, resulting in the orange blend in the center.
2. Leaving the balloon stencil in place, I then laid the smallest dots stencil of the Polka Dot Background Stencils over top and repeated the blending in the same order. Once you remove the stencils you are left with a crisp white background and a fun design on the balloons.
3. Next, I die-cut the panel using the Happy Happy Happy A2 Cover Plate. I then ran the same plate through the die-cut machine a couple more times to create the layers for staking the letters for the hidden inlay design. Once all glued and stacked, glue the letters back into the panel that was glued to the card front.
4. Stamp out the sentiments to the card front using Intense Black Ink with sentiments from the Mini Messages Stamp set.
5. Foil the birthday greeting for the center using the Birthday Hot Foil Plate done in AURA Glimmer Foil, then die cut using the coordinating die. Die cut a few more layers to stack and then glue in the center of the card panel.
6. Finish the card by adding some sparkle. I used gems from the Rainbow Birthday sticker set.
For this traditional shaker, I first die-cut the opening using a frame from the Sweet Stacks: Rectangles set, then glued acetate to the outer balloon frame, used foam tape to build up the shaker space and then filled the shaker area with AURORA LIGHTS Confetti Mix. The center of the panel was glued to the card base first before attaching the shaker window.
To the front of the card, I stamped out the sentiment from the Big Time Kindness Stamp set using Bee Creative Gold Metallic Ink Pad and then heat set it with gold Emb. pwd. It then was die cut with the coordinating die and glued to the shaker front.
I hope you will give this double stencil technique a try. It is a great way to add a new look to one-layer stencils.
Thank you for stopping by and until next time... Happy Crafting!
Ilda 🎈
SUPPLIES
Enjoyed this post? Never miss out on future posts by Following this Blog
 Layering Balloon Stencils Shop at: SSS | SB | HBS |
 Polka Dot Background Stencils Shop at: SSS | SB | HBS |
 Happy Happy Happy A2 Cover Plate Shop at: SSS | SB | HBS |
 Sweet Stacks: Rectangles Shop at: SSS | SB | HBS |
 Birthday Hot Foil Plate Shop at: SSS | SB | HBS |
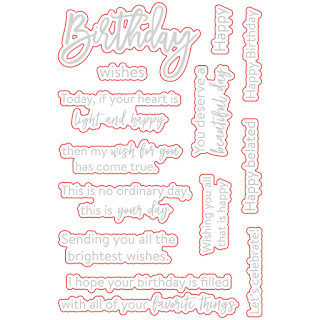 Birthday Wishes Dies Shop at: SSS | SB | HBS |
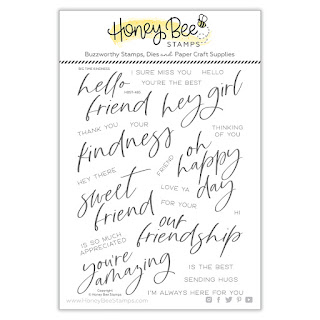 Big Time Kindness Shop at: SSS | SB | HBS |
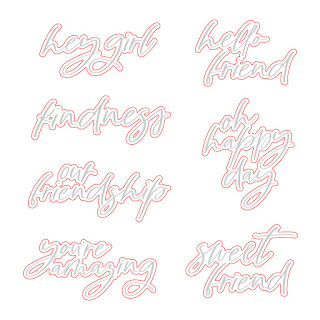 Big Time Kindness Dies Shop at: SSS | SB | HBS |
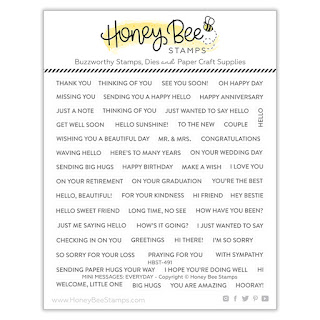 Mini Messages Stamps Shop at: SSS | SB | HBS |
 Detail Blender Brushes Shop at: SSS | HBS |
 Background Blender Brushes Shop at: SSS | HBS |
 Bee Creative Acetate Sheets Shop at: HBS |
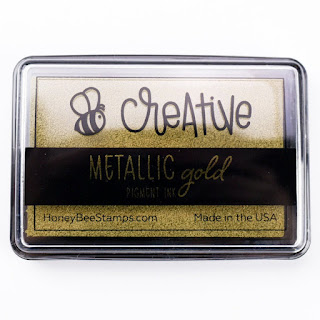 Bee Creative Gold Metallic Ink Pad Shop at: SSS | SB | HBS |
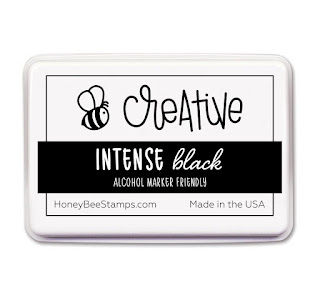 Intense Black Ink Pad Shop at: SSS | SB | HBS |
 AURORA LIGHTS Confetti Mix Shop at: HBS |
 Rainbow Birthday Gems Shop at: SSS | SB | HBS |
 Honey Bee Reverse Tweezers Shop at: SSS | HBS |
 Bee Creative Glue Shop at: SSS | SB | HBS |
 Bee Creative Bitty Buzz Cutter Shop at: HBS |
 Stamping Pressure Tool Shop at: HBS |
 Atelier Ink Sweet Petunia Shop at: SSS | IO3 |
 Atelier Ink Bee Sting Yellow Shop at: SSS | IO3 |
 Atelier Ink Peacock Blue Shop at: SSS | IO3 |
 Magic Powder Bag Shop at: SSS |
 Gold Rush Emb. Pwd. Shop at: SSS | IO3 |
 Glimmer Specialty Card Stock Shop at: SB | HBS |
 AURA Glimmer Foil Shop at: SSS | SB | HBS | SB |
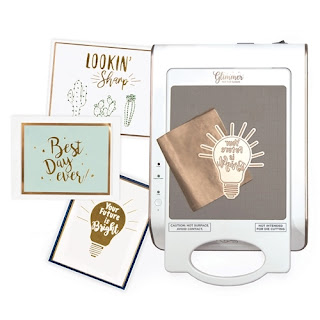 Hot Foil System Shop at: SSS | SB | HBS | SB |
 Platinum 6 Die Cutting Platform Shop at: SSS | SB | SB |
 New Mini Misti Shop at: SSS | SB | HBS |
 Double-Sided Foam Tape Shop at: SSS | AMZ |
To make supplies easy for you to find, I have linked them above. If something is no longer available I will link to a similar product. Affiliate links may be used depending on the product linked. Please help support my blog by using these links while shopping at no additional cost to you. For more information about the affiliates I use, please visit my disclaimer here. Thanks so much for all your support!


.jpg)
.jpg)
.jpg)
.jpg)

