***Please note links in the post are no longer active, if you are looking for something specific use this link here to 👉 HONEY BEE STAMPS and search for the product listed. My apologies for the inconvenience ***
Hello, my friends, and Happy Easter Monday!
Have you checked out the Celebrate Release from Honey Bee Stamps yet!? It is to date my favorite release! Lots of Spring and birthday-themed awesomeness. Plus some pretty cool tools, including the shaker pockets inspired by me! 👧
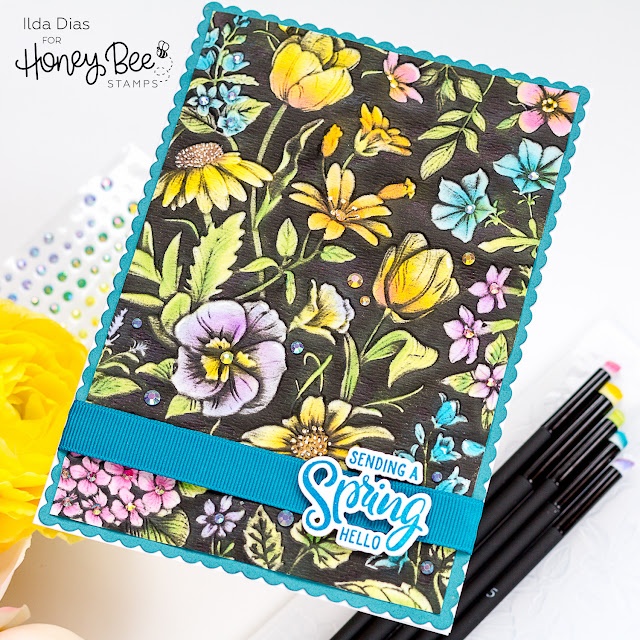
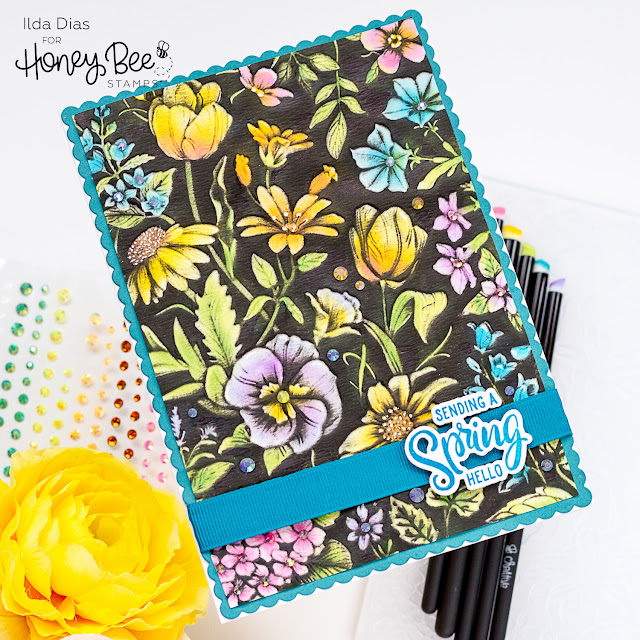
For my card today I had to try again the 3D Blackout Embossing Folder Technique I shared a few weeks ago, this time using the new Sandie's Garden - 3D Embossing Folder. If you aren't the best colorist or have visual issues (like me🙋) and prefer ink blending, this is an easy way to color a background.
CARD RECIPE
Remember the cool tools I mentioned earlier, well now Honey Bee has new Beeluxe Detail Blending Brushes! They come in sizes 5, 7, and 10 and are angled to blend into all the small creases and crevasses, making them ideal for a detailed project like this one!
- Place a piece of watercolor cardstock between the Sandie's Garden - 3D Embossing Folder. I gave it a light mist before running it through an embossing/die-cutting machine. The water just helps mold the paper and prevents any tearing.
- Add ink to the recessed side/debossed side of the embossed design. I used the new Beeluxe Detail Blending Brushes and distress oxide inks. Don't worry too much about getting a perfect blend or leaving some white areas.
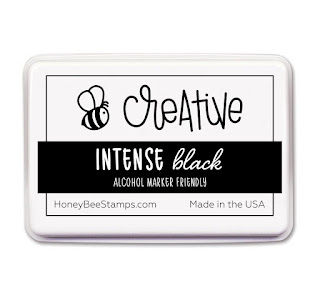
- Rub a juicy black ink pad all over the colored recessed side of the panel. In hindsight, I would have used a Bristol Paper rather than the watercolor one I used to make the surface smoother for the ink application. That just means I will have to try this technique again, lol 😉
- Trim down the panel. This finished card measures 5x7.
- Glue to the largest Scallop A7 Frame.
- Wrap coordinating ribbon across the bottom of the card and secure ends to the back using tape.
- Glue panel onto a side folding A7 Card Base.
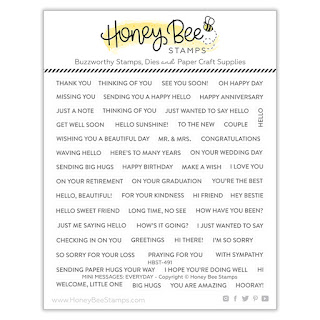
- Stamp out the sentiment from the Storybook Spring stamp set using a matching ink color. I then heat-set it using clear embossing powder.
- Die cut using coordinating Storybook Spring - Honey Cuts.
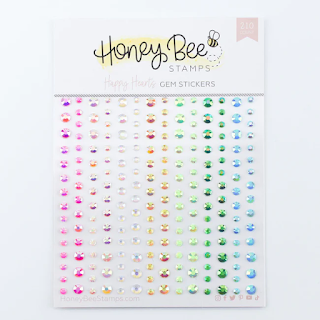
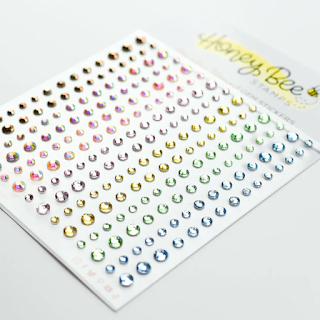
- Add coordinating gems from the Let's Party Gem Stickers.
- Finish by adding white pen details.
If you have not tried this technique yet, now's the perfect time to dive in with the gorgeous new Sandie's Garden - 3D Embossing Folder! And for a visual treat, stay tuned for a Reel on Instagram where I'll showcase the mesmerizing process of creating this card.
Thank you for stopping by and until next time... Happy Crafting!
Ilda 🎕
SUPPLIES
Enjoyed this post? Never miss out on future posts by Following this Blog
 Sandie's Garden - 3D Embossing Folder Shop at: HBS |
 Scallop A7 Frame Dies Shop at: SSS | SB | HBS |
 Storybook Spring Shop at: HBS |
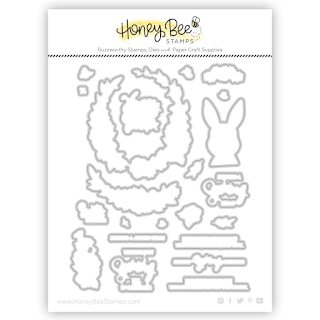 Storybook Spring Coordinating Stencils Shop at: HBS |
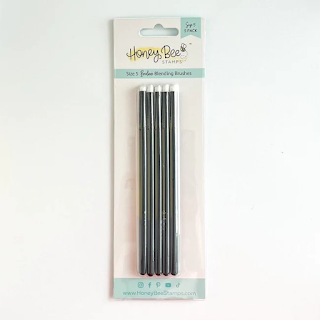 Beeluxe Detail Blending Brushes Size 5 Shop at: HBS |
 Beeluxe Detail Blending Brushes Size 7 Shop at: HBS |
 Beeluxe Detail Blending Brushes Size 10 Shop at: HBS |
 Let's Party Gem Stickers Shop at: HBS |
 Honey Bee Reverse Tweezers Shop at: HBS |
 Bee Creative Glue Shop at: SSS | SB | HBS |
 5.5x8.5 Grip Mat Shop at: SB | HBS | WF |
 Kitsch Flamingo Distress Oxide Ink Shop at: SSS | SB | HBS |
 Oxide Ink Pad PICKED RASPBERRY Shop at: SSS | SB | HBS |
 MUSTARD SEED DISTRESS OXIDE Shop at: SSS | SB | HBS |
 Squeezed Lemonade Distress Oxide Ink Shop at: SSS | SB | HBS |
 CARVED PUMPKIN Oxide Ink Shop at: SSS | SB | HBS |
 Oxide Ink Pad TWISTED CITRON Shop at: SSS | SB | HBS |
 Mowed Lawn Oxide Ink Shop at: SSS | SB | HBS |
 Broken China Oxide Ink Shop at: SSS | SB | HBS |
 Mermaid Lagoon Oxide Ink Shop at: SSS | AMZ | SB | HBS |
 Oxide Ink Pad WILTED VIOLET Shop at: SSS | SB | HBS |
 Oxide Ink SHADED LILAC Shop at: SSS | SB | HBS |
 WALNUT STAIN DISTRESS OXIDE Shop at: SSS | SB | HBS |
 VersaFine ONYX BLACK Ink Shop at: SSS | AMZ | SB | HBS |
 Platinum 6 Die Cutting Platform Shop at: SSS | SB |
 CRYSTAL CLEAR Emb Pwd Shop at: SSS | IO3 |
 White Gelly Roller Pen Shop at: SSS | AMZ | SB | HBS |
To make supplies easy for you to find, I have linked them above. If something is no longer available I will link to a similar product. Affiliate links may be used depending on the product linked. Please help support my blog by using these links while shopping at no additional cost to you. For more information about the affiliates I use, please visit my disclaimer here. Thanks so much for all your support!


