Hello again my friends, and welcome to the Hero Arts Global Team Blog Hop. Today our design team is sharing inspiration featuring February's Hero Art Releases. If you have started to hop already you may have come from my friend Erica's Blog and you are on the right track. I will share more about the giveaway and the hop list at the end of the post.
CARD RECIPE
To create a see-through front panel card like this you will need a cello bag the width of your card (usually used to store finished cards) to create the panel. This bag is the closest I have found to A2 size.
- Next cut a piece of acetate slightly smaller than A2 size to slide into the sleeve. This will give the panel the rigidity and strength it needs to stand.
- Pour your sequins/confetti bits into the sleeve ( I like to make sure they are on top of the acetate to decrease the bulk).
- Cut off the top of the bag, leaving it about one inch taller than the panel (6.5 inches for an A2 vertical card). The top of the bag will create the hinge for the back panel.
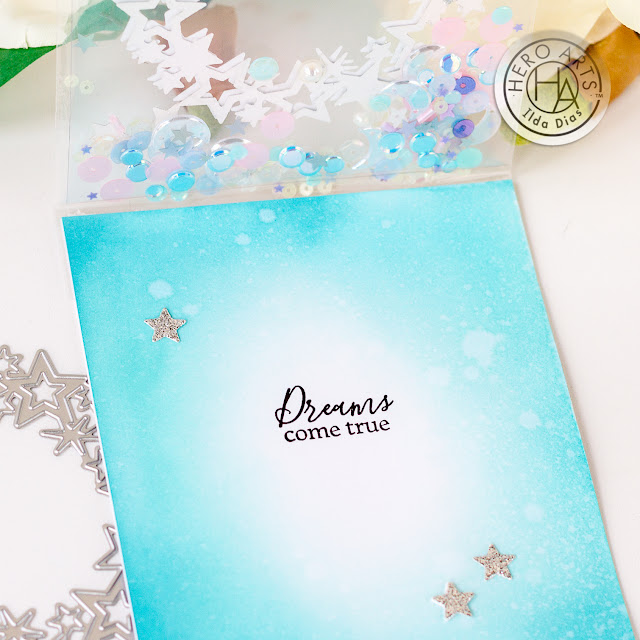
I used a card base and blended out mermaid lagoon oxide ink to the bottom of the panel (masked off the top of the panel at the scoreline). I then spritzed it with water and picked up the drops with a paper towel.
- Fold the overhang of the Cello Bag (1 Inch) over the top of the upside-down card base and crease the Clear Bag fold with your fingernails. This will create the flap that you will be sandwiched between the card base.
- Cut the corners off the top of each side of the clear bag. Make sure to cut above the line that you just creased.
- Add two strips of double-sided tape to the card base. One just under the edge of the card base and one ½’ below that one.
- Remove the protective piece from the double-sided tape. Center and align the Clear Bag in front of the upside-down card front and press the cello flap down onto the double-sided tape.
- Just above the creased area of the cello bag add another strip of double-sided tape to seal it up and keep sequins from falling out of the bag. For extra insurance, you can add a piece of tape over the edge of the flap.
- Add glue or double-sided tape along the edges of the front panel to glue the card base together.
You could also use two-card panels, one that you have added ink blending to and a plain white one, and just sandwich the top of the bag in between them. Using a card base just saves a step and makes it easier to align.
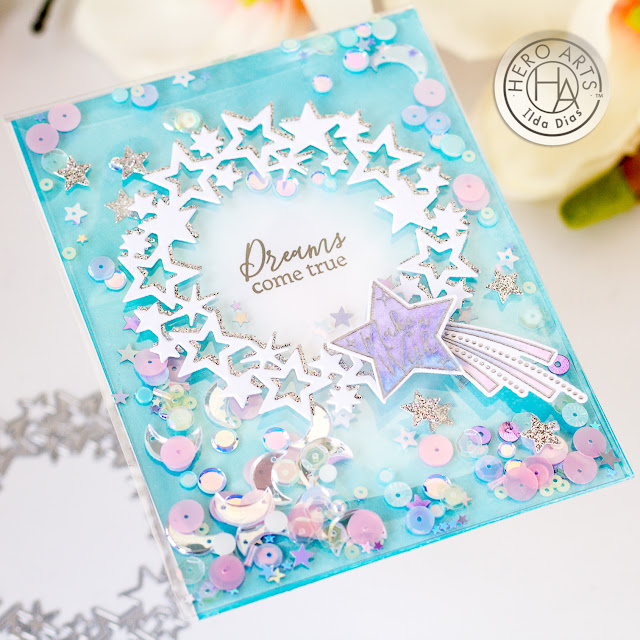
To finish the see-through panel, I die-cut two layers of Star Wreath, one die-cut from white cardstock and the other from Silver Sparkle Glitter Paper. Glued them together and then glued them to the card front. I also used the negative die cut silver stars to add on top of the panel and on the inside of the card.
To the wreath, I also added another star and trailing tail that comes from the You Sparkle sets. I heat embossed it in silver and colored it using purple and blue Copic marker.
On the inside, I stamped out the "Dreams come true" sentiment using Intens-ified Black Ink from the You Sparkle stamp set.
If you have been following me, you will know I have made many of these see-through cards in the past as I came up with this technique. If you want to see other versions of them including quick videos, click 👉here or here for similar versions to previous posts.
GIVEAWAY
To enter the giveaway make sure you leave a comment on every stop of the hop to win a $25 Gift card to Hero Arts. The deadline to leave a comment is Feb 26th and the winner will be announced on the Hero Arts Blog on Feb 27th.
HOP LINE UP
Ilda Dias You are here 👈👋
Thank you for stopping by and until next time... Happy hopping!
Ilda 🌟
SUPPLIES
 Star Wreath Shop at: SSS | SB | HA |
 You Sparkle Bundle Shop at: SSS | SB | HA |
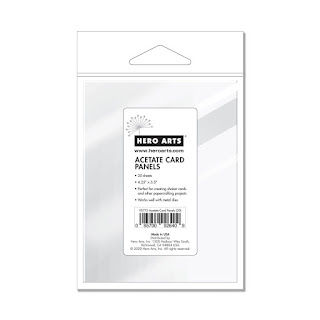 Acetate Card Panels Shop at: SSS | SB | HA |
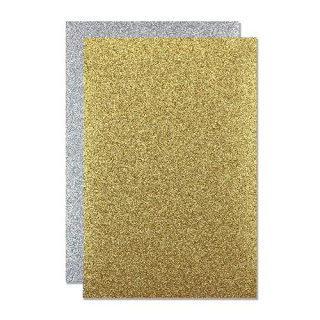 Glitter Paper Holiday Sparkle Shop at: SSS | SB | HA |
 Clear Embossing & Watermark Ink Shop at: SSS | SB | HA |
 Silver Embossing Powder Shop at: SSS | HA |
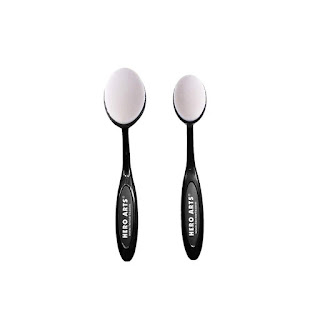 Ink Blending Brushes Shop at: SSS | SB | HA |
 Intens-ified Black Ink Pad Shop at: SSS | SB | HA |
 Precision Glue Shop at: SSS | SB | HA |
 Gemini Jr. Die-Cutter Shop at: SSS | SB |
 Neenah Solar White 110lbs Shop at: SSS | AMZ | HBS |
 Mermaid Lagoon Oxide Ink Shop at: SSS | AMZ | SB | HBS |
 Slimline Cello Bags Shop at: HBS |
 Scor-Pal Tape Shop at: SSS | AMZ | HBS |
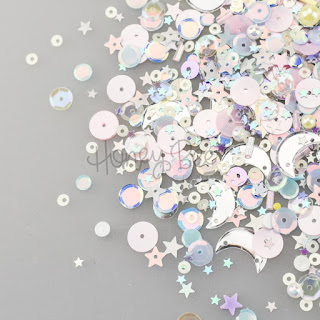 Bedtime Stories Sequin Mix Shop at: HBS |
To make supplies easy for you to find, I have linked them above. If something is no longer available I will link to a similar product. Affiliate links may be used depending on the product linked. Please help support my blog by using these links while shopping at no additional cost to you. For more information about the affiliates I use, please visit my disclaimer here. Thanks so much for all your support!


how cool is that, a clear shaker card with a front flap, you are amazing girlfriend
ReplyDeleteI always LOVE your shaker cards, they are so clever!!
ReplyDeleteBrilliant Ilda, can't wait to make a few or more just like this. Everyone loves a shaker. Xx Aileen
ReplyDeletewhat a great shaker card! TFS
ReplyDeleteLove the card. Great shaker. Thanks for sharing.
ReplyDeleteVery inventive use of a cello bag!!
ReplyDeleteSuch an incredible card! One day I will have to try your method out, it sounds like something I could actually do (not as well as you of course!)!
ReplyDeleteLovely card - will have to give this a go.
ReplyDeleteMarisela Delgado said: So gorgeous! Girl, you are awesome! mariandmonsterd@yahoo.com
ReplyDeleteBeautiful shaker card! The star wreath is a favorite! Great format and colors!
ReplyDeleteThis is such a pretty, mystical card. I love it!
ReplyDeleteWhat a clever idea. So pretty.
ReplyDeleteStunning shaker card! I really need to try out such shaker cards as well!
ReplyDeleteLovely shaker card, I love the colors!
ReplyDeleteLove the see through look. And the star wreath is my favorite.
ReplyDeleteI'm so intimidated by these Infinity Shakers but you've inspired me to give it a go. Your card is so pretty!
ReplyDeleteGreat project share. I haven't tried this style for a card front. Thanks for a link to the film. I will save and link when I buy.
ReplyDeleteYour art is absolutely beautiful. Thank you for showing us how. Have a most blessed day.
ReplyDeleteWhat a fun card! I love it! 💕
ReplyDeleteI love these clear cards you make...so pretty.
ReplyDelete