Hello, my crafty friends!
I literally have an Extra special card to share with you today. When I saw these new dies from the latest Picket Fence Studios release, I knew exactly what I wanted to create. My vision was clear: to elevate the feathers on this card to a whole new level and make it so extra. And what better way to achieve that than an off-the-edge card design.
CARD RECIPE
SO EXTRA
- Apply a thin layer of Paper Glitz - Sparkle to a white piece of cardstock and allow to dry.
- Die-cut a couple of layers using the You Are So Extra Word Die, and stack and glue them together.
- Die-cut another layer using the Sparkle Glitz layer and glue on top of the previous layers. Set aside.
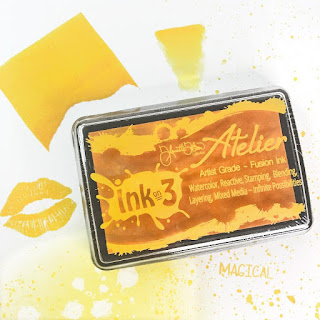
- On a piece of white card stock blend out the colors you want to use for the feathers. I used yellow, pink, and blue ink.
- Over the blended inks add a layer of the same Paper Glitz - Sparkle paste. Allow to dry.
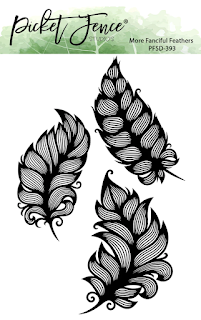
- Once dry, die-cut the feathers using the More Fanciful Feathers Dies. Glue them onto another black die-cut layer.
CARD BASE
- Line up the feather dies along the top edge of an A2-sized black card panel. Tape them in place.
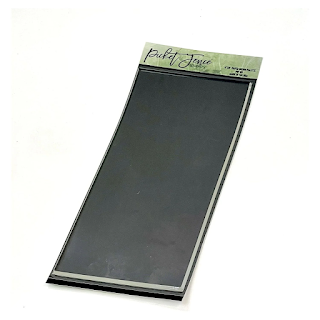
- Line up the top plate of your die-cutting sandwich over the top half of the feather dies, so that only the top of the feathers are cut out.
- Trim away the extra space around the feathers using a straight edge or a slicer.
- Line up the colorful feathers from the previous step onto the off-the-edge panel.
- Glue the You Are So Extra Word layer onto the bottom of the panel.
- Next, glue the finished panel onto a horizontal A2-sized card base, ensuring that the feather edge aligns with the fold of the card base.
- Trim off the excess bottom of the card base. This results in a card that extends off the edge, perfectly sized to fit into an A2-sized envelope.
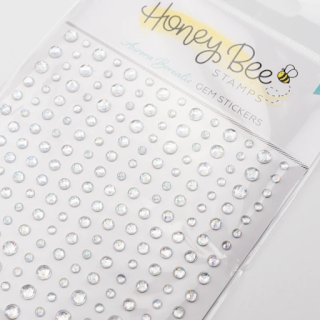
- Finish the card with some gemstone stickers.
Do you know someone who's just a little extra? I sure do, and I think this card would be perfect for them! Stamp a happy birthday sentiment on the inside or something else to make them smile and send it to them.
Thank you for stopping by and until next time... Happy Crafting!
Ilda 😎
SUPPLIES
Enjoyed this post? Never miss out on future posts by Following this Blog
 You Are So Extra Word Die Shop at: SSS | SB | PFS |
 More Fanciful Feathers Shop at: SSS | SB | PFS |
 Paper Inking Palette - 4x9 Shop at: SSS | SB | PFS |
 Bearly Art Precision Glue Shop at: SSS | AMZ | HBS |
 BLENDER BRUSH Set Shop at: SSS | SB | PFS |
 Mixed Media Spatulas Shop at: PFS |
.png) Paper Glitz - Sparkle Shop at: PFS |
 Atelier Ink Bee Sting Yellow Shop at: SSS | IO3 |
 Atelier Ink Sweet Petunia Shop at: SSS | IO3 |
 Atelier Ink Peacock Blue Shop at: SSS | IO3 |
 Platinum 6 Die Cutting Platform Shop at: SSS | SB |
 Heat Gun Shop at: AMZ |
 Aurora Borealis Gem Stickers Shop at: SSS | HBS |
 Honey Bee Reverse Tweezers Shop at: HBS |
 Black Foam Dots 1/2" Shop at: HBS |
To make supplies easy for you to find, I have linked them above. If something is no longer available I will link to a similar product. Affiliate links may be used depending on the product linked. Please help support my blog by using these links while shopping at no additional cost to you. For more information about the affiliates I use, please visit my disclaimer here. Thanks so much for all your support!


.jpg)
.jpg)
.jpg)