While I was at Costco the other day I picked up a whiteboard for a Pinterest inspired project I had in mind... I had been wanting to make a home organization station/wall. Here is the project that inspired me to get organized. Click here to see how Tracy made this.
WARNING! LOTS OF PICS TO COME!
So here is how I started my wall...
The wall I am referring to and you will see at the end of the post is the wall next to my fridge in my kitchen. On that wall, I did have a very small, sad-looking eraser board. :( I wished I had taken a picture of the wall before I took it down, oh well.
This whiteboard was way too small for my liking so I thought I would turn it into a corkboard. To do this I just used double-sided tape and attached cork board sheets to it. I did have to trim cork to make it fit all together.
I had to stack 2 layers of cork together, simply because the cork wasn't thick enough... Haha, I guess I shouldn't complain too much I bought it at the Dollar Store, lol!
I then covered the board with some leftover white cotton fabric that I had and secured it with hot glue. I could have left it all white but it just looked so boring so I thought I would paint a frame around it. I used some masking tape to outline the frame.
Using a foam brush and acrylic black paint I painted all around the board, ensuring to pull in the paint from the masking tape. This will prevent the paint from bleeding underneath the tape.
The finished corkboard!
Here is the magnetic whiteboard I picked up at Costco.
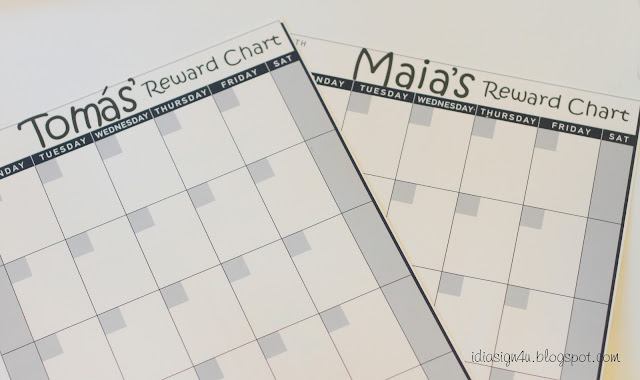
I had these desktop calenders that I turned in to a monthly reward chart for my kids. I used my Cameo to cut the words out of vinyl. I adhered these to my new magnetic whiteboard with double-sided tape.
So here is what it looked like before I added all papers to it that was on my fridge...
And here is my wall after I added all our important school/house stuff. Not bad... I'm sure it will get a lot messier soon enough! I wished I had done this earlier on in the school year!!!
Corkboard in use!
Kids' reward chart!
They can earn up to $1 a day, but they can also lose that money for breaking any rules. I minus 20 cents for each broken rule! So far they haven't gone into the negatives... yet!!!

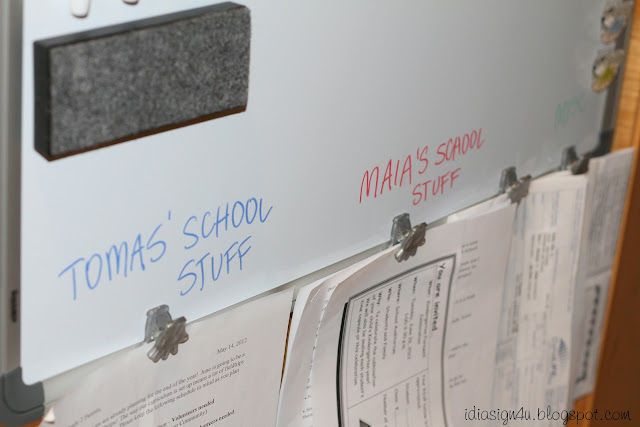
I hot glued some clips to the bottom edge for things I have to deal with.
To make the pens stick to the board I cut up a small piece magnetic strip and hot glued it to each cap.
I also added a magnetic strip to the eraser.
The best part is that you can't even see the wall from the kitchen area and my fridge is paper free!
Hope you like this post and were inspired by it just like I was with Tracy's post!
Happy crafting!


Hi! Thanks for the instructions and post. You did a great job explaining each step. This is now added to my to-do list. :)
ReplyDeleteYou are very welcome!
ReplyDeleteOh WOW!!! I want that station wall!!! FANTASTIC!
ReplyDeleteThanks for sharing at The DIY Dreamer.. From Dream To Reality!
I love how organized everything is! What a great job you did. Thanks so much for sharing this at Thursday's Temptation as well!
ReplyDeleteJill