Hello Everyone!
Today is Day 3/3 of the Marvy Uchida and Studio Katia Three-Day Collaboration! During these days our Design Team will be sharing inspiration projects featuring combined products from these two fabulous companies! Make sure you leave a comment below and stop by the Studio Katia Blog for more chances at winning some amazing prizes!
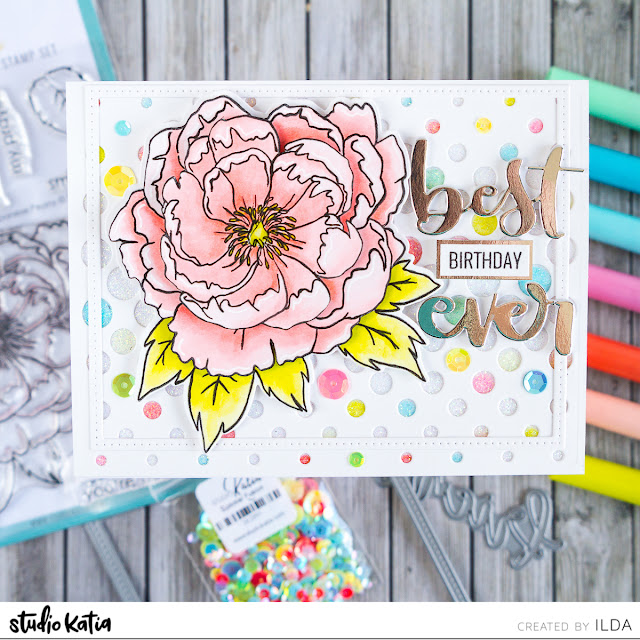
One can never have enough birthday cards, so for my card today I decided to create a layered floral card using the Japanese Peony bloom.
I began by stamping out the peony 3 times onto a piece of Bristol paper. I then colored the peony in using the pastel Marvy Le Plume II markers starting with the bottom layer and working my way to what would become the top layer. I only added shadowing detail to the image if it was going to be seen. Once the coloring was done, I die cut the bottom (leaf layer) using the coordinating die, and the rest of the layers I fussy cut and inked the edges using a black marker. I then stacked the layers of the peony onto each other using foam tape to pop up the flower and then set that aside to work on the card base.
Next, I die cut a piece of white cardstock using the Halftone Dots Cover die. Then using some of the openings of the dots as references, I added random color just below where some of the openings would be. Then I added some glimmer paste to the entire cardstock piece and once it was dry I glued the Halftone Dots Cover onto it and adhered it to the front of the card base.
To frame the card, I added the frame from the Dotted Pattern Loops Die and then glued the Japanese layered Peony to the left of the card. To the right, I added the best and ever script dies from the Best Ever Coordinating Dies using a silver foiled cardstock. And, to finish off the sentiment I stamped out the Birthday sentiment from Kobi the Birthday Bear stamp set and glued it onto another piece of foil cardstock that I trimmed to size. I then finished off the card from by adding some Summer Fusion sequins in some of the openings of the Halftone die and added white gel pen detailing to the bloom.
On the inside of the card, I added a sentiment from the Birthday Greetings set and stamped out the bloom in the bottom corner using the marker tip to add ink to the stamp.
Hope you were inspired by this Layered Japanese Peony Best Birthday Ever Card, make sure you check out all inspiration from our Design Team members for days 1-3, for a chance at winning some awesome prizes! Day one starts → HERE!
I appreciate the time you spent here, so thank you for stopping by 😊
Until next time... Happy Crafting 👋
SUPPLIES
To make supplies easy to find, I have linked them below. If something I used is no longer available I will link to a similar product.
Affiliate links may be used depending on the product. Your purchases help keep my blog running, so thanks in advance for the support!
Supplies marked with an asterisk (*) were generously sent to me.
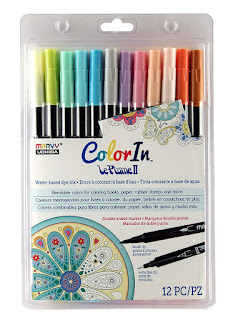 *UCHIDA Le Plume II Pastel Markers Shop at: AMZ |
 Japanese Peony Stamp Shop at: SSS | SK |
 Japanese Peony Dies Shop at: SSS | SK |
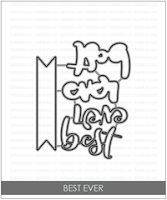 Best Ever Dies Shop at: SSS | SK |
 Halftone Dots Cover Die Shop at: SSS | SK |
 Dotted Patterns: Loops Shop at: SSS | SK |
 Kobi the Birthday Bear Shop at: SSS | SK |
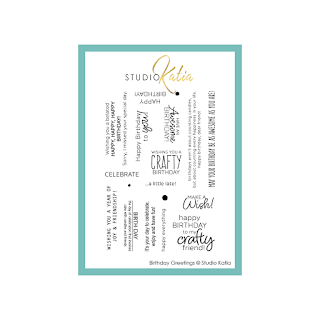 Birthday Greetings Shop at: SSS | SK |
 SUMMER | FUSION Shop at: SK |
 Triangle Tray Shop at: SSS | SK |
 TH Stamp Platform Shop at: SSS | AMZ |
 Strathmore Bristol Pad Shop at: SSS | AMZ |
 Blackout Ink Shop at: SSS | IO3 |
 Sizzix Big Shot Shop at: SSS | AMZ |
 STANDARD CUTTING PADS Shop at: SSS | AMZ |
 Magnetic Platform Shop at: SSS | AMZ |
 Metallic Foil Paper Pad Shop at: AMZ |
 Glimmer Paste | Moonstone Shop at: SSS | AMZ | HBS |
 Multi Medium Matte Glue Shop at: SSS | AMZ |
 Double Ended Jewel Picker Shop at: SSS | AMZ | HBS |
 Uni-Ball Gel Pen Shop at: SSS | AMZ |


