Showing posts with label Hello. Show all posts

Wednesday, August 5, 2020

Hello BeYOUtiful Friendship Card | Ink On 3


Hello, my BeYOUtiful Friends!

Today I am back with a card that took me no time to make mainly because the background was super quick and easy to create and I am loving the results. It would be a great card to send a friend for a birthday or any other special occasion.

CARD DETAILS

I began by stamping out the large magnolia image from the new BEYOUTIFUL stamp set using JUICY INK onto a piece of Bristol paper. I then used GOLD RUSH EMB. PWD. to heat set the lines in.


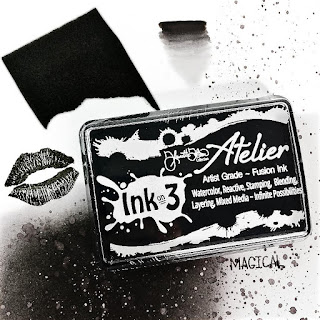
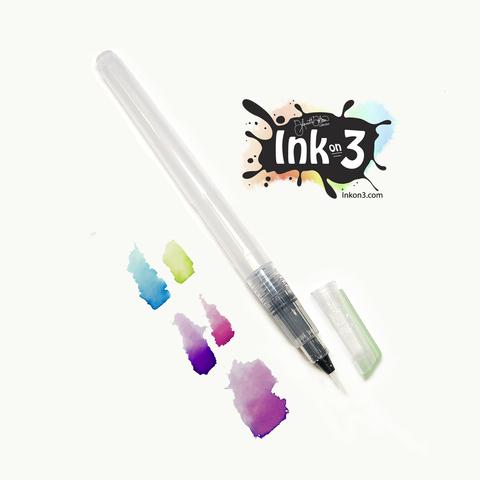
I then used the ATELIER PAINT IT BLACK ink to paint in the flowers using a SMALL TIP WATER BRUSH PEN. I just dipped the tip of the brush onto the ink pad and began coloring where I thought a shadow would be, gradually pulling and blending the ink out. It is hard to see in the photos but this ink has some pink and green undertones that show up so beautifully on the card in real life. I could have added more layers of paint to give the petals more dimension but I was happy with the one layer which made this so much easier too.


Once the ink was dry I die cut the panel with a pierced frame and glued it onto the card base. Next, I die cut a pierced heart from vellum and then stamped and embossed the BeYOUtiful sentiment on to it. I then figured out where I was going to place the heart and stamped the "HELLO" right over where the center of the sentiment would be and then glued the heart in place and cut off the edge that hung over the card.


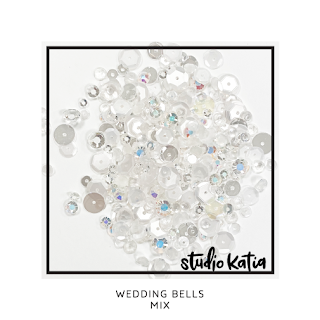
To finish off the card, I added some crystals and sequins for sparkle.

I hope you were inspired by this elegant friendship card. Thank you so much for stopping by and until next time... Happy Crafting!


SUPPLIES
BEYOUTIFUL
BEYOUTIFUL
Shop at:
SSS | IO3
JUICY INK
JUICY INK
Shop at:
SSS | IO3
GOLD RUSH EMB. PWD.
GOLD RUSH EMB. PWD.
Shop at:
SSS | IO3
Atelier Paint It Black
Shop at:
SSS | IO3
SMALL TIP WATER BRUSH PEN
Shop at:
SSS | IO3
BLACKOUT INK
BLACKOUT INK
Shop at:
SSS | HBS | IO3
BRISTOL PAPER
BRISTOL PAPER
Shop at:
SSS | AMZ
DARLING RIBBON & FRAMES
Shop at:
SSS | SK
PIERCED XOXO HEART DIES
Shop at:
SSS | SBC | HBS
GEMINI JR. DIE CUTTER
Shop at:
SSS | AMZ | SBC
ORIGINAL MISTI
ORIGINAL MISTI
Shop at:
SSS | AMZ | SBC | HBS
Vellum Value Pack
Vellum Value Pack
Shop at:
SSS | AMZ
WEDDING BELL MIX
WEDDING BELL MIX
Shop at:
SSS | SK
EMBELLISHMENT WAND
EMBELLISHMENT WAND
Shop at:
SSS | SK
TRIANGLE TRAY
TRIANGLE TRAY
Shop at:
SSS | SK
STUDIO KATIA GLUE
STUDIO KATIA GLUE
Shop at:
SSS | SK
To make supplies easy for you to find, I have linked them above. If something is no longer available I will link to a similar product. Affiliate links may be used depending on the product linked. Please help support my blog by using these links while shopping at no additional cost to you. For more information about the affiliates I use, please visit my disclaimer here. Thanks so much for all your support!

Wednesday, July 8, 2020

A Flourishing Note Hello Friendship Card | Studio Katia


card making, Copic Markers, Die cutting, Floral Friendship Card, Flourishing Note, handmade card, hearts, Hello, how to, ilovedoingallthingscrafty, stamping, Stamps, Studio Katia,

Hey everyone!

Today I am sending you all a Flourishing Hello. Love this new FLOURISHING NOTE stamp from Studio Katia, it is so pretty and it makes for such a beautiful friendship card 😍

CARD DETAILS

To begin this beauty, I stamped out the image from the FLOURISHING NOTE and colored it in using Copic markers. I then used the coordinating FLOURISHING NOTE DIES to cut out the image as well as the Hello die 3 times from black cardstock that I will use later on.

card making, Copic Markers, Die cutting, Floral Friendship Card, Flourishing Note, handmade card, hearts, Hello, how to, ilovedoingallthingscrafty, stamping, Stamps, Studio Katia,

For the background, I first used the inside of the SCALLOP HEARTS COVER to die cut the hearts from the white panel. I then used the largest scallop frame from the DOTTED PATTERNS SET 4 to finish off the card panel.

Behind the heart openings, I glued a piece of pale pink cardstock to add another layer of color. I then die cut another layer of blue hearts using the SCALLOP HEARTS COVER to add a blue edge to the white hearts, I then popped the hearts back in place with foam tape and glued the Flourishing Card Stamp in place.

TIP: I also used the same blue cardstock piece that I die cut the blue heart edges from to glue onto the card base as the center of the panel gets covered up and won't be seen.

card making, Copic Markers, Die cutting, Floral Friendship Card, Flourishing Note, handmade card, hearts, Hello, how to, ilovedoingallthingscrafty, stamping, Stamps, Studio Katia,

For finishing touches, I added some new BLUEBELL PEARLS and then added the hello that I had stacked and glued together from the FLOURISHING NOTE DIES and then added Glossy Accents to.

Wishing you all a wonderful day! Thank you for stopping by and until next time... Happy Crafting 👋


SUPPLIES
FLOURISHING NOTE
FLOURISHING NOTE
Shop at:
SSS | SK
FLOURISHING NOTE DIES
Shop at:
SSS | SK
SCALLOP HEARTS COVER
Shop at:
SSS | SK
DOTTED PATTERNS SET 4
Shop at:
SSS | SK
EMBELLISHMENT WAND
EMBELLISHMENT WAND
Shop at:
SSS | SK
BLUEBELL PEARLS
BLUEBELL PEARLS
Shop at:
SSS | SK
STUDIO KATIA GLUE
STUDIO KATIA GLUE
Shop at:
SSS | SK
FOAM TAPE - WHITE
FOAM TAPE - WHITE
Shop at:
SSS | SK
NEENAH SOLAR WHITE 110
Shop at:
SSS | AMZ | HBS
ORIGINAL MISTI
ORIGINAL MISTI
Shop at:
SSS | AMZ | SBC | HBS
BLACKOUT INK
BLACKOUT INK
Shop at:
SSS | IO3
COPIC SKETCH
COPIC SKETCH
Shop at:
AMZ
GEMINI JR. DIE CUTTER
Shop at:
SSS | AMZ | SBC
GLOSSY ACCENTS
GLOSSY ACCENTS
Shop at:
SSS | AMZ | SBC | HBS
Uni-Ball Impact Gel Pen
Shop at:
SSS | AMZ | SBC
To make supplies easy for you to find, I have linked them above. If something is no longer available I will link to a similar product. Affiliate links may be used depending on the product linked. Please help support my blog by using these links while shopping at no additional cost to you. For more information about the affiliates I use, please visit my disclaimer here. Thanks so much for all your support!

Tuesday, July 7, 2020

Hello Summer Blog Hop Day 2 | Hello Tropical Lattice Garden Slimline Card | Honey Bee Stamps


Hello Summer, Blog Hop, Hello, Tropical Lattice, Friendship Card, Honey Bee Stamps, Paradise Blooms, Copics, Distress Oxide, Card Making, Stamping, Die Cutting, handmade card, ilovedoingallthingscrafty, Stamps, how to, blending,

Welcome to Day TWO of the Honey Bee Stamps Hello Summer Release Blog Hop. If you have already hopped your way here you would have arrived from Vera Yates' Blog. Stick around and I will let you know where to hop next at the end of this post. If you just want to start again from the beginning click HERE to get you started.


CARD DETAILS

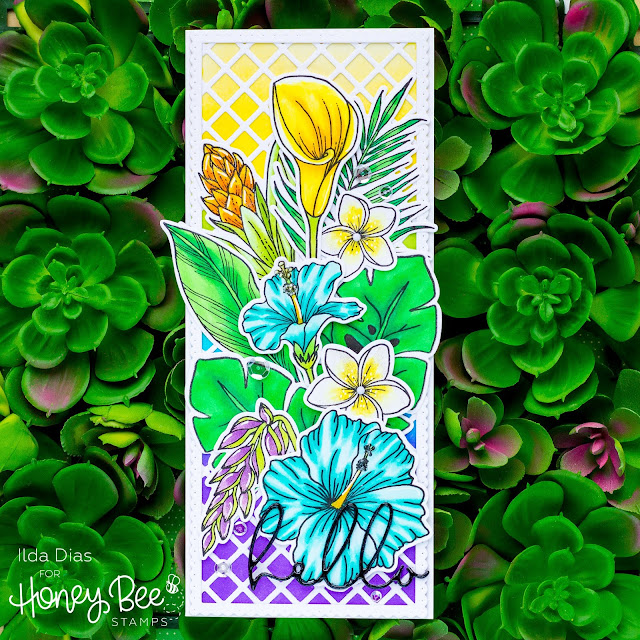
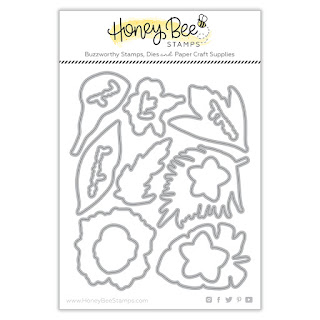
My card today features the beautiful PARADISE BLOOMS that I stamped out and colored using Copic Markers and then die cut them with the coordinating PARADISE BLOOM Dies.

Hello Summer, Blog Hop, Hello, Tropical Lattice, Friendship Card, Honey Bee Stamps, Paradise Blooms, Copics, Distress Oxide, Card Making, Stamping, Die Cutting, handmade card, ilovedoingallthingscrafty, Stamps, how to, blending,

I then embellished each flower with glossy accents and added Liquid Pixie Dust to some and set them aside to dry while I worked on the background.

Hello Summer, Blog Hop, Hello, Tropical Lattice, Friendship Card, Honey Bee Stamps, Paradise Blooms, Copics, Distress Oxide, Card Making, Stamping, Die Cutting, handmade card, ilovedoingallthingscrafty, Stamps, how to, blending,

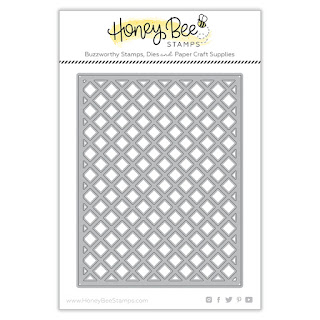
For the slimline background, I first blended distress oxide inks onto a paper panel. I then trimmed it down to fit behind the frame from the SLIMLINE SENTIMENTS EYELET DIE set.  I then created the lattice for the background using the GARDEN LATTICE CP TOP. To extend the size of the lattice, I used a partial die cut technique, but if you don't want to do that you can just join two die-cut pieces as the flowers in front will cover up the seem anyways. I then trimmed the edges of the lattice to fit under the slimline scallop frame and then glued all the layers to the card front.

Hello Summer, Blog Hop, Hello, Tropical Lattice, Friendship Card, Honey Bee Stamps, Paradise Blooms, Copics, Distress Oxide, Card Making, Stamping, Die Cutting, handmade card, ilovedoingallthingscrafty, Stamps, how to, blending,

Next, I arranged the flowers and glued them all to the card front using foam tape in areas to add dimension. To the centers of the Plumeria flowers, I added some white GEM STICKERS.

The hello sentiment die also comes from the SLIMLINE SENTIMENTS EYELET DIE set, I die cut it 3 times, stacked and glued it together. I also added a layer of Liquid Pixie Dust to the top of and finished off with a layer of glossy accents.

GIVEAWAY
Make sure to hop along to each stop on the hop and leave a comment to be entered in the giveaway for a $25 Gift Card for each day of the Giveaway. Click the link to get started on the Day ONE HOP if you missed it.

BLOG HOP
Your next stop on the hop is to Laura Jane's Blog. If you'd like to start at the beginning click → HERE

SHOP
The new Hello Summer Release → HERE

I hope you were inspired by this Tropical Lattice Garden Slimline Card. I wish I lived somewhere tropical so I could see these beautiful flowers all the time. Let me know what you think of my card in the comments below and what is in your shopping cart from this new release?

Thank you for stopping by and until next time... Happy Hopping👋


SUPPLIES
PARADISE BLOOMS
PARADISE BLOOMS
Shop at:
HBS
PARADISE BLOOM DIES
PARADISE BLOOM DIES
Shop at:
HBS
GARDEN LATTICE CP TOP
Shop at:
HBS
SLIMLINE SENTIMENTS EYELET DIES
Shop at:
HBS
BACKGROUND BLENDER BRUSHES
Shop at:
SSS | HBS
WHITE GEM STICKERS
WHITE GEM STICKERS
Shop at:
SSS | HBS
ORIGINAL MISTI
ORIGINAL MISTI
Shop at:
SSS | AMZ | SBC | HBS
NEENAH SOLAR WHITE 110
Shop at:
SSS | AMZ | HBS
BLACKOUT INK
BLACKOUT INK
Shop at:
SSS | IO3
COPIC SKETCH
COPIC SKETCH
Shop at:
AMZ
GEMINI JR. DIE CUTTER
Shop at:
SSS | AMZ | SBC
WILTED VIOLET DISTRESS OXIDE
Shop at:
SSS | SBC | HBS
MUSTARD SEED DISTRESS OXIDE
Shop at:
SSS | SBC | HBS
MERMAID LAGOON DISTRESS OXIDE
Shop at:
SSS | AMZ | SBC | HBS
Oxide Ink Pad TWISTED CITRON R
Shop at:
SSS
MAJESTIC FUSION
MAJESTIC FUSION
Shop at:
SSS | SK
LIQUID PIXIE DUST
LIQUID PIXIE DUST
Shop at:
SSS | IO3
SMALL TIP WATER BRUSH PEN
Shop at:
SSS | IO3
GLOSSY ACCENTS
GLOSSY ACCENTS
Shop at:
SSS | AMZ | SBC | HBS
FOAM TAPE - WHITE
FOAM TAPE - WHITE
Shop at:
SSS | SK
Uni-Ball Impact Gel Pen
Shop at:
SSS | AMZ | SBC

To make supplies easy for you to find, I have linked them above. If something is no longer available I will link to a similar product. Affiliate links may be used depending on the product linked. 
Please help support my blog by using these links while shopping at no additional cost to you. For more information about the affiliates I use, please visit my disclaimer here. Thanks so much for all your support!


MORE INSPIRATION
Click on the images below for more details.