Showing posts with label Ink On 3 Stamps. Show all posts

Thursday, November 21, 2019

Stamping, Blending, No Line Water Coloring with Atelier Inks | Ink On 3


Stamping, Blending, No Line Water Coloring with Atelier Inks | Ink On 3 by ilovedoingallthingscrafty.com

Hello friends!

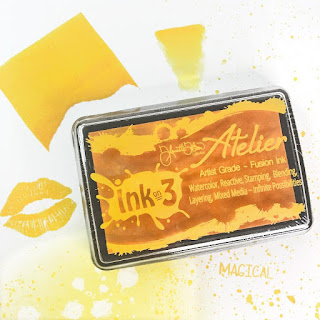
Today I am sharing the cutest no line colored holiday card that I created while testing out the new Atelier Inks from Ink On 3. You all, these inks are like nothing you have used before, I can see why they took 2 years to develop. They are truly unique because of their versatility! They stamp, they blend, they are water-reactive, you can watercolor with them and just look how bright they are 😍 And of my favorite thing about them is that they work so well with Fadeout Ink for no-line coloring!

CARD DETAILS

I started off this card by stamping out and my images using Fadeout Ink and doing some masking to add a hat, mittens and the block of Ice from the Snow Buddies Stamp Set to the Ducky from Platy-rific Pondies.

I then watercolored the images in using the Atelier Inks. I loved how buttery smooth the inks felt when I blended them on to the paper and how well I could layer the colors. To add shadows to some of the areas I used Twiggy Brown and was pleasantly surprised at how well it blended with the previous colors.

Once I had finished water coloring I then stamped out some snowflakes from the Merry and Bright set using Juicy Ink and then heat set them using Arctic White Ultra Powder. Since the background was white this made it difficult to see the snowflakes, so using very light pressure I blended some of the Atelier Peacock Blue ink around the snowflakes to make them more visible. I first blended onto some scratch paper before blending it to the background and then I also used a dry paper towel to clean off any ink that was on the embossed snowflakes.

The sentiments I used also come from the Merry and Bright set that stamped using a stamping block, but I wished I had used the Misti so I could have stamped it twice to get more of a solid impression. To finish off the scene, I added water under the ice block also using the Atelier Peacock Blue ink and slightly touched the bottom of the sentiment to make it look like the letters were melting into the water. 

To finish off the image I used liquid pixie dust on the ice block to add some sparkle and added glossy accents to the ducky's beak. To darken the eyes I used a fine line marker and for highlights, I used a white gel pen.

Stamping, Blending, No Line Water Coloring with Atelier Inks | Ink On 3 by ilovedoingallthingscrafty.com

Here is a closer look at this cutie. Just look at all the different shades of blue I got using only Atelier Peacock Blue ink pad. Blended sky, watercolored the hat, mitts, ice, water, and stamped out the sentiment. Unreal right!? And I love how it goes from an aqua like color to a dark blue. This time I didn't use ink from the Reinkers but if I had you probably would have seen even more gradients in the colors.

Stamping, Blending, No Line Water Coloring with Atelier Inks | Ink On 3 by ilovedoingallthingscrafty.com

I hope you found this post informative. I highly recommend these inks if you are looking for versatile inks that are artist-grade, bright and very affordable. For more information on them please visit the Inkon3.com.

Thank you for stopping by 😊
Until next time... Happy Crafting 👋


SUPPLIES
Atelier Inks
Atelier Inks
Shop at:
IO3
Platy-rific Pondies
Platy-rific Pondies
Shop at:
SSS | IO3
Snow Buddies
Snow Buddies
Shop at:
SSS | IO3
Merry and Bright
Merry and Bright
Shop at:
SSS | IO3
Fadeout No Line Ink
Fadeout No Line Ink
Shop at:
SSS | IO3
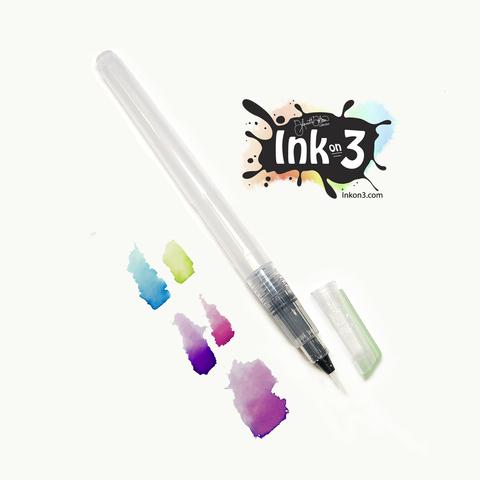
SMALL TIP WATER BRUSH PEN
Shop at:
SSS | IO3
Atelier Marilyn Red
Atelier Marilyn Red
Shop at:
SSS | IO3
Atelier Marigold Orange
Shop at:
SSS | IO3
Atelier Bee Sting Yellow
Shop at:
SSS | IO3
Atelier Peacock Blue
Shop at:
SSS | IO3
Atelier Twiggy Brown
Shop at:
SSS | IO3
JUICY INK
JUICY INK
Shop at:
SSS | IO3
LIQUID PIXIE DUST
LIQUID PIXIE DUST
Shop at:
SSS | IO3
Arctic White Ultra Powder
Shop at:
SSS | IO3
Strathmore Bristol Pad
Shop at:
SSS | AMZ
MINI MISTI
MINI MISTI
Shop at:
SSS | AMZ | SBC | SK
Simon Says Stamp 2.5 Inch ACRYLIC BLOCK
SSS 2.5 Inch ACRYLIC BLOCK
Shop at:
SSS
STUDIO KATIA GLUE
STUDIO KATIA GLUE
Shop at:
SSS | SK
Micron Pens
Micron Pens
Shop at:
SSS
WHITE Gelly Roll Pens Set
Shop at:
SSS | AMZ | SBC
Glossy Accents
Glossy Accents
Shop at:
SSS | AMZ | SBC | HBS

To make supplies easy for you to find, I have linked them above. If something is no longer available I will link to a similar product. Affiliate links may be used depending on the product linked. 
Please help support my blog by using these links while shopping at no additional cost to you. For more information about the affiliates I use, please visit my disclaimer here. Thanks so much for all your support!

Friday, April 26, 2019

Heels to You Birthday Card | Ink On 3


Heels to You Birthday Card for Ink On 3 by ilovedoingallthingscrafty.com

Heels to you my Friends!

Today I have another beautiful Birthday Card featuring the very girly Heels to You Stamp and Die set from Ink On 3.

CARD DETAILS

To begin I stamped out the heel using Blackout Ink and then colored it in using Copic Markers. I then die cut the high heel out using the coordinating die.

Heels to You Birthday Card for Ink On 3 by ilovedoingallthingscrafty.com

For the background, I stamped out the magnolias in a random pattern and then added some shimmer to them using Liquid Pixie Dust. For the sentiment, I used 2 sets to stamp out the greeting... the Happy Birthday comes from the Bunny Hugs set and the Beautiful Friends comes from the Heels to You set. Initially, I had stamped the sentiment out using Blackout Ink but since I wanted to add a bit of shine to the letters, I restamped it using Juicy Ink and then heat set that with the Crystal Clear embossing powder.

Heels to You Birthday Card for Ink On 3 by ilovedoingallthingscrafty.com

Check out the sparkly goodness on the flowers 😍

For finishing details I added a few Onyx Crystals and Glossy Accents to the center of the magnolia.

SUPPLIES
To make supplies easy for you to find, I have linked them here below. If something is no longer available I will link to a similar product. Affiliate links may be used depending on the product linked. By shopping through my links you help keep my blog running at no extra cost to you. So thank you in advance for supporting my creations!

Heels To You
Heels To You
Shop at:
SSS | IO3
Heels To You Coordinating Dies
Shop at:
SSS | IO3
Bunny Hugs
Bunny Hugs
Shop at:
SSS | IO3
Blackout Ink
Blackout Ink
Shop at:
SSS | IO3
Juicy  Ink
Juicy Ink
Shop at:
SSS | IO3
Crystal Clear Ultra  Powder
Crystal Clear Ultra Powder
Shop at:
SSS | IO3
Small Fine Tip Water Brush Pen
Shop at:
IO3
Liquid Pixie Dust
Liquid Pixie Dust
Shop at:
SSS | IO3
Mini Misti Tool
Mini Misti Tool
Shop at:
SSS | AMZ | SB | SK
Neenah  80 LB SOLAR WHITE
Neenah 80 LB SOLAR WHITE
Shop at:
SSS | AMZ
Recollections Black Cardstock 110bs
Shop at:
AMZ
Glossy Accents
Glossy Accents
Shop at:
SSS | AMZ | SB | HBS
STUDIO KATIA GLUE
STUDIO KATIA GLUE
Shop at:
SSS | SK
ONYX CRYSTALS
ONYX CRYSTALS
Shop at:
SSS | SK


Hope you were inspired by this very Girly, Girl Birthday Card featuring the Heels to You set from Ink On 3.

Thank you for stopping by 😊
Until next time... Happy Crafting 👋

Thursday, March 21, 2019

Simple Easter Shaker Card Using Small Stamps to Create a Background | Ink On 3


Hello, my sweet friends 👋 

YAY! Finally, it actually feels like Spring has arrived here in our city of Edmonton.  All the snow is melting, there are water puddles everywhere and we have even enjoyed a few muddy bike rides! 

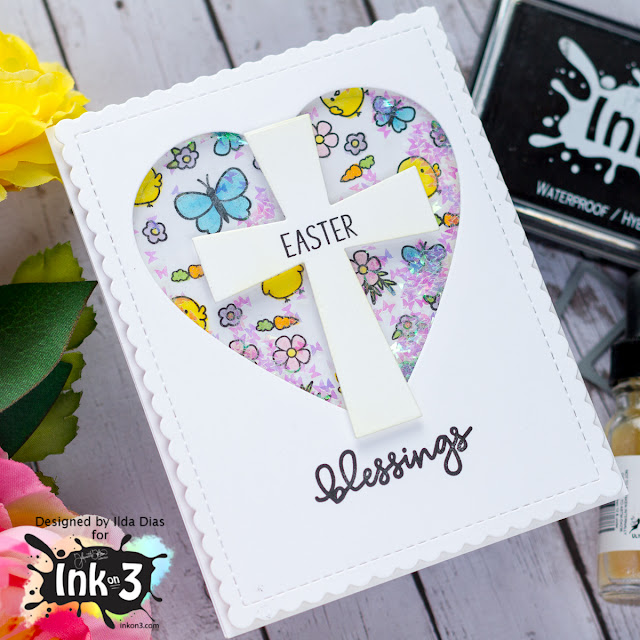
Now that Spring has arrived, Easter is just around the corner. So today I have a simple Easter Shaker card to share with you all and I even filmed the process video for you to watch. It's been so long that I really had to relearn the process of making, editing and just uploading it to YouTube all over again. I'm hoping I will be a little more regular with sharing videos so that I don't forget the process again.

Simple Easter Shaker Card Using Small Stamps to Create a Background for Ink On 3 by ilovedoingallthingscrafty.com

So for those of you that would rather watch the process, this is for you and don't forget to →Subscribe for future inspiration!


CARD DETAILS

For this card today I began by die cutting the top panel to create the heart-shaped window and the Cross from the Blessing Coordinating Die set. I then took a bunch of Spring/Easter small stamps from a variety of Ink On 3 sets and stamped out using Blackout Ink to create the background on to the front of the card base and colored them in using Copic Markers. (All the Ink On 3 Sets I used will be listed below in the thumbnail links below).

Simple Easter Shaker Card Using Small Stamps to Create a Background for Ink On 3 by ilovedoingallthingscrafty.com

Next, I glued the acetate to the back of the heart panel opening and added the foam tape along the heart to create the well for the shaker pieces and also added foam to the edges of the card.

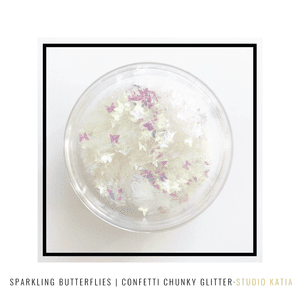
On the card base, where the middle of the shaker window will be, I added a little pile of the butterfly glitter and then closed up the shaker by adhering the top panel to the card base. 

Simple Easter Shaker Card Using Small Stamps to Create a Background for Ink On 3 by ilovedoingallthingscrafty.com

To finish I stamped the Easter and Blessing on the card front pieces and glued the cross onto the heart. To the cross, I added some color by blending on some squeezed lemonade distress oxide ink. And that is pretty much it for this simple shaker card.

SUPPLIES
To make supplies easy to find, I have linked them below. If something I used is no longer available I will link to a similar product.
Affiliate links may be used depending on the product. Your purchases help keep my blog running at no extra cost to you, so thanks in advance for the support!
Bunny Hugs
Bunny Hugs
Shop at:
IO3
Magical Unicorn
Magical Unicorn
Shop at:
SSS | IO3
Biker Bunnies
Biker Bunnies
Shop at:
SSS | IO3
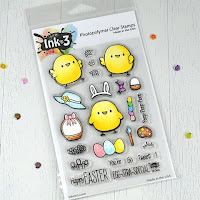
Lil Chicks
Lil Chicks
Shop at:
SSS | IO3
Hollyhocks
Hollyhocks
Shop at:
SSS | IO3
Blessings
Blessings
Shop at:
SSS | IO3
Blessings Coordinating Die
Shop at:
IO3
Liquid Pixie Dust
Liquid Pixie Dust
Shop at:
SSS | IO3
Blackout Ink
Blackout Ink
Shop at:
SSS | IO3
Mini Misti Tool
Mini Misti Tool
Shop at:
SSS | AMZ | SB | SK
Neenah  80 LB SOLAR WHITE
Neenah 80 LB SOLAR WHITE
Shop at:
SSS | AMZ
Inkadinkado Embossing Magic
Shop at:
SSS | AMZ
Grafix Acetate 9x12-Inch, 25 Sheets, 003 Clear
Shop at:
AMZ
Oxide Ink Pad SQUEEZED LEMONADE
Shop at:
SSS
BLENDER BRUSH Set
BLENDER BRUSH Set
Shop at:
SSS | AMZ | PF
Sparkling Butterflies | Confetti Glitter
Shop at:
SSS | SK
STUDIO KATIA GLUE
STUDIO KATIA GLUE
Shop at:
SSS | SK
Stacking Hearts Dies
Shop at:
HBS
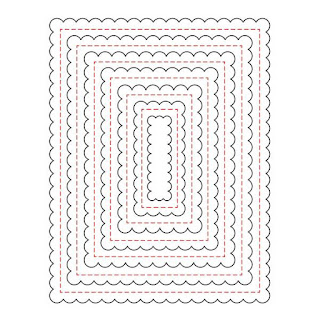
SCALLOP A2 FRAME HONEY CUTS
Shop at:
SSS | SB | HBS
Double-Sided Foam Tape
Shop at:
SSS | AMZ

For more inspiration using Ink On 3 supplies visit Inkon3.com

Thank you all for stopping by 😊
Until next time... Happy Crafting 👋